Affiliate Disclosure: This post may contain affiliate links. If you make a purchase through these links, we may earn a commission at no extra cost to you. For more information, please see our affiliate disclosure.
Introduction
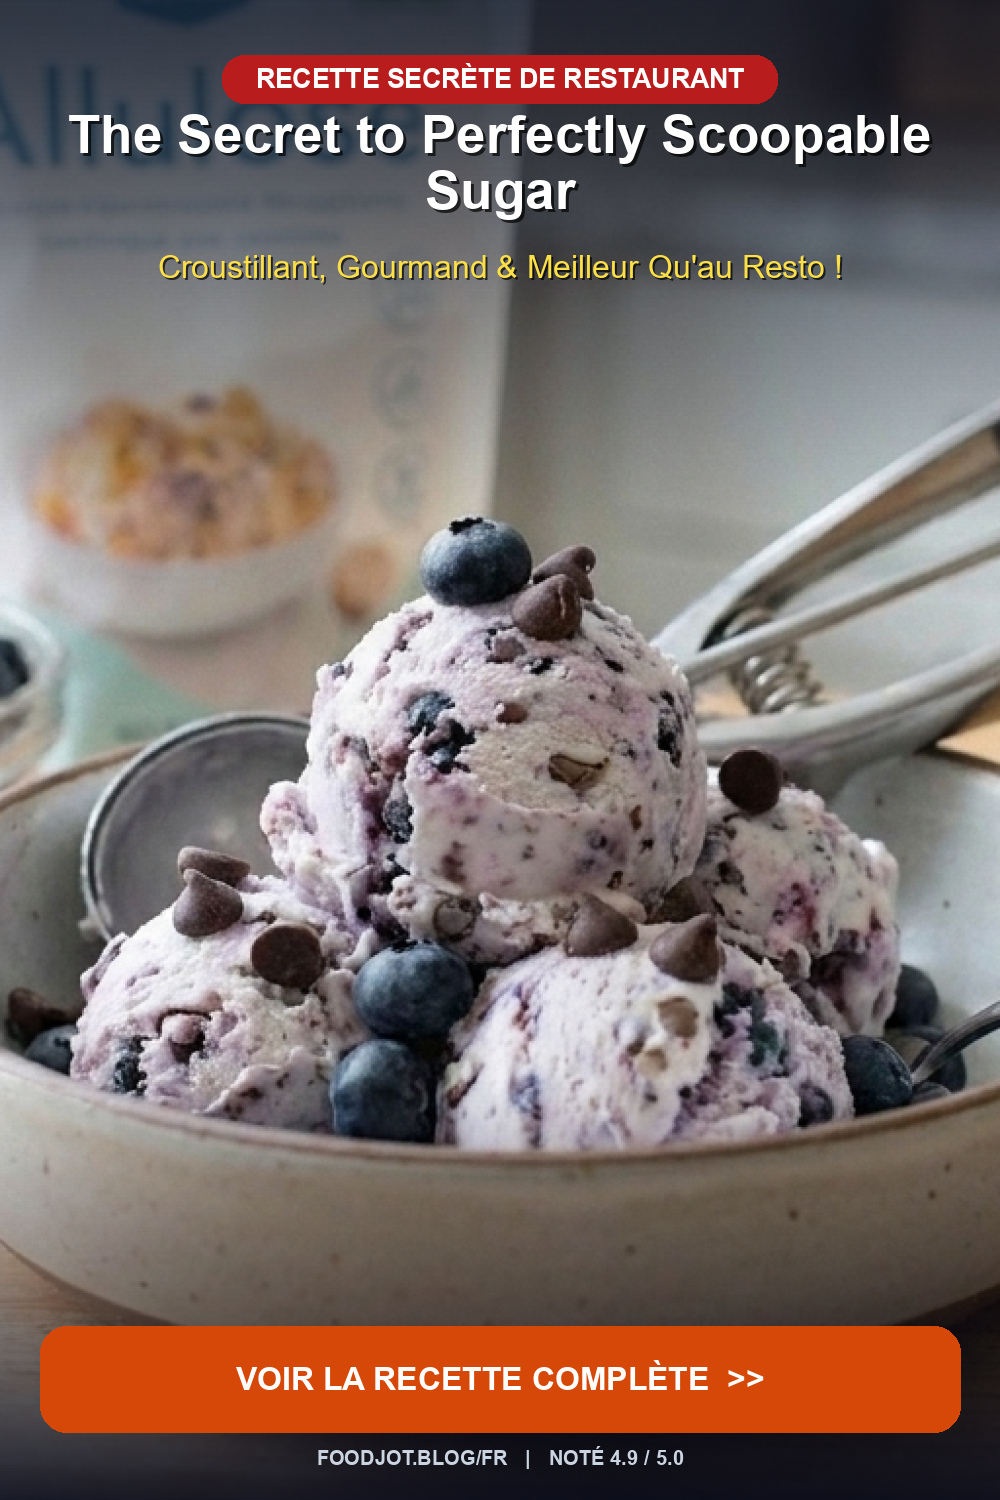
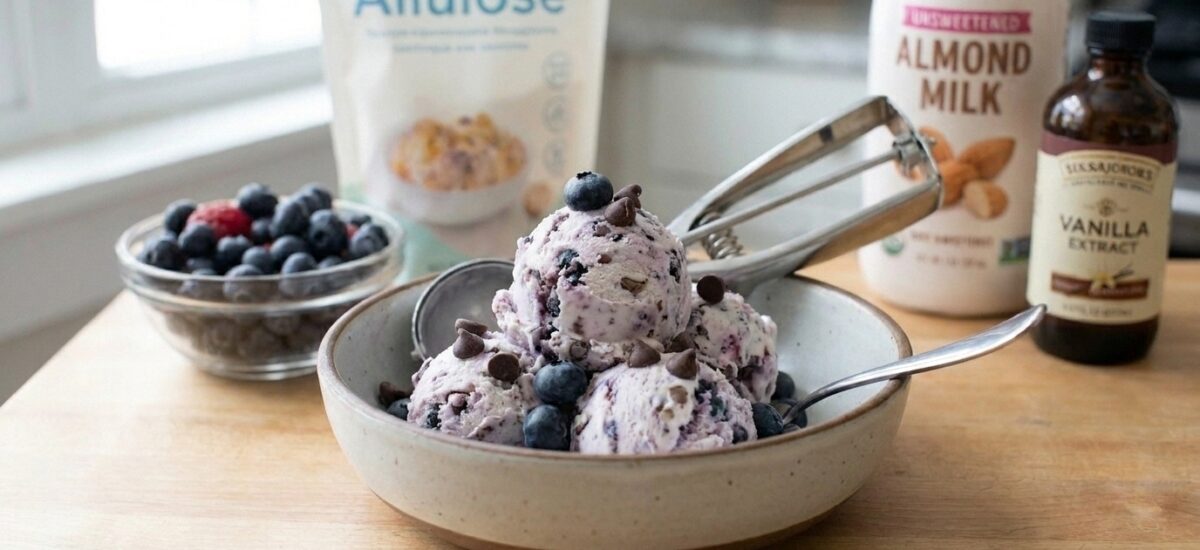
Are you craving a decadent bowl of ice cream but watching your sugar intake? Or perhaps you’ve tried making sugar-free ice cream before, only to end up with a rock-hard, unyielding block of frozen dessert? You’re not alone! Many homemade sugar-free ice cream recipes promise delight but deliver disappointment, especially when made without a machine. But fear not, because we’ve cracked the code to a truly scoopable, creamy, and utterly delicious sugar-free ice cream that requires no special equipment beyond a hand mixer and a freezer. This recipe is a game-changer for anyone on a keto, low-carb, or sugar-conscious diet.
The secret lies in understanding how sugar alternatives behave at freezing temperatures, and leveraging a specific sweetener that prevents crystallization, ensuring your ice cream remains wonderfully soft and easy to scoop straight from the freezer. Forget the frustration of waiting for your ice cream to thaw or having to chip away at it with a knife. This no-churn method simplifies the process, making homemade sugar-free indulgence accessible to everyone. Get ready to transform a few simple ingredients into your new favorite guilt-free treat!
Ingredients
For the Vanilla Base:
- 2 cups (480ml) heavy cream, cold
- 1 cup (240ml) unsweetened almond milk or coconut milk
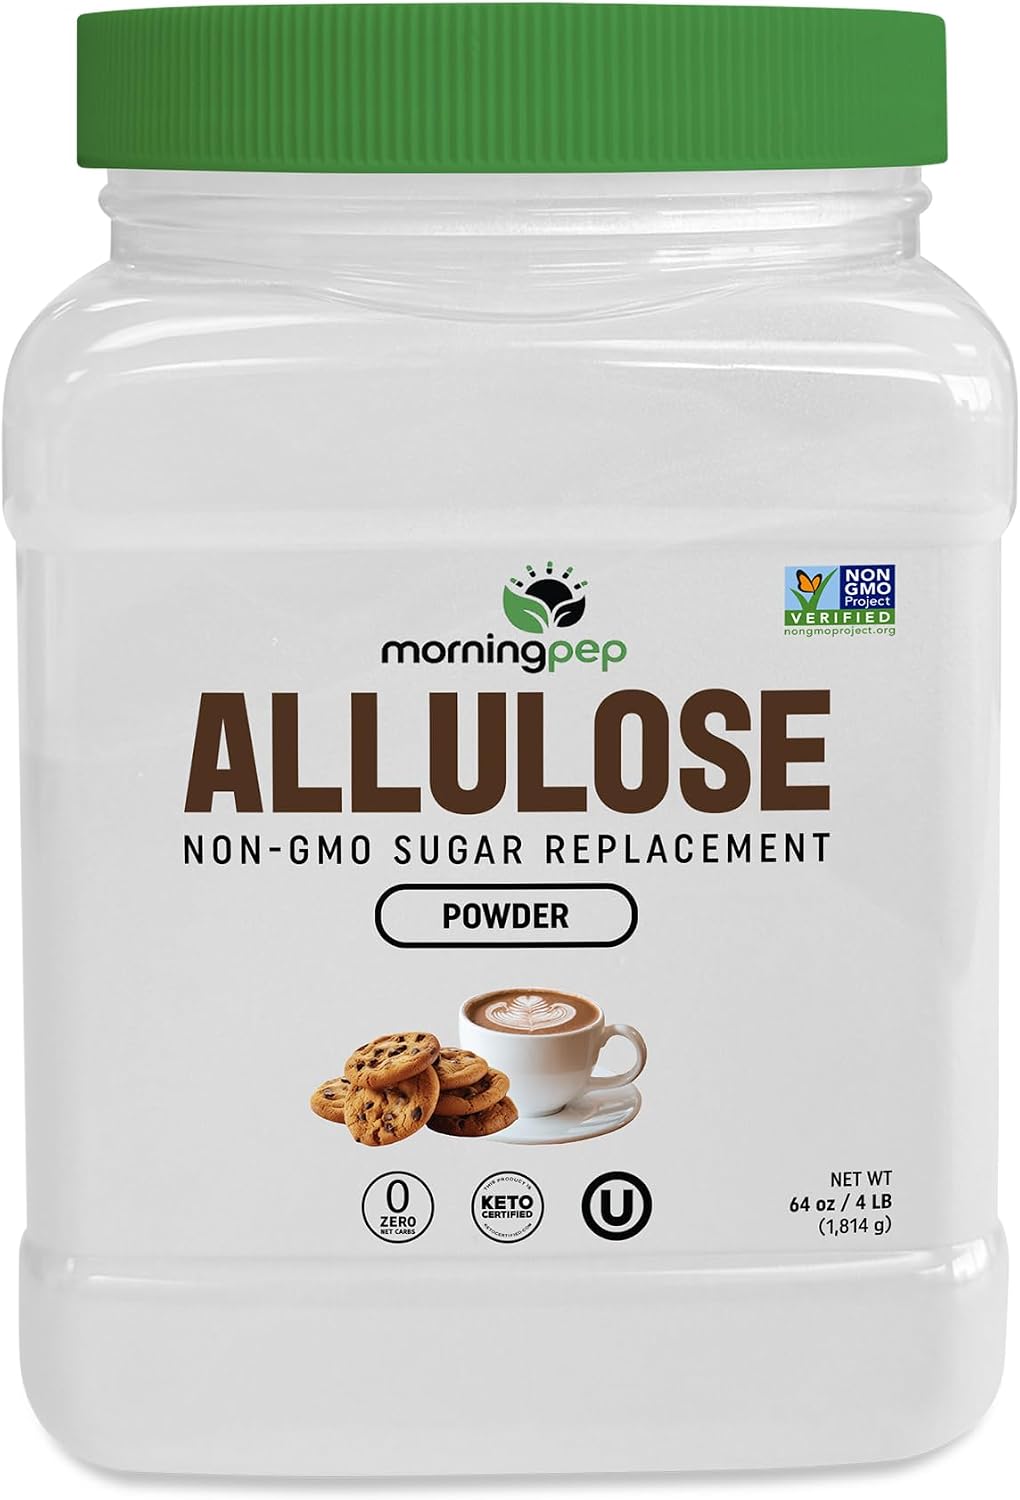
- 1/2 cup (120g) allulose (see notes for other sweeteners)
- 2 teaspoons vanilla extract
- 1/4 teaspoon xanthan gum (optional, for extra creaminess and stability)
- Pinch of salt
Optional Mix-ins & Flavorings:
- Sugar-free chocolate chips
- Cocoa powder for chocolate ice cream
- Fresh berries or chopped nuts
- Sugar-free caramel or chocolate sauce
Product Spotlight
Step-by-Step Instructions
Step 1: Prepare the Cream Mixture
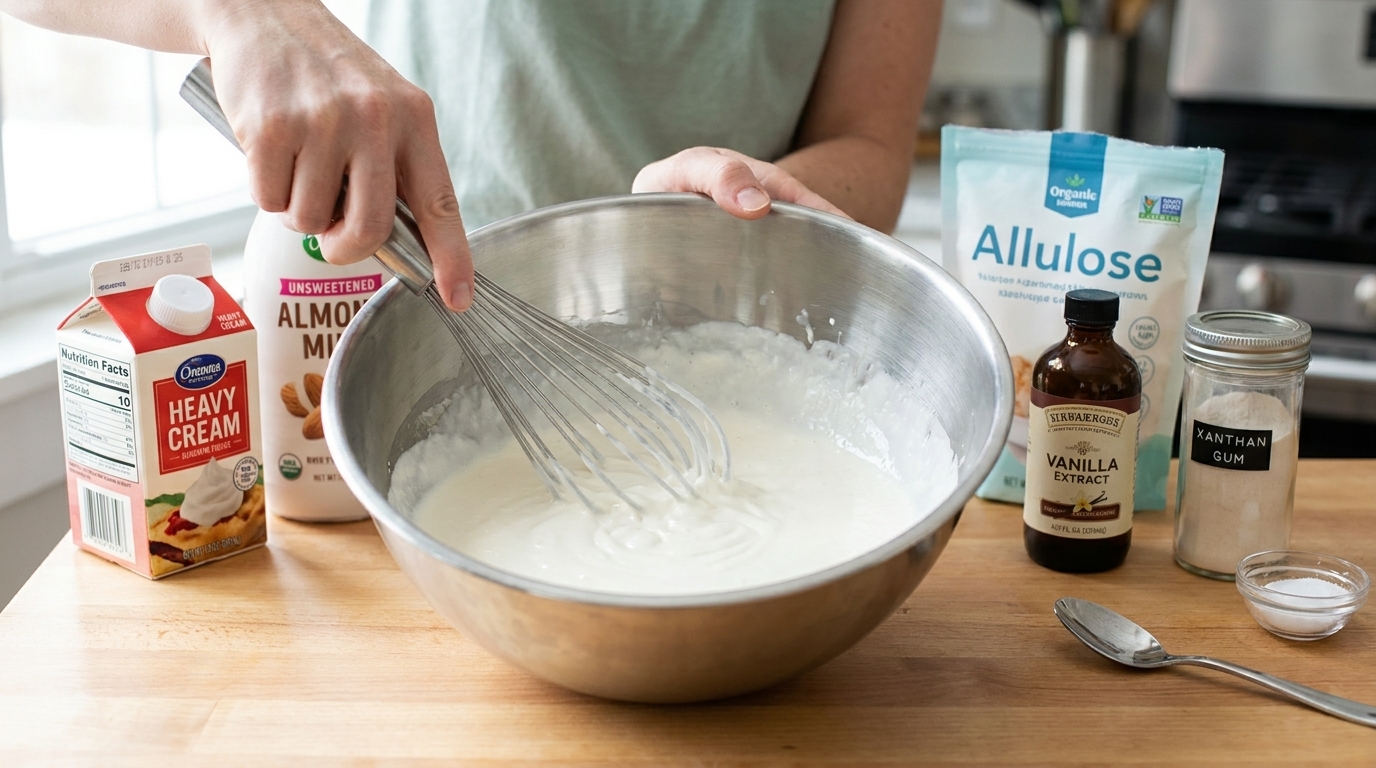
In a large mixing bowl, combine the cold heavy cream, unsweetened almond milk, allulose, vanilla extract, xanthan gum (if using), and a pinch of salt. Ensure your heavy cream is very cold, as this helps it whip up better. You can use a sturdy mixing bowl like those from the Best Stainless Steel Mixing Bowls With Lids 2025 for optimal results.
Step 2: Whip Until Thick
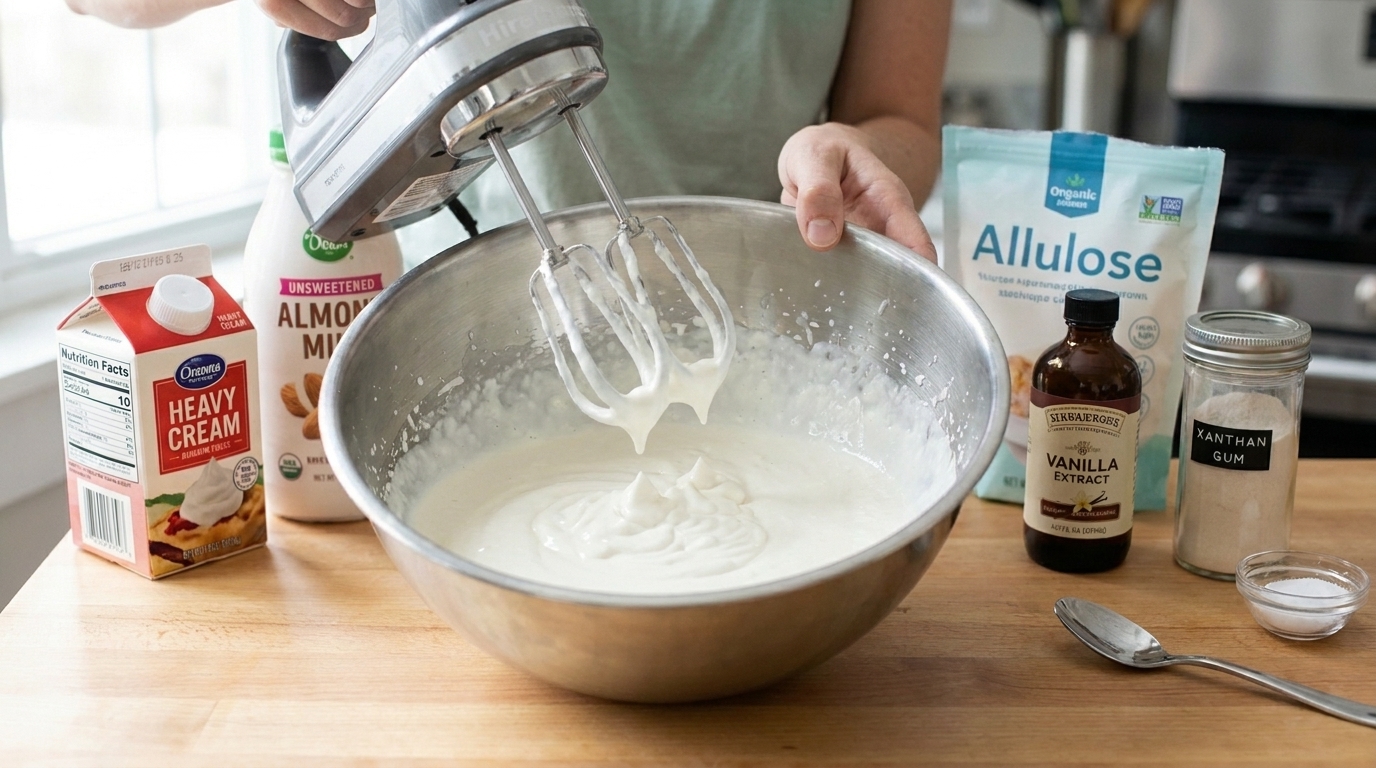
Using an electric hand mixer or a stand mixer with a whisk attachment, beat the mixture on medium-high speed until it thickens to soft peaks. This typically takes about 3-5 minutes. Be careful not to overbeat, as you don’t want to turn it into butter. The consistency should be like a thick, pourable milkshake, or a very soft whipped cream. For an even smoother base, especially if adding cocoa powder, consider using an immersion blender Best Immersion Blender to ensure allulose is fully dissolved.
Step 3: Add Flavorings (Optional)
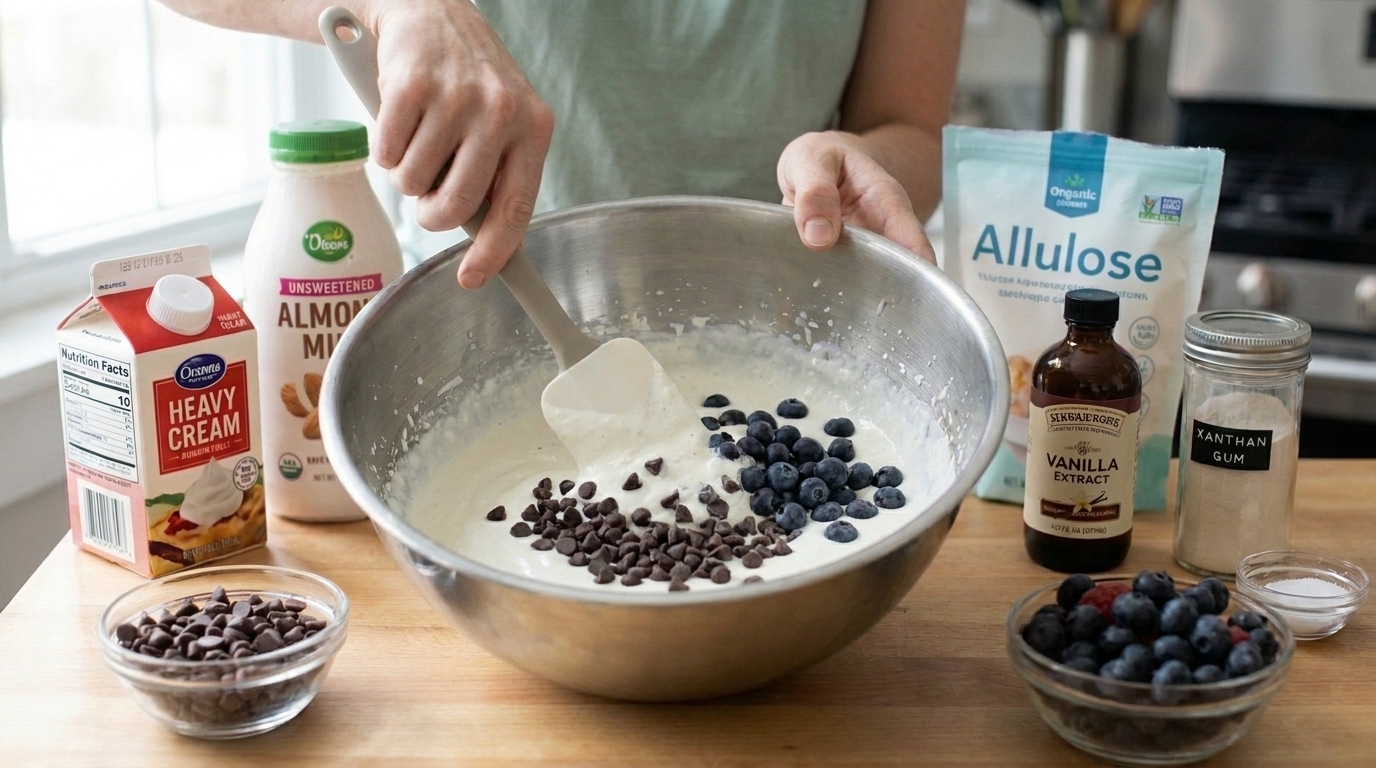
If you’re adding cocoa powder for chocolate ice cream, gently fold it in now. For other mix-ins like sugar-free chocolate chips, nuts, or berries, stir them in after the mixture has thickened. Remember that adding too many watery ingredients can affect the final texture. For more sugar-free dessert ideas, check out our Sugar Free Popsicles Recipe.
Step 4: Transfer to a Freezer-Safe Container
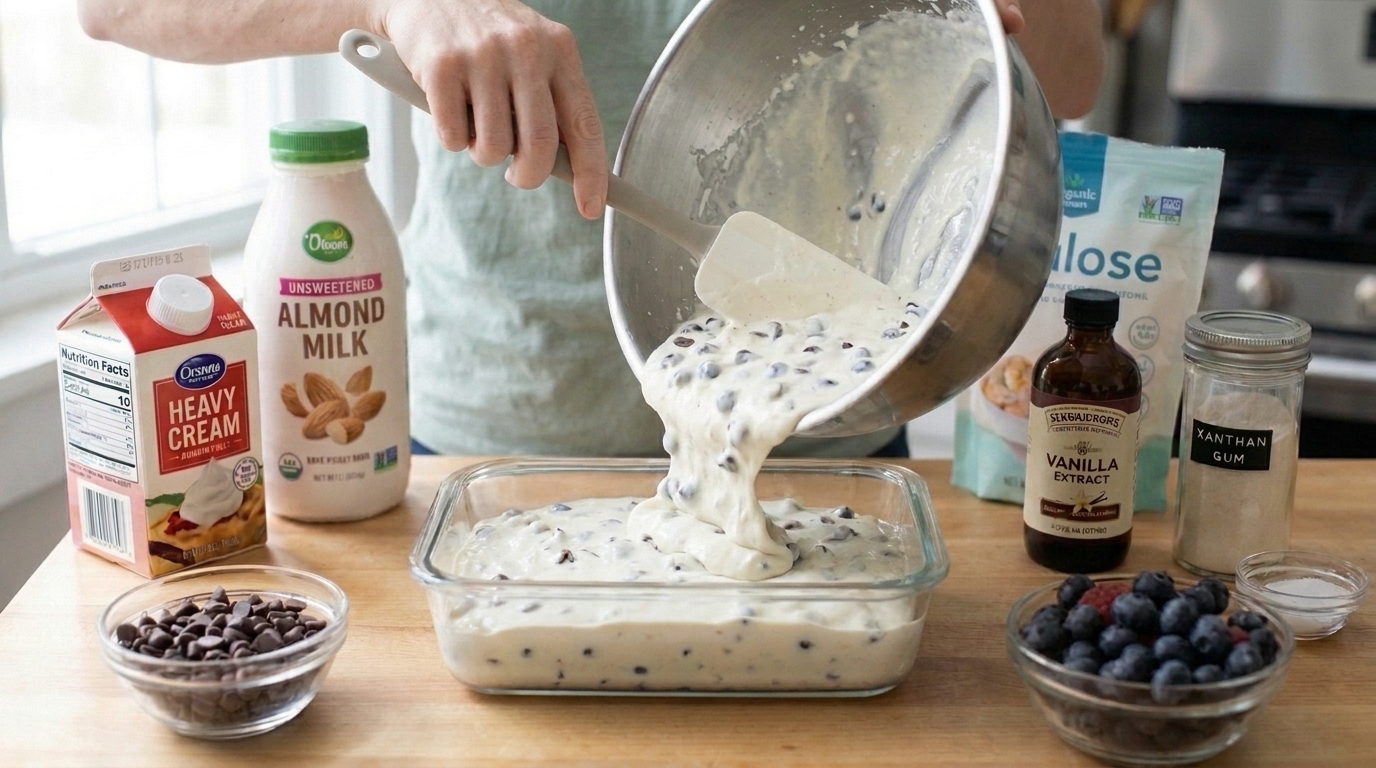
Pour the whipped ice cream base into a freezer-safe container. A shallow, wide container works best for faster freezing. For optimal storage and to prevent ice crystals, use an airtight container . Smooth the top with a spatula.
Step 5: Freeze
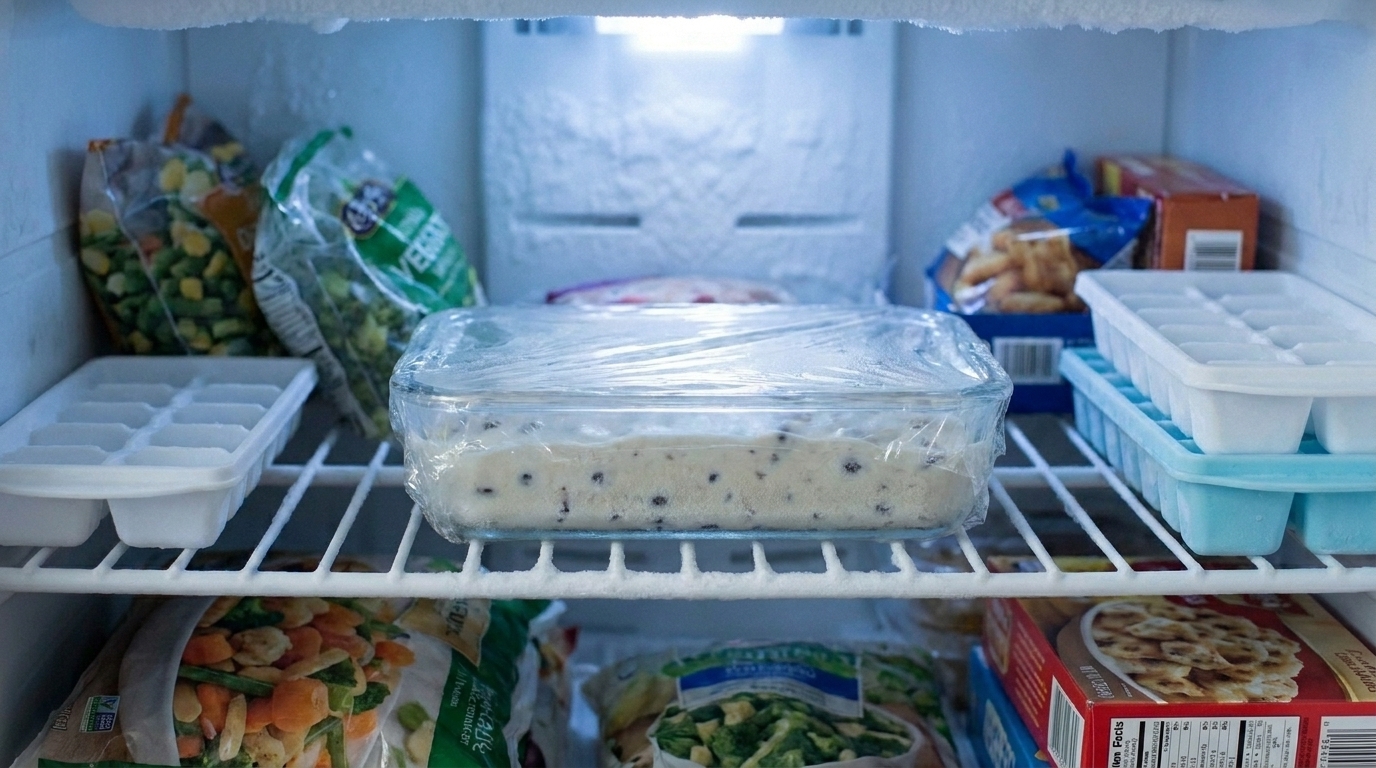
Cover the container tightly with a lid or plastic wrap and freeze for at least 4-6 hours, or until firm. For best results, freeze overnight. The unique properties of allulose, as highlighted by JacaSugar, help keep it scoopable even after extended freezing. You’ll be amazed at how easily it scoops! Many have found success with similar no-churn methods, ensuring a creamy texture without an ice cream maker, as discussed on Purely No Sugar.
Step 6: Serve and Enjoy
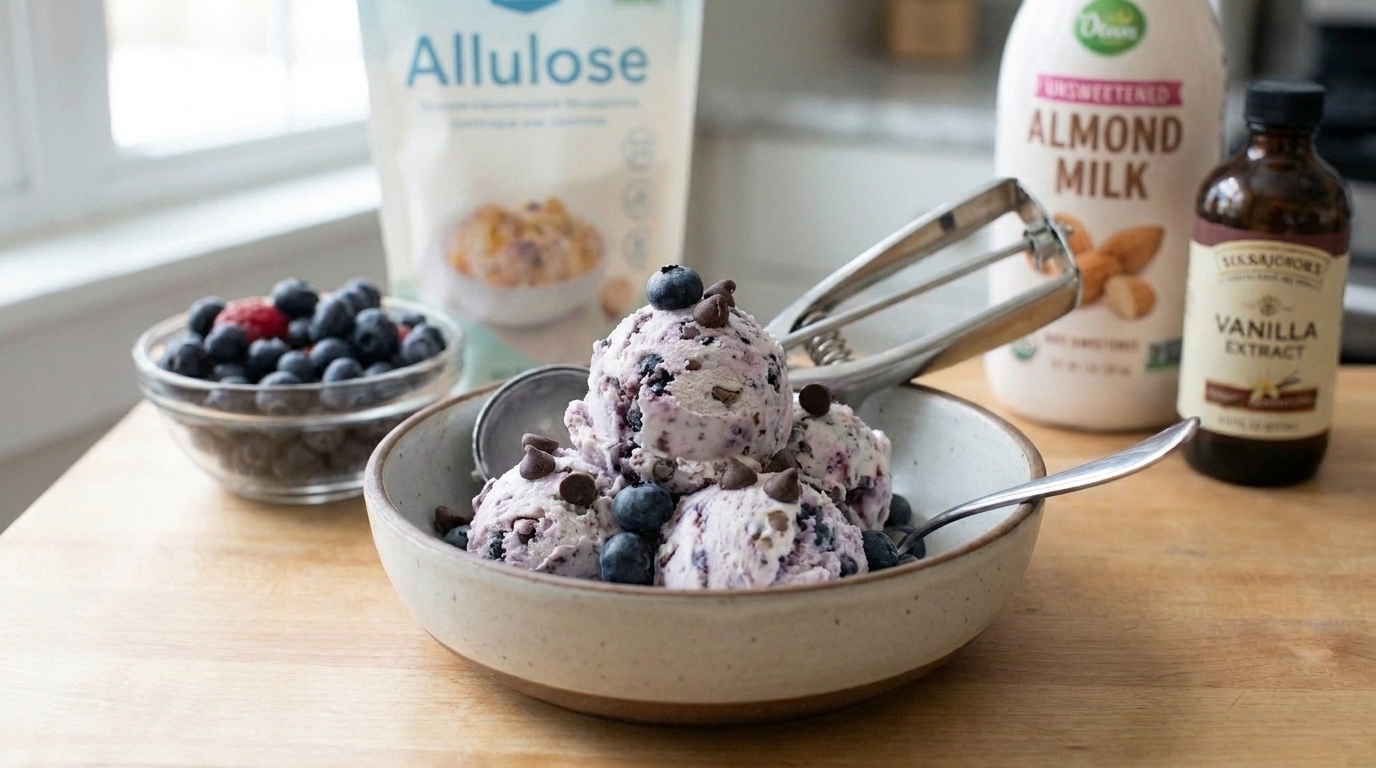
Once frozen, simply scoop and serve! Garnish with your favorite sugar-free toppings. This ice cream is designed to be scoopable right out of the freezer, offering a delightful texture every time. For more creamy, low-carb inspiration, explore other recipes like the No-Churn Sugar-Free Vanilla Ice Cream from Sugar-Free Mom.
The Secret to Perfectly Scoopable Sugar-Free Ice Cream (No Machine Needed!)
Ingredients
- 2 cups (480ml) heavy cream, cold
- 1 cup (240ml) unsweetened almond milk or coconut milk
- 1/2 cup (120g) allulose
- 2 teaspoons vanilla extract
- 1/4 teaspoon xanthan gum (optional, for extra creaminess and stability)
- Pinch of salt
Instructions
- In a large mixing bowl, combine the cold heavy cream, unsweetened almond milk, allulose, vanilla extract, xanthan gum (if using), and a pinch of salt. Ensure your heavy cream is very cold, as this helps it whip up better. You can use a sturdy mixing bowl like those from the Best Stainless Steel Mixing Bowls With Lids 2025 for optimal results.
- Using an electric hand mixer [PRODUCT_AFFILIATE_LINK_4] or a stand mixer with a whisk attachment, beat the mixture on medium-high speed until it thickens to soft peaks. This typically takes about 3-5 minutes. Be careful not to overbeat, as you don’t want to turn it into butter. The consistency should be like a thick, pourable milkshake, or a very soft whipped cream. For an even smoother base, especially if adding cocoa powder, consider using an immersion blender Best Immersion Blender to ensure allulose is fully dissolved.
- If you’re adding cocoa powder for chocolate ice cream, gently fold it in now. For other mix-ins like sugar-free chocolate chips, nuts, or berries, stir them in after the mixture has thickened. Remember that adding too many watery ingredients can affect the final texture. For more sugar-free dessert ideas, check out our Sugar Free Popsicles Recipe.
- Pour the whipped ice cream base into a freezer-safe container. A shallow, wide container works best for faster freezing. For optimal storage and to prevent ice crystals, use an airtight container [PRODUCT_AFFILIATE_LINK_5]. Smooth the top with a spatula.
- Cover the container tightly with a lid or plastic wrap and freeze for at least 4-6 hours, or until firm. For best results, freeze overnight. The unique properties of allulose, as highlighted by JacaSugar, help keep it scoopable even after extended freezing. You’ll be amazed at how easily it scoops! Many have found success with similar no-churn methods, ensuring a creamy texture without an ice cream maker, as discussed on Purely No Sugar.
- Once frozen, simply scoop and serve! Garnish with your favorite sugar-free toppings. This ice cream is designed to be scoopable right out of the freezer, offering a delightful texture every time. For more creamy, low-carb inspiration, explore other recipes like the No-Churn Sugar-Free Vanilla Ice Cream from Sugar-Free Mom.
FAQ Section
Can I use other sugar substitutes instead of allulose?
How long does this sugar-free ice cream last in the freezer?
Why is my homemade sugar-free ice cream still hard?
Can I add different flavors or mix-ins to this recipe?
Conclusion
Say goodbye to rock-hard, unappetizing sugar-free ice cream and hello to a world of creamy, scoopable delight! This no-machine recipe, powered by the unique properties of allulose, proves that healthy eating doesn’t mean sacrificing your favorite treats. Whether you’re managing blood sugar, following a keto diet, or simply looking for a healthier dessert option, this recipe delivers on taste, texture, and ease. So go ahead, whip up a batch, and indulge in a guilt-free scoop (or two!) of homemade goodness. It’s time to redefine your dessert experience.
Pin This Review For Later
Save this honest buying guide & pros/cons summary directly to your Pinterest Kitchen or Gadgets board!