
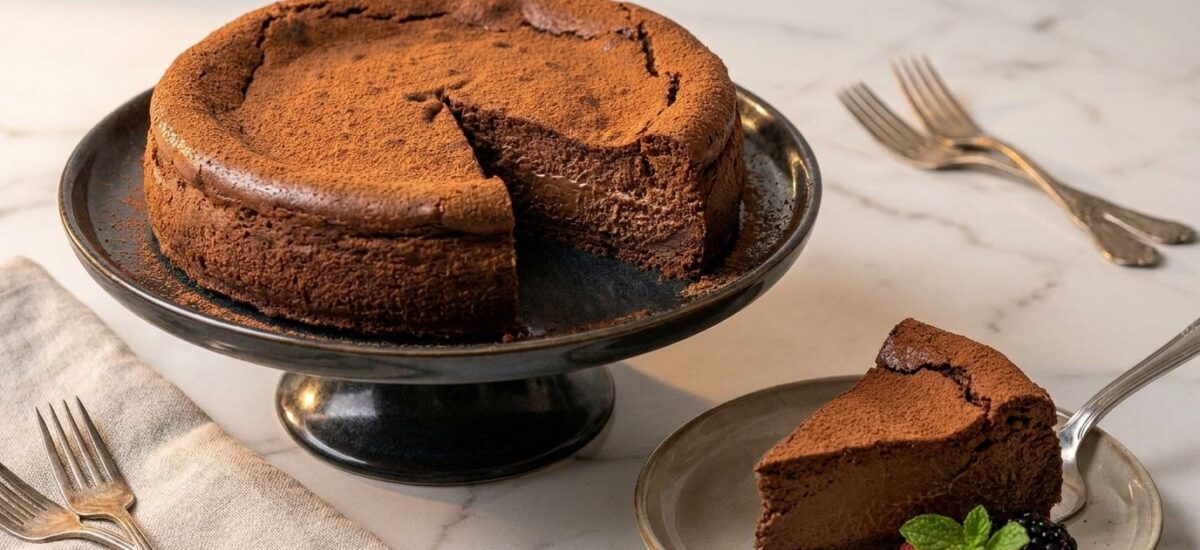
Get ready to dive into the world of viral desserts with this absolutely effortless 2-ingredient Japanese Yogurt Cheesecake! If you’ve been scrolling through social media, chances are you’ve seen this incredibly light, airy, and melt-in-your-mouth cheesecake taking over feeds. And for good reason – it’s a culinary marvel that proves you don’t need a pantry full of ingredients or hours in the kitchen to create something truly spectacular.
This recipe focuses on the two core flavor components that make this cheesecake so special: creamy Greek yogurt and sweet white chocolate. While some versions might sneak in an extra egg or two for unparalleled fluffiness (which we’ll include for the best texture!), the essence remains incredibly simple. The result is a cheesecake that’s less dense than its New York counterpart, offering a delicate, jiggly texture and a subtle tang that perfectly balances the sweetness. It’s the perfect dessert for impressing guests or simply treating yourself with minimal fuss.
Forget complicated water baths or elaborate preparations. This recipe is designed for ease, making it accessible for even the most novice bakers. We’ll guide you through each step to ensure your Japanese Yogurt Cheesecake turns out perfectly light, impossibly fluffy, and utterly delicious every single time. Let’s get baking!
Ingredients
- 200g (7 oz) Full-fat Greek Yogurt
- 200g (7 oz) White Chocolate, chopped
- 3 large Eggs, separated
- Optional: A pinch of cream of tartar (for stabilizing egg whites)
- Optional: Powdered sugar for dusting
Product Spotlight
Step-by-Step Instructions
Step 1: Prepare Your Pan and Preheat Oven
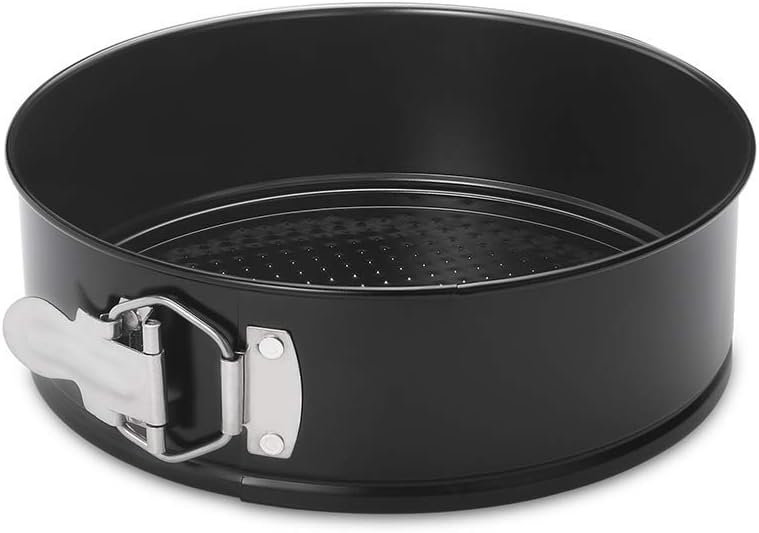
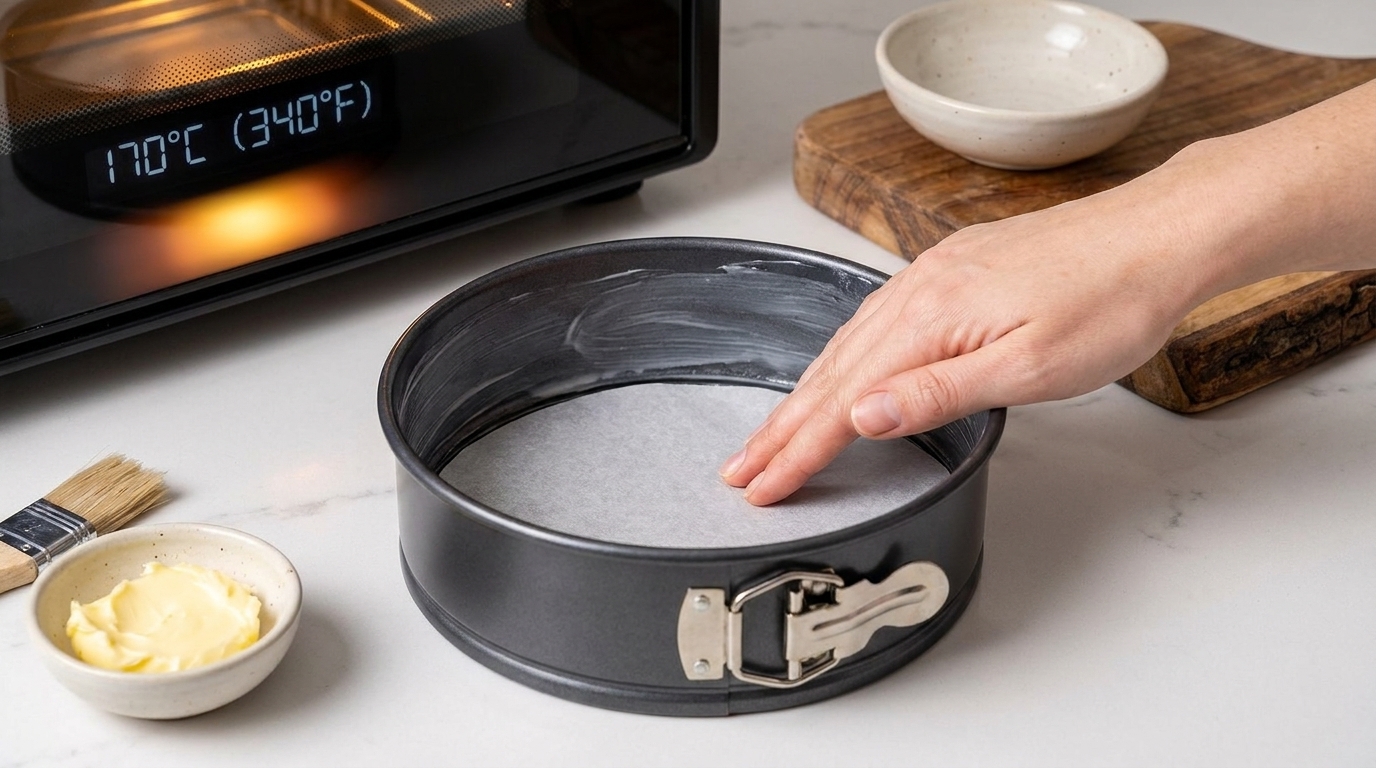
Preheat your oven to 170°C (340°F). Lightly grease and line the bottom of a 6-inch (15 cm) springform pan with parchment paper. If you don’t have a springform pan, a regular cake pan will work, just ensure it’s well-lined. For best results, consider using a good quality nonstick springform pan like this one: .
Step 2: Melt the White Chocolate
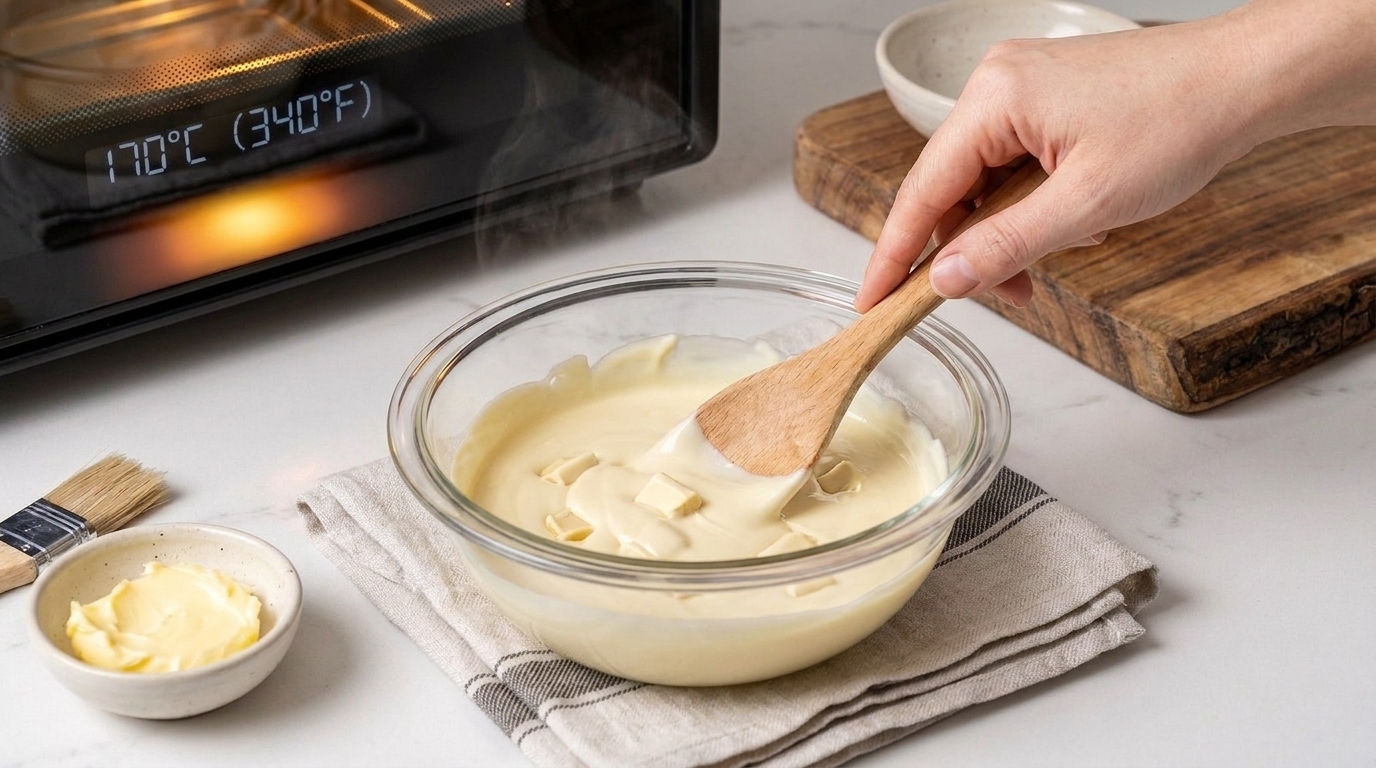
In a heatproof bowl, melt the chopped white chocolate. You can do this over a double boiler or in the microwave in 30-second intervals, stirring until smooth. Be careful not to overheat the chocolate. Once melted, set aside to cool slightly.
Step 3: Combine Yogurt and Egg Yolks
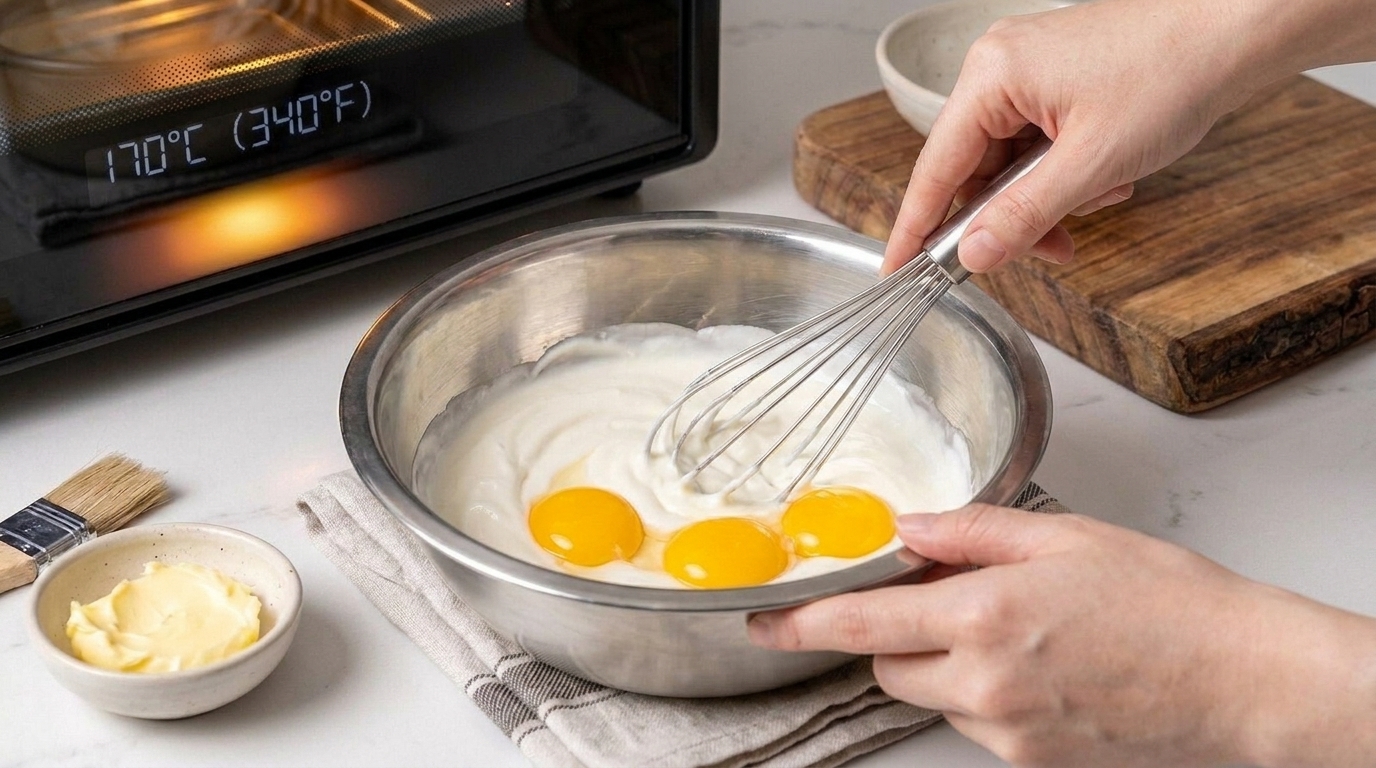
In a large mixing bowl, whisk together the full-fat Greek yogurt and the three egg yolks until smooth and well combined. This is a crucial step for achieving a uniform texture. For easy mixing, a durable set of stainless steel mixing bowls is always handy: .
Step 4: Incorporate Melted Chocolate
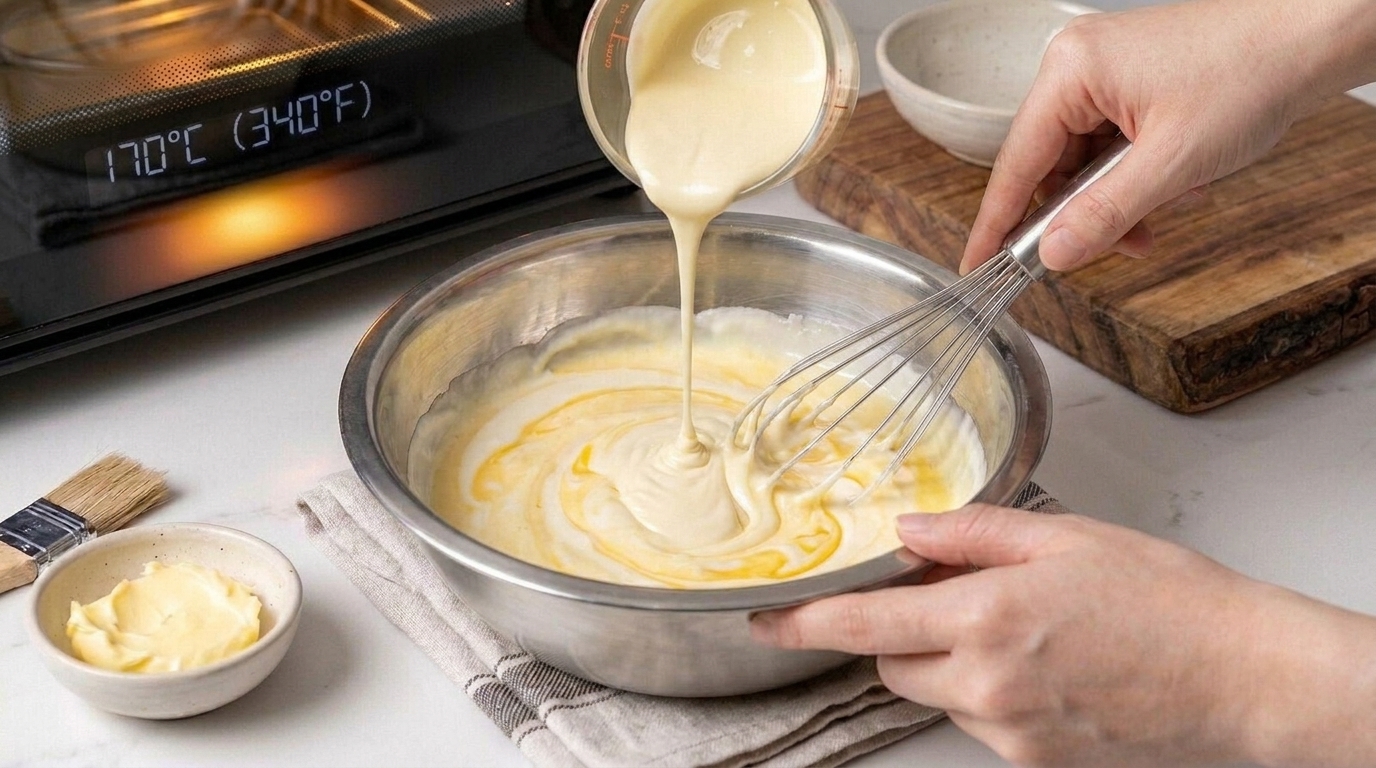
Gradually add the slightly cooled melted white chocolate to the yogurt and egg yolk mixture, stirring continuously until fully incorporated and smooth. Ensure there are no lumps.
Step 5: Whip Egg Whites
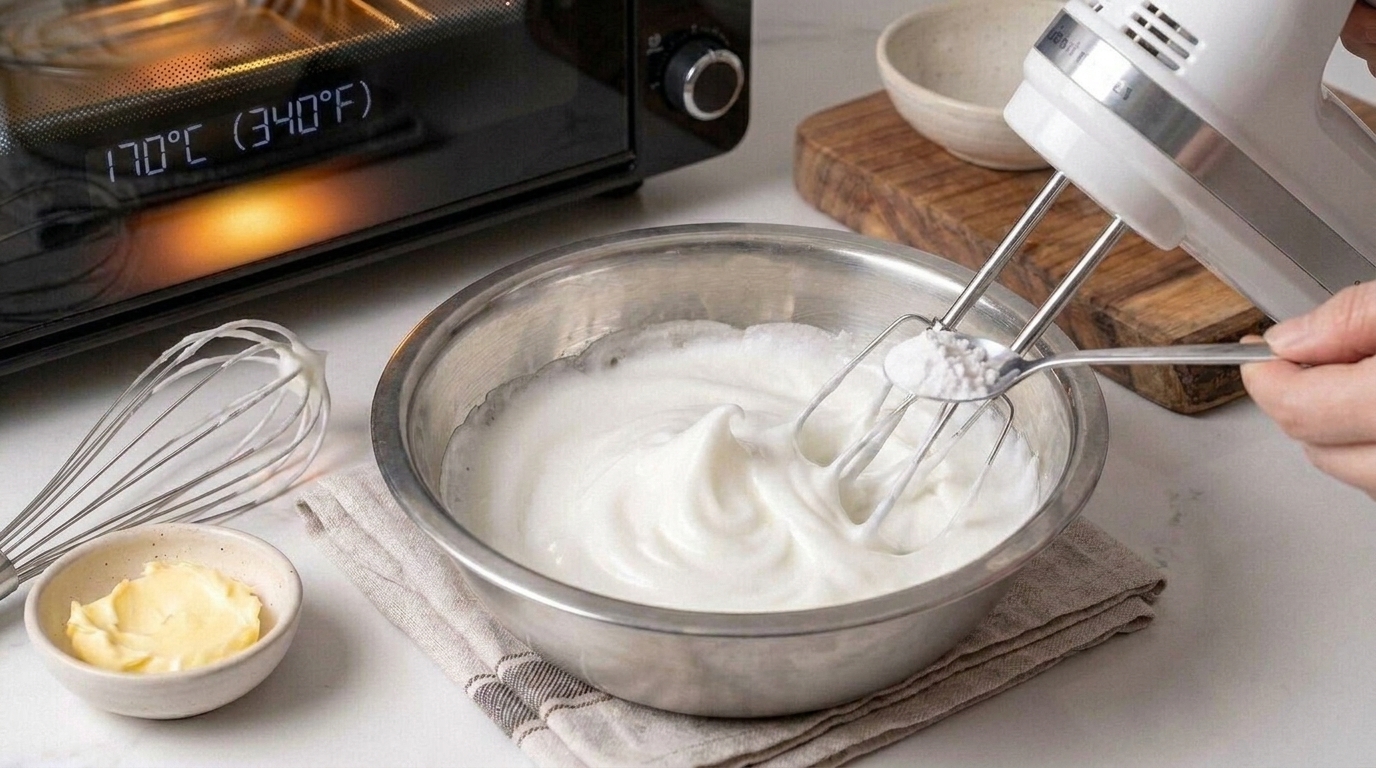
In a separate, clean bowl, whip the egg whites until stiff peaks form. If desired, add a pinch of cream of tartar to help stabilize the egg whites. For perfectly whipped egg whites every time, an electric hand mixer can be a real time-saver: .
Step 6: Gently Fold Egg Whites into Batter
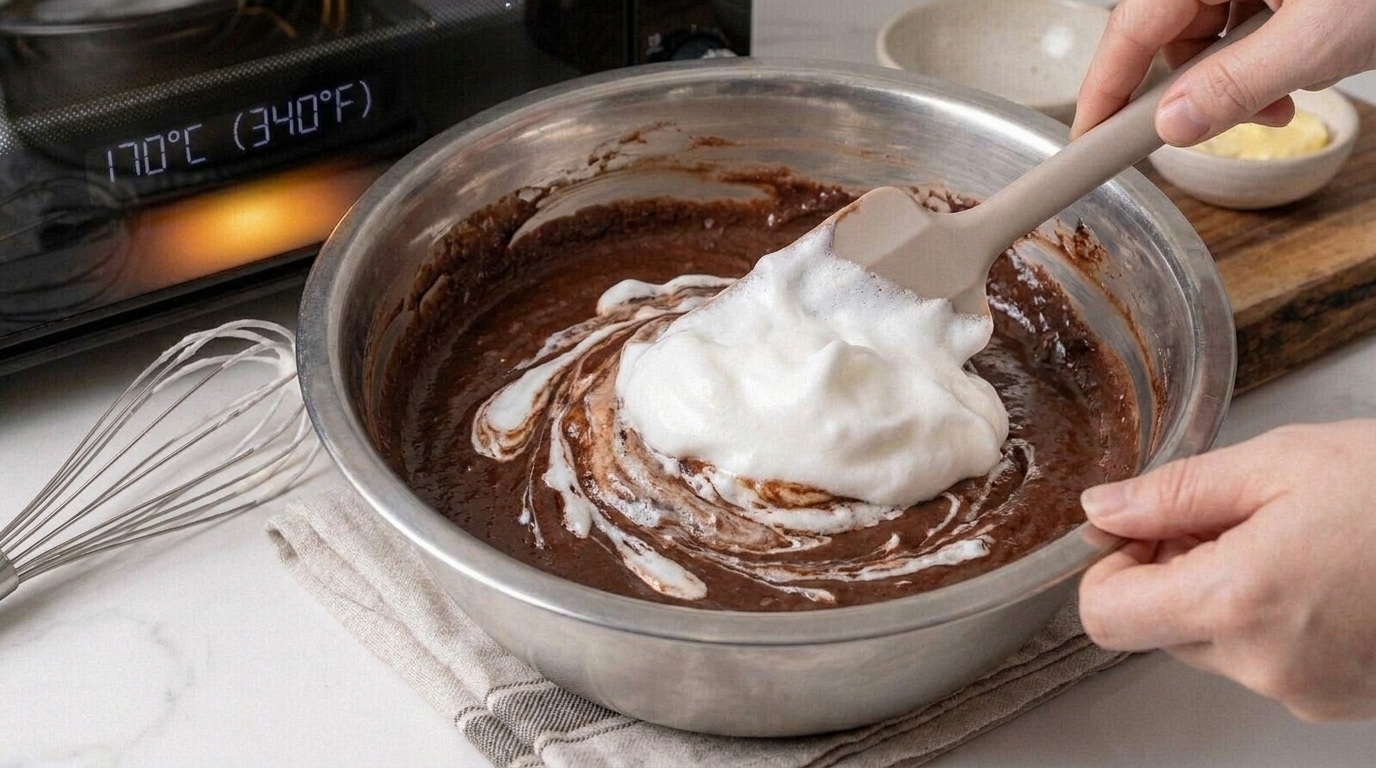
Carefully fold the whipped egg whites into the yogurt and chocolate mixture in two or three additions. Be gentle to maintain as much air as possible, which is key to the cheesecake’s fluffy texture.
Step 7: Bake the Cheesecake
Pour the batter into your prepared springform pan. Bake for 45-50 minutes, or until the top is golden brown and the cheesecake is set but still slightly jiggly in the center. Every oven is different, so an oven thermometer can help ensure accuracy.
Step 8: Cool and Chill
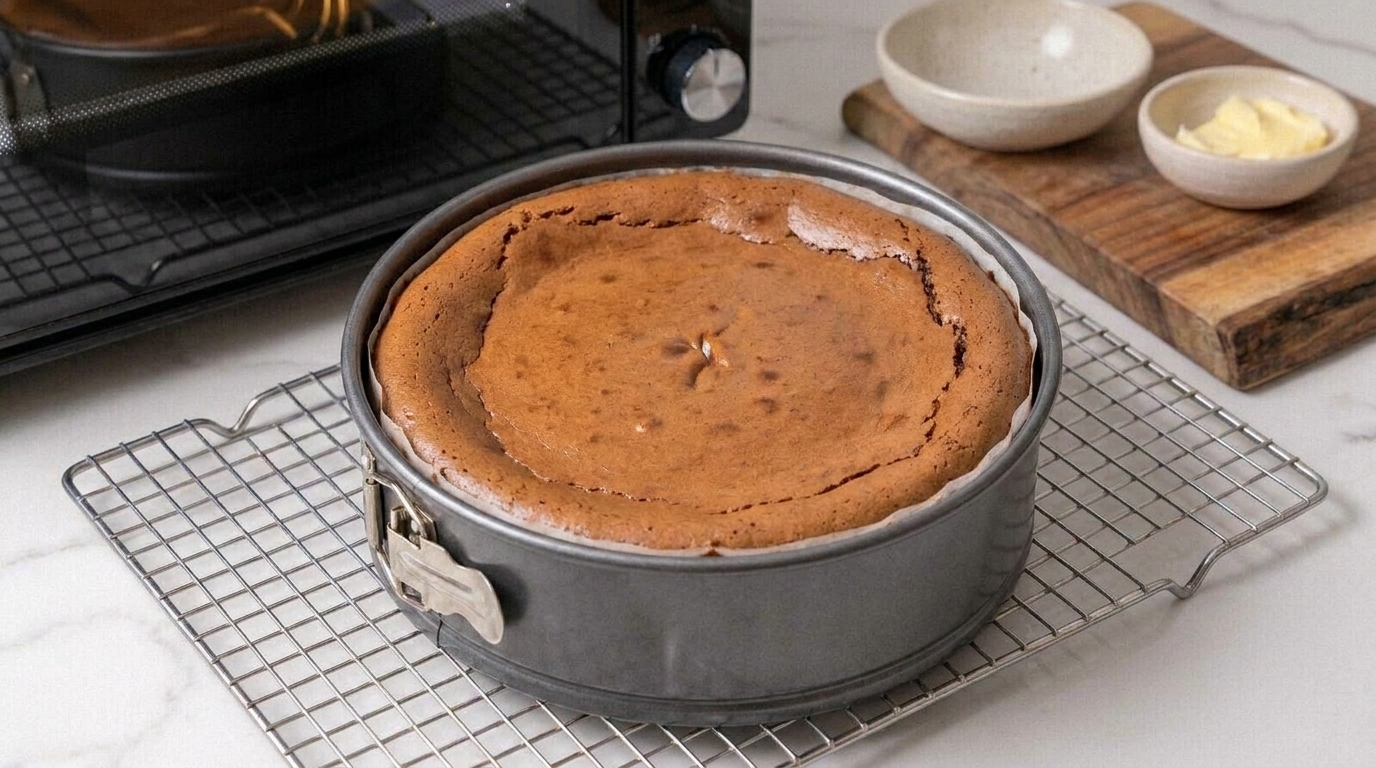
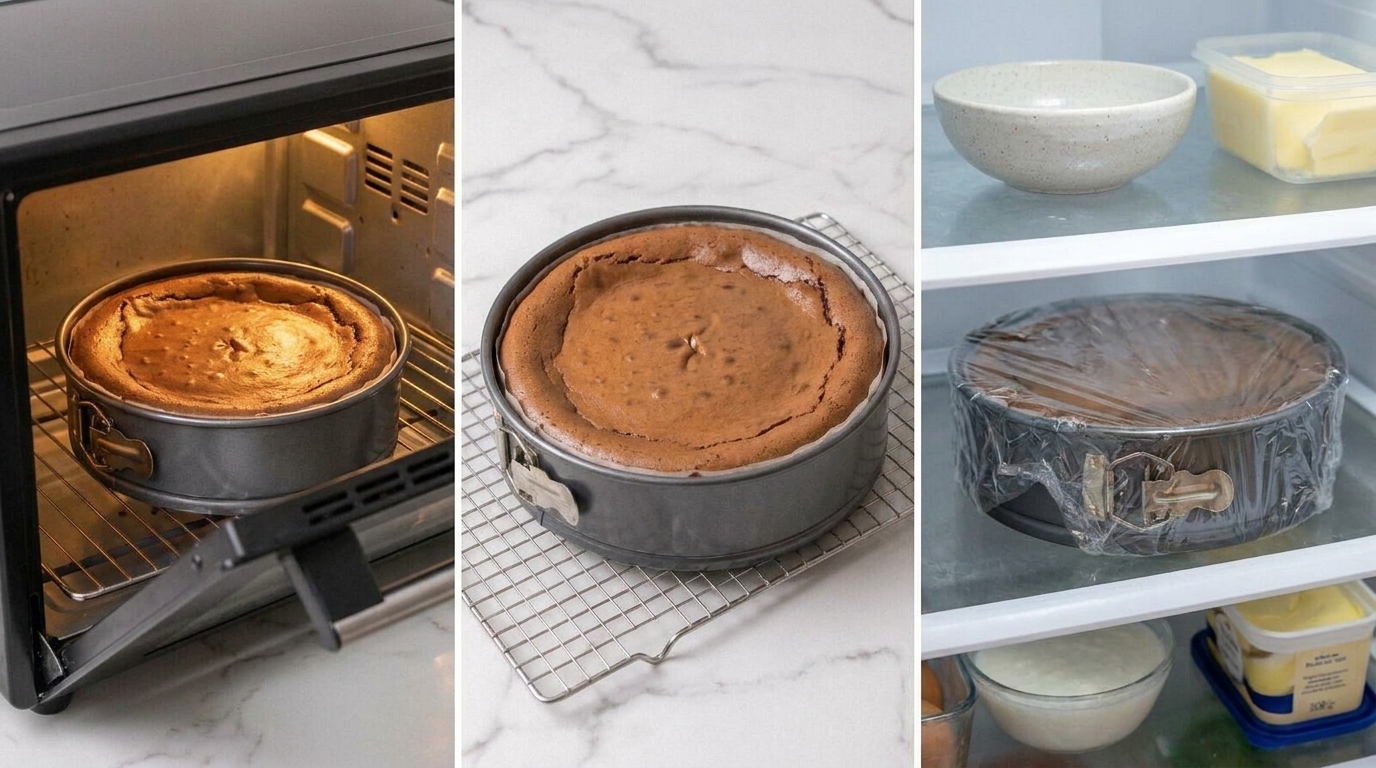
Once baked, turn off the oven and leave the cheesecake inside with the door ajar for about 15-20 minutes to prevent cracking. Then, remove it from the oven, let it cool completely at room temperature, and finally, chill in the refrigerator for at least 3-4 hours, or preferably overnight, before serving. Line with fresh parchment paper for easy removal.
Effortless 2-Ingredient Japanese Yogurt Cheesecake: Light, Fluffy, and Viral!
Ingredients
- 200g (7 oz) Full-fat Greek Yogurt
- 200g (7 oz) White Chocolate, chopped
- 3 large Eggs, separated
- Optional: A pinch of cream of tartar
- Optional: Powdered sugar for dusting
Instructions
- Preheat your oven to 170°C (340°F). Lightly grease and line the bottom of a 6-inch (15 cm) springform pan with parchment paper. If you don’t have a springform pan, a regular cake pan will work, just ensure it’s well-lined.
- In a heatproof bowl, melt the chopped white chocolate. You can do this over a double boiler or in the microwave in 30-second intervals, stirring until smooth. Be careful not to overheat the chocolate. Once melted, set aside to cool slightly.
- In a large mixing bowl, whisk together the full-fat Greek yogurt and the three egg yolks until smooth and well combined. This is a crucial step for achieving a uniform texture.
- Gradually add the slightly cooled melted white chocolate to the yogurt and egg yolk mixture, stirring continuously until fully incorporated and smooth. Ensure there are no lumps.
- In a separate, clean bowl, whip the egg whites until stiff peaks form. If desired, add a pinch of cream of tartar to help stabilize the egg whites.
- Carefully fold the whipped egg whites into the yogurt and chocolate mixture in two or three additions. Be gentle to maintain as much air as possible, which is key to the cheesecake’s fluffy texture. For more baking tips, visit Sally’s Baking Addiction.
- Pour the batter into your prepared springform pan. Bake for 45-50 minutes, or until the top is golden brown and the cheesecake is set but still slightly jiggly in the center. For general baking guidance, AllRecipes is a great resource.
- Once baked, turn off the oven and leave the cheesecake inside with the door ajar for about 15-20 minutes to prevent cracking. Then, remove it from the oven, let it cool completely at room temperature, and finally, chill in the refrigerator for at least 3-4 hours, or preferably overnight, before serving. For more dessert ideas, explore Food Network Recipes or BBC Good Food Recipes.
FAQ Section
Can I use low-fat yogurt for this recipe?
Do I need a water bath for this cheesecake?
How long does this cheesecake last?
Conclusion
This Effortless 2-Ingredient Japanese Yogurt Cheesecake is a testament to the fact that culinary magic doesn’t require complexity. With just a few simple ingredients and a little care, you can create a dessert that is both stunningly light and incredibly delicious. It’s the perfect recipe to add to your repertoire for those moments when you crave something sweet, sophisticated, and surprisingly easy. We hope you enjoy making (and devouring!) this viral sensation. Happy baking!
Pin This Review For Later
Save this honest buying guide & pros/cons summary directly to your Pinterest Kitchen or Gadgets board!