
Quick Expert Answer
The Secret to a Perfect Krispy Kreme Glaze: Exact Ratios for that Iconic Set delivers consistent restaurant-quality results at home by controlling exact ingredient ratios, heat transitions, and proper resting or emulsification temperatures. Following weight-based measurements and calibrated cooking temperatures prevents common texture failures and locks in peak flavor. (For another reader favorite, check out our Krispy Kreme Original Glazed Doughnut Recipe: Unlock the Secret to That Impossibly Light Texture.)
Affiliate Disclosure: This post may contain affiliate links. If you make a purchase through these links, we may earn a commission at no extra cost to you. For more information, please see our affiliate disclosure.
Ingredients
- 4 cups (450g) powdered sugar (confectioners’ sugar), sifted
- 1/2 cup (120ml) whole milk, warmed slightly
- 1 teaspoon pure vanilla extract
- 1/4 teaspoon salt
Product Spotlight

Non-Stick Wire Cooling Rack
$14.50Carbon Steel with Non-Stick Coating finish. 10 x 15 inches dimensions.
Buy on AmazonStep-by-Step Instructions
Step 1: Sift the Powdered Sugar
Begin by sifting your powdered sugar into a large mixing bowl. This crucial step eliminates any lumps, ensuring a perfectly smooth and uniform glaze. Don’t skip this, as it’s key to achieving that signature Krispy Kreme texture. You can use a fine-mesh sieve or a dedicated powdered sugar sifter for best results. A good quality sifter makes this process quick and easy. (If you enjoy this topic, you may also love Dave's Hot Chicken Sauce – Exact Copycat with Full Spice Ratios Recipe....)

Step 2: Combine Wet Ingredients
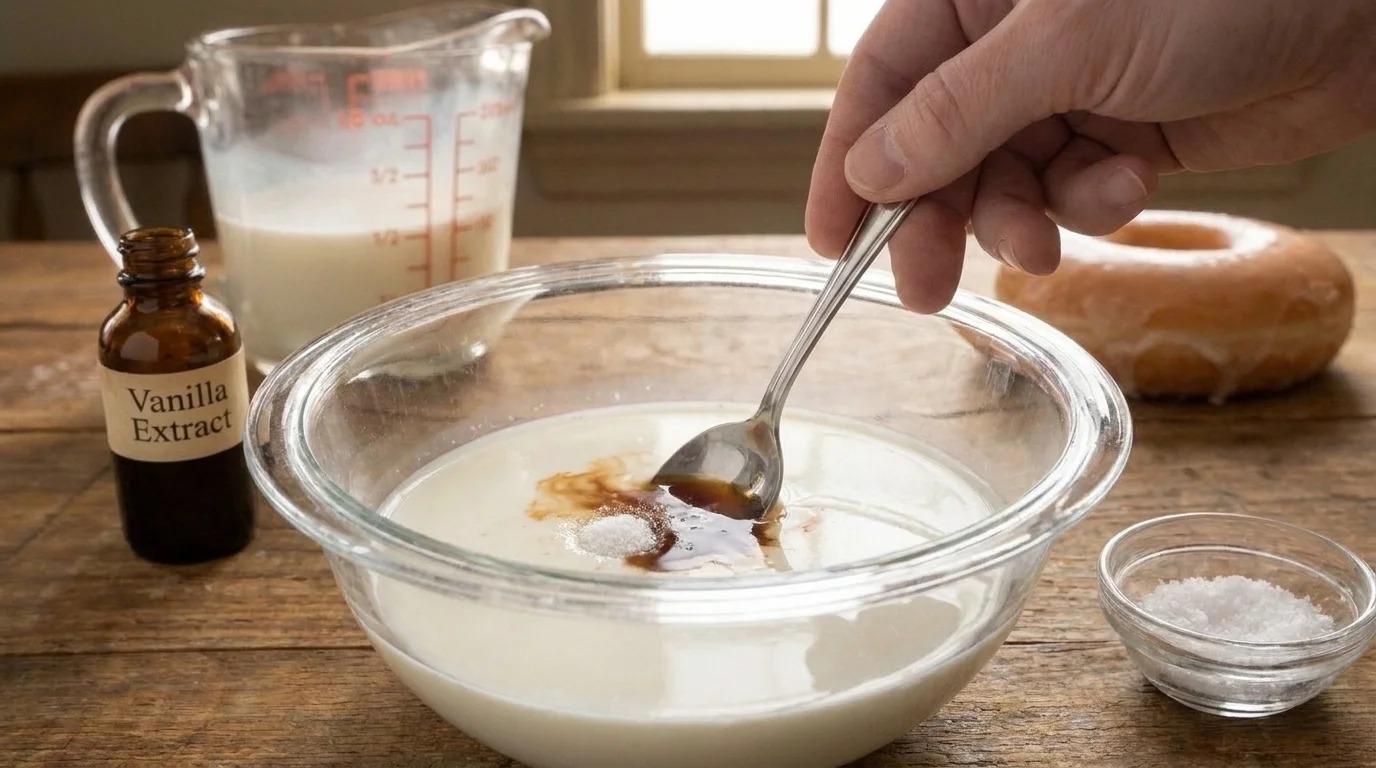
In a separate small bowl, gently warm the whole milk until it’s lukewarm (not hot). Stir in the pure vanilla extract and a pinch of salt. The warmth of the milk helps the sugar dissolve smoothly, contributing to the glaze’s desired consistency and shine. Make sure the milk isn’t too hot, as this can cause the glaze to become too thin. (Pair this with our step-by-step guide to The Secret to Perfectly Scoopable Sugar-Free Ice Cream (No Machine Needed!).)
Step 3: Mix to Perfect Consistency
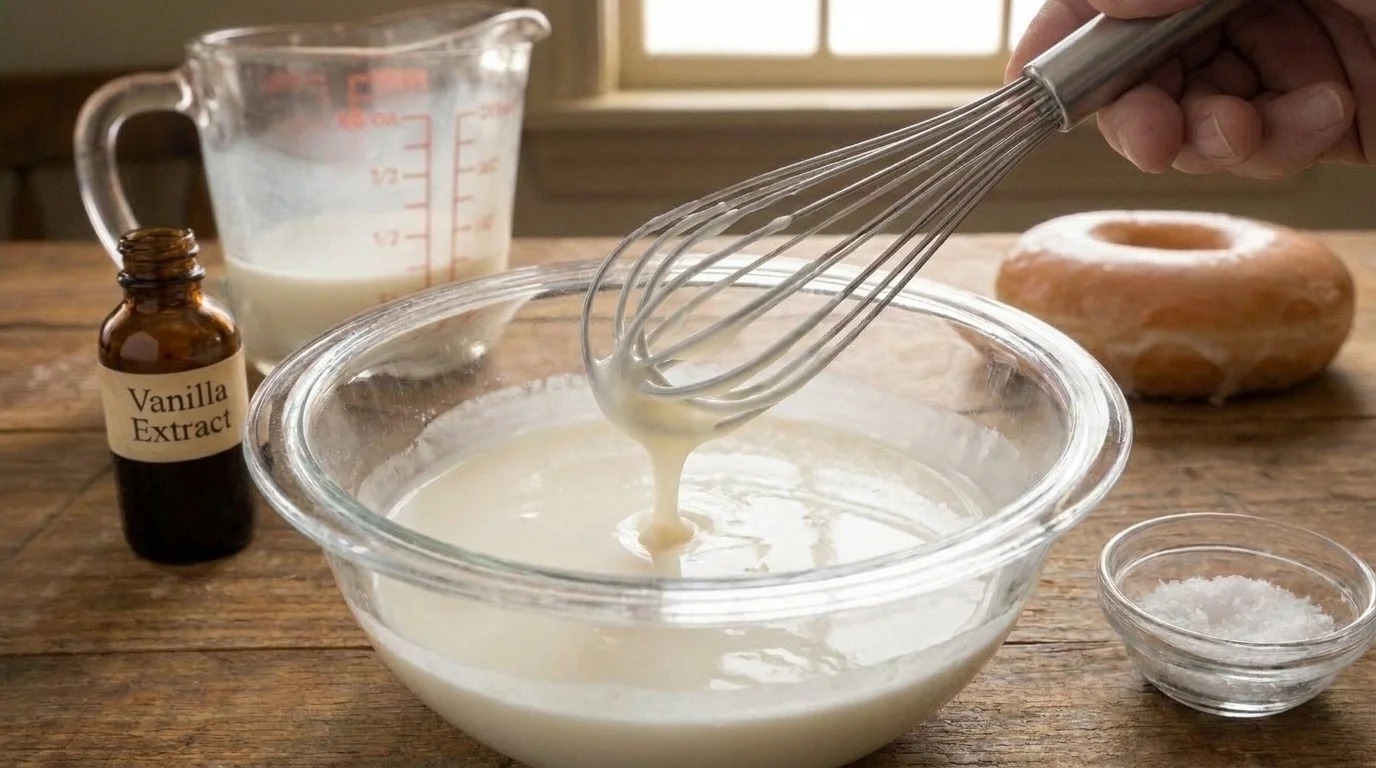
Gradually pour the warm milk mixture into the sifted powdered sugar, whisking continuously. Start with about half the milk, then add more slowly until you reach a smooth, pourable consistency that is thick enough to coat a spoon but still drips easily. A sturdy whisk is essential here to prevent lumps. If the glaze is too thick, add a tiny bit more warm milk; if too thin, sift in another tablespoon of powdered sugar. (For more kitchen inspiration, explore Outback Steakhouse Blooming Onion Sauce — Full Recipe With the Exact Spice Ratios.)
Step 4: Glaze Your Donuts
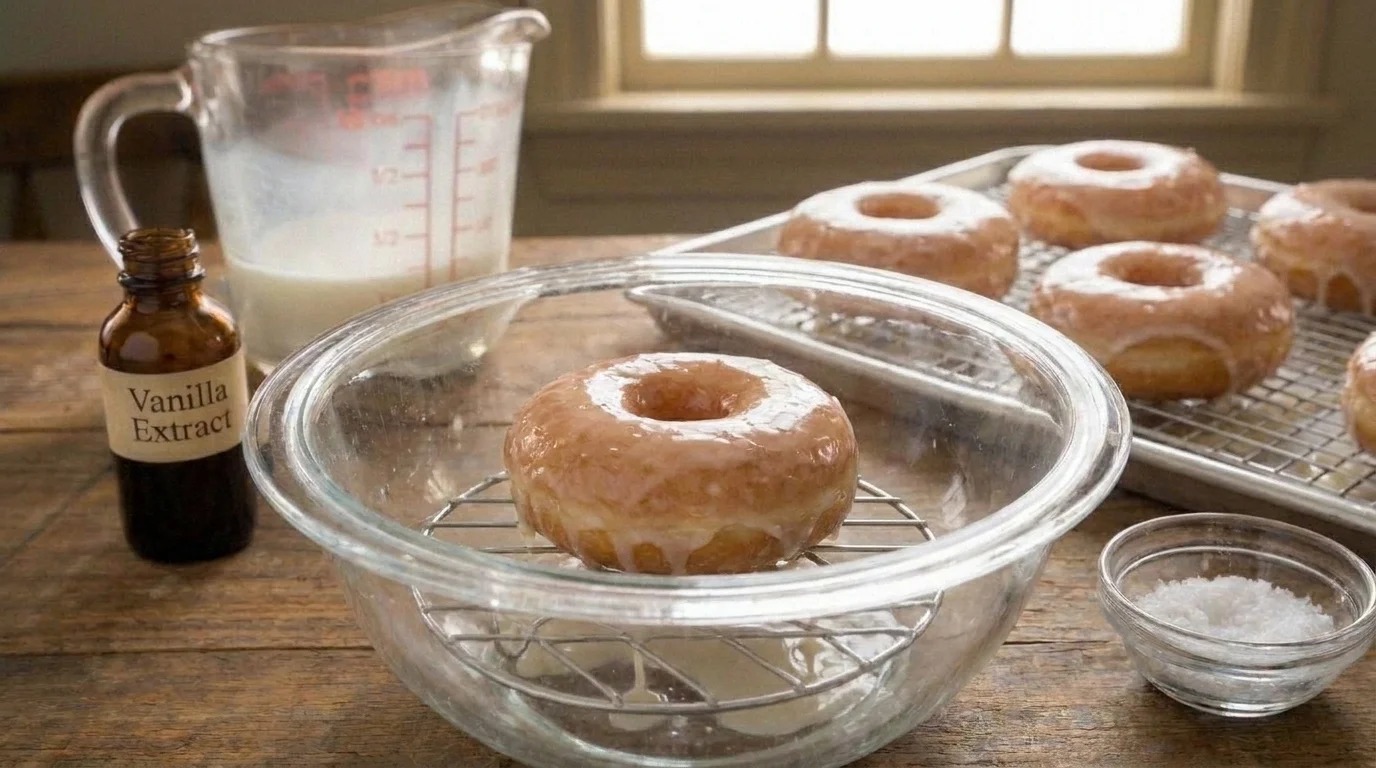
Once your donuts are freshly fried or baked and still warm (but not hot), it’s time to glaze! Dip each donut quickly into the glaze, ensuring it’s fully coated. The warmth of the donut helps the glaze adhere beautifully and begin to set immediately. For best results, use a wide, shallow bowl for dipping. (See also our complete culinary breakdown on Digital Kitchen Scales for Accurate Baking: Your Secret to Perfect Results.)

Step 5: Allow to Set
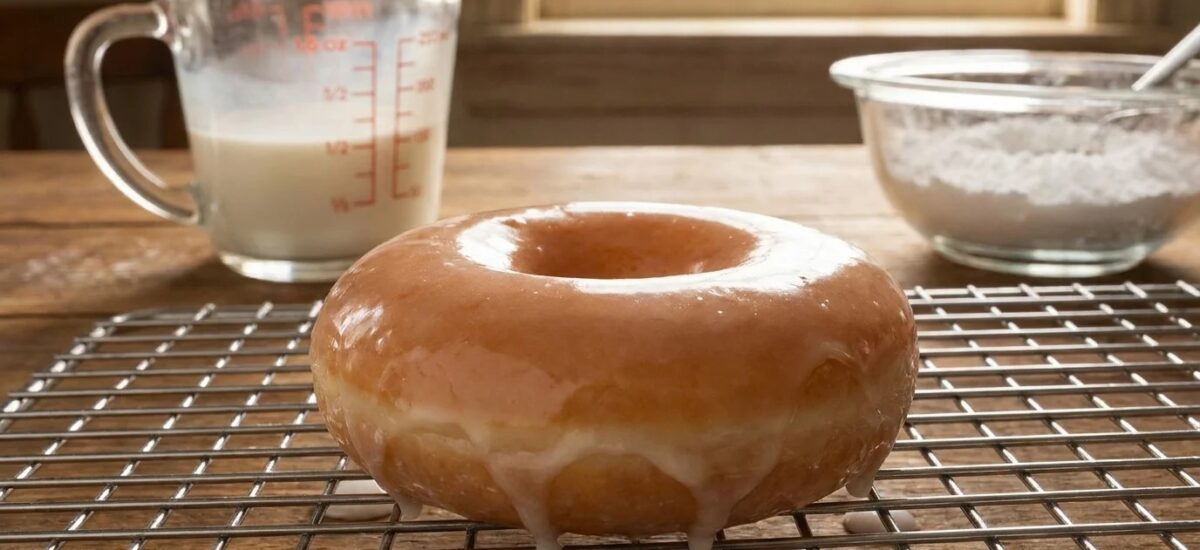
Place the glazed donuts on a wire cooling rack set over a baking sheet. This allows any excess glaze to drip off and ensures proper air circulation, which is vital for the glaze to set quickly and develop that characteristic slightly firm, crackly shell. The glaze should set within minutes, leaving you with perfectly shiny, irresistible donuts.
The Secret to a Perfect Krispy Kreme Glaze: Exact Ratios for that Iconic Set
Ingredients
- 4 cups (450g) powdered sugar (confectioners’ sugar), sifted
- 1/2 cup (120ml) whole milk, warmed slightly
- 1 teaspoon pure vanilla extract
- 1/4 teaspoon salt
Instructions
- Begin by sifting your powdered sugar into a large mixing bowl. This crucial step eliminates any lumps, ensuring a perfectly smooth and uniform glaze. Don’t skip this, as it’s key to achieving that signature Krispy Kreme texture. You can use a fine-mesh sieve or a dedicated powdered sugar sifter for best results. A good quality sifter makes this process quick and easy.
- In a separate small bowl, gently warm the whole milk until it’s lukewarm (not hot). Stir in the pure vanilla extract and a pinch of salt. The warmth of the milk helps the sugar dissolve smoothly, contributing to the glaze’s desired consistency and shine. Make sure the milk isn’t too hot, as this can cause the glaze to become too thin.
- Gradually pour the warm milk mixture into the sifted powdered sugar, whisking continuously. Start with about half the milk, then add more slowly until you reach a smooth, pourable consistency that is thick enough to coat a spoon but still drips easily. A sturdy whisk is essential here to prevent lumps. If the glaze is too thick, add a tiny bit more warm milk; if too thin, sift in another tablespoon of powdered sugar.
- Once your donuts are freshly fried or baked and still warm (but not hot), it’s time to glaze! Dip each donut quickly into the glaze, ensuring it’s fully coated. The warmth of the donut helps the glaze adhere beautifully and begin to set immediately. For best results, use a wide, shallow bowl for dipping.
- Place the glazed donuts on a wire cooling rack set over a baking sheet. This allows any excess glaze to drip off and ensures proper air circulation, which is vital for the glaze to set quickly and develop that characteristic slightly firm, crackly shell. The glaze should set within minutes, leaving you with perfectly shiny, irresistible donuts.
FAQ Section
Why isn’t my glaze setting properly?
Can I store leftover glaze?
Can I add other flavors to the glaze?
Conclusion
There you have it – the definitive recipe for a Krispy Kreme-style glaze that actually sets, delivering that irresistible shine and sweet, delicate crunch. With just a few common ingredients and these precise ratios, you can recreate the magic of your favorite donut shop right in your own kitchen. Whether it’s for a special breakfast, a delightful dessert, or just a treat for yourself, these perfectly glazed donuts are sure to impress. Happy baking, and enjoy every sweet bite! You can also check the latest price and verified kitchen reviews on Amazon.
Pin This Review For Later
Save this honest buying guide & pros/cons summary directly to your Pinterest Kitchen or Gadgets board!

Expert-Level Q&A
What is the most common technical mistake when making The Secret to a Perfect Krispy Kreme Glaze: Exact Ratios for that Iconic Set?
Overcrowding the cooking surface or rushing temperature control causes steaming instead of Maillard browning and breaks delicate sauces. Preheat fully and work in single-layer batches for crisp, evenly cooked results. You can also browse organic pantry staples on HerbsPro.
How long does it stay fresh in the refrigerator, and what is the best way to reheat it?
Cool within 2 hours and store in airtight glass containers at 38°F (3°C) for 3 to 4 days. Reheat gently at 325°F–350°F in a convection toaster oven or skillet with a splash of broth to preserve original texture.
Can you prep the components ahead of time without losing flavor or texture?
Yes—measure dry seasonings, chop aromatics, and prepare sauces up to 24–48 hours ahead, keeping crisp garnishes and delicate herbs separate until right before serving.