
Affiliate Disclosure: FoodJot is reader-supported. When you buy through links on our site, we may earn an affiliate commission at no extra cost to you.
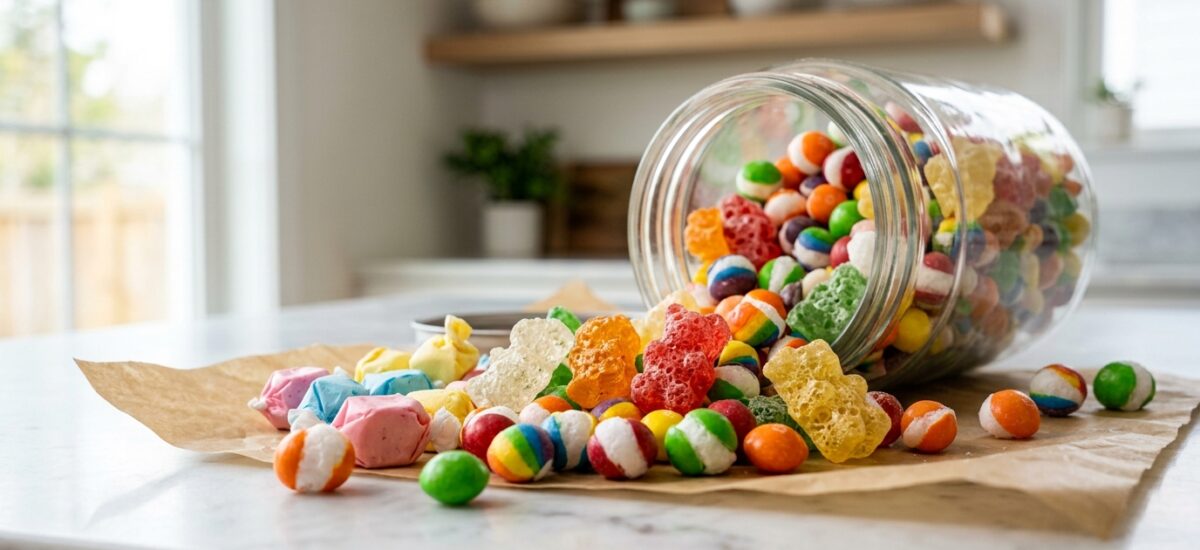
Making homemade freeze-dried candy has exploded from an underground prepper technique into a viral global phenomenon taking over TikTok, specialty boutique confectioneries, and foodie kitchens. There is something profoundly mesmerizing about taking standard, chewy convenience store sweets—like dense Skittles, chewy gummy bears, salt water taffy, or chewy marshmallows—and subjecting them to the laws of atmospheric physics. Within hours, dense chewy sugar transforms into giant, fragile, puffed planetary spheres with an acoustic, glass-like crunch that instantly dissolves on your tongue into concentrated candy flavor.
If you have ever purchased commercial freeze-dried treats online, you know they come with astronomical price tags—often ten to fifteen dollars for a modest four-ounce pouch. But learning how to execute this transformation at home unlocks unlimited creative freedom. Whether you own a dedicated home freeze dryer or want to experiment with DIY dry ice sublimation, this comprehensive guide deconstructs the molecular food science of candy freeze-drying. Much like our culinary deep-dives for copycat drive-in treats like Wendy’s Frosty Recipe, drive-in refreshments like Sonic Ocean Water Recipe, and vintage street sweets like Candied Fruit Fritters Recipe, mastering this sweet craft gives you complete command over the ultimate space-age confection.
The Molecular Science: How Sublimation Transforms Sugar
To understand why a dense, chewy Skittle explodes into a brittle, crunchy white-veined sphere while chocolate turns into a greasy disaster, you must understand the physical principle of sublimation:
In standard food dehydration, moisture evaporates using warm circulating air, leaving behind a shriveled, rubbery, leathery product (think of beef jerky or sun-dried raisins). Freeze-drying works in the complete opposite direction using cryogenic freezing followed by deep vacuum sublimation. Food is frozen solid to between -30°F and -50°F (-34°C to -45°C), locking all water into rigid ice crystals. Next, a powerful industrial vacuum pump drops chamber pressure below the triple point of water (0.087 psi or 611 Pa).
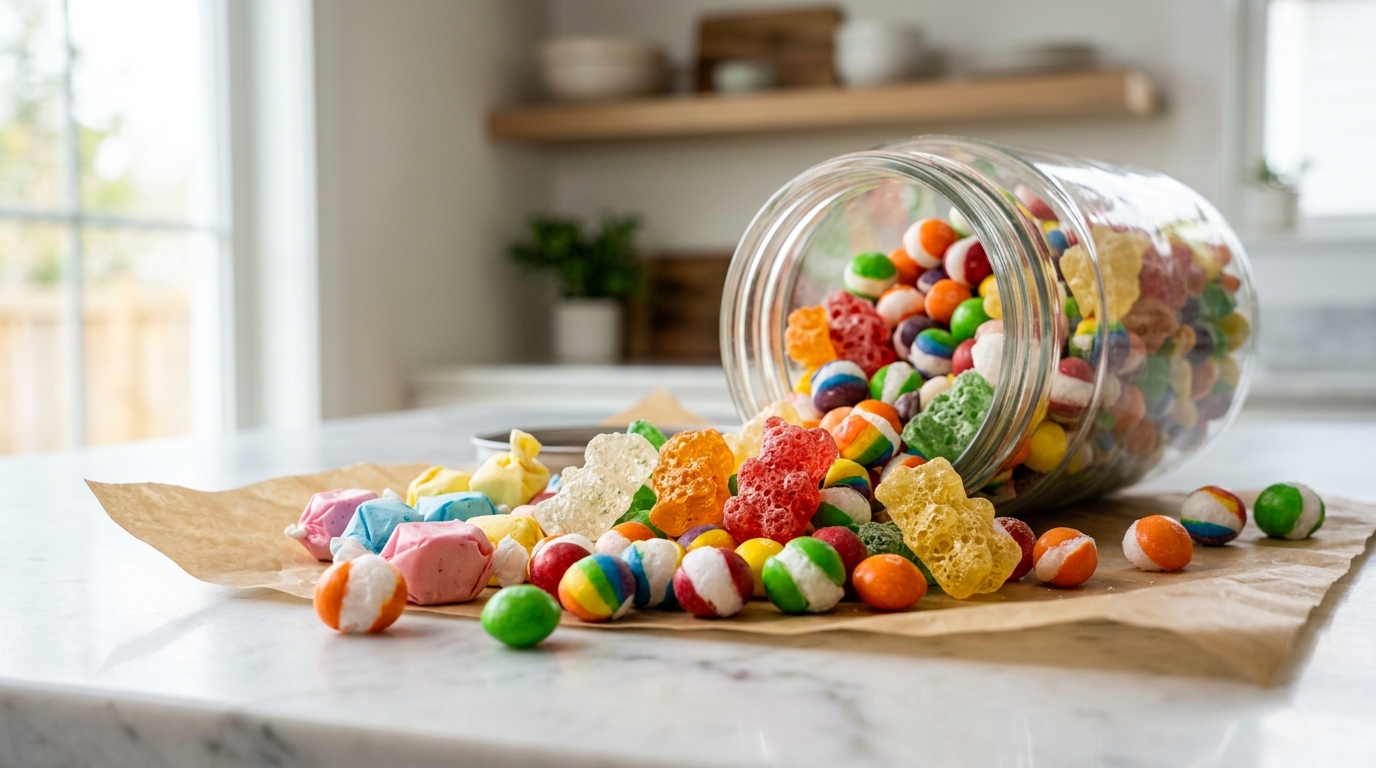
Under this extreme vacuum, mild radiant heat is applied to the trays. Instead of the ice melting into liquid water, the ice transitions directly from a solid frozen state into water vapor without ever becoming wet. In chewy candies, moisture is tightly bound within gelatin, corn syrup, and pectin matrixes. As the trapped water flashes into vapor under vacuum pressure, it rapidly expands and forces its way out, inflating the pliable warm sugar shell like a balloon before freezing it permanently into an airy, porous, honeycomb-like matrix.
Candy Selection Matrix: What Works vs. What Fails
Not all candy behaves equally under deep vacuum. Choosing the wrong candy will waste hours of run time and leave you with melted puddles on your trays:
| Candy Category | Ideal Candidates | Transformation Behavior | Result Quality |
|---|---|---|---|
| Shell-Coated Chews | Original Skittles, Wild Berry Skittles, Spree | Shell cracks open as interior sugar expands into brittle white foam | ⭐⭐⭐⭐⭐ Legendary Acoustic Crunch |
| Gelatin Gummies | Gummy Bears, Gummy Worms, Peach Rings | Expands 1.5x to 2x size, loses rubberiness, becomes airy & melt-in-mouth | ⭐⭐⭐⭐⭐ Crisp, Sweet Honeycomb |
| Aerated Sugar / Mallow | Lucky Charms Marbits, Campfire Marshmallows | Dehydrates rapidly, turns into ultra-crisp crunchy cereal morsels | ⭐⭐⭐⭐⭐ Fast, Brittle & Sweet |
| Pliable Taffy & Chews | Salt Water Taffy, Starburst, Airheads, Hi-Chew | Blows up into massive, light, crunchy pillows with amplified fruit flavor | ⭐⭐⭐⭐⭐ Giant Showstopper Puffs |
| Hard Candies | Jolly Ranchers, Lemonheads, Peppermints | Must be shattered first; puffs into delicate spun-glass bubbles | ⭐⭐⭐⭐ Glass-Like Sugar Shards |
| High-Fat / Chocolate | Snickers, Hershey’s, Peanut Butter Cups, Fudge | Fats do not freeze dry; chocolate melts, oils separate and spoil | ❌ Complete Failure (Do Not Use) |
Product Spotlight
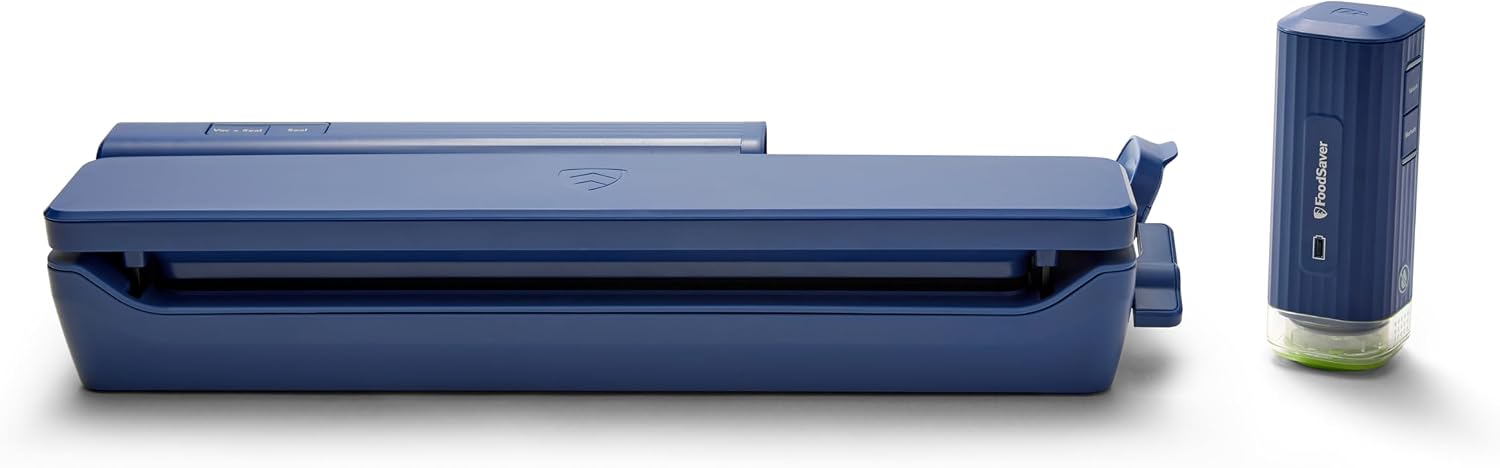
FoodSaver V4440 2-in-1 Vacuum Sealer Machine
$100.00Ambient humidity is the #1 enemy of homemade freeze-dried candy. Because the porous sugar structure has zero moisture, it acts like a sponge, rapidly absorbing humidity from room air within 20 minutes. As reviewed in our hands-on FoodSaver Vacuum Sealer Review, hermetically vacuum-sealing your crunchy treats into heavy-duty barrier bags with an oxygen absorber guarantees that shatteringly crisp crunch for up to 25 years.
Buy on AmazonHow to Make Homemade Freeze-Dried Candy Step-by-Step
Step 1: Selecting and Pre-Sorting Your Candies
Start with fresh, pliable chewy candies. Skittles, Haribo gummy bears, fruity Peach Rings, and individually wrapped salt water taffies deliver the most spectacular physical transformations. Unwrap all candies completely. If you are freeze-drying large chewy bars (like Starburst or Airheads), use a sharp chef’s knife to cut them into 1/2-inch bite-sized cubes, as smaller surface areas allow water vapor to escape much faster during sublimation.
Step 2: Arranging and Spacing on Silicone Baking Mats
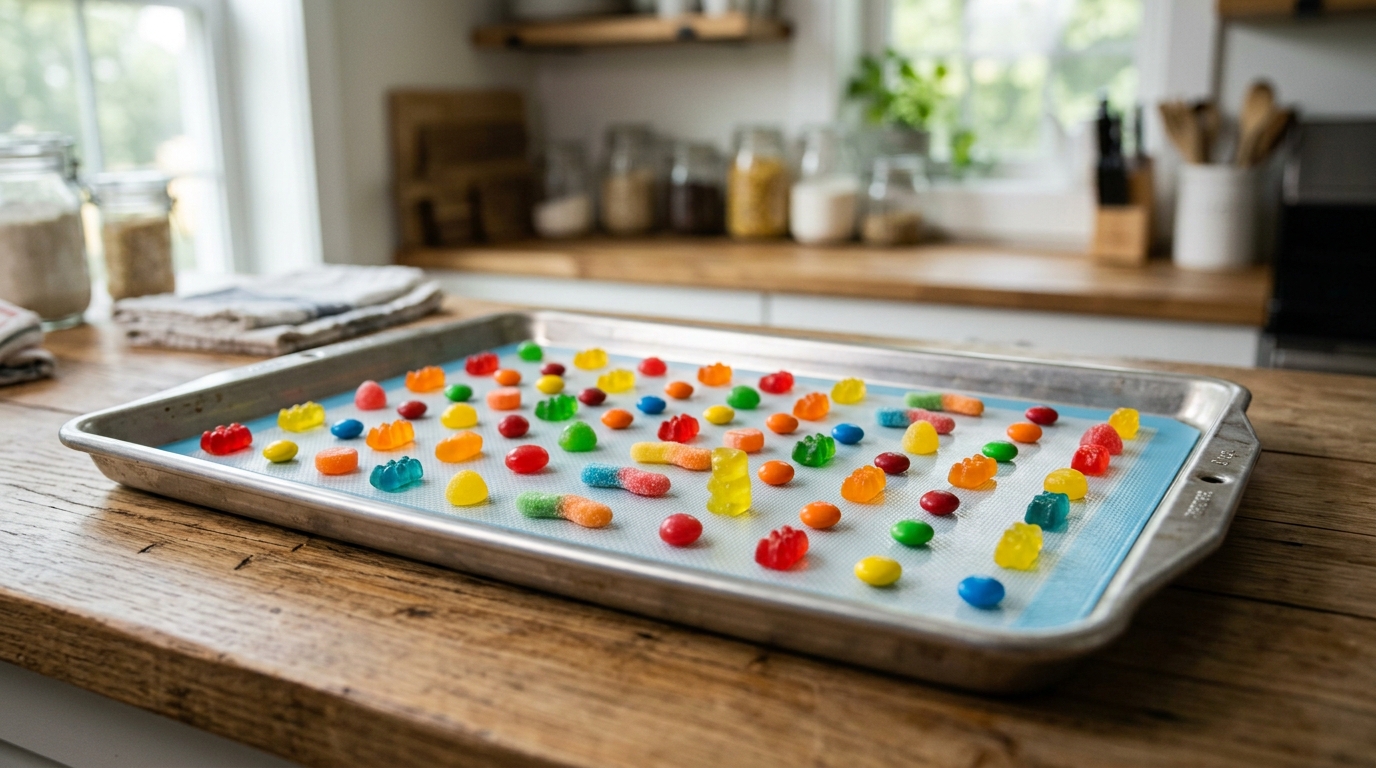
Line your stainless steel trays with premium food-grade silicone baking mats. Never place candy directly on bare metal trays, as the warm sugars can weld to the stainless steel during the drying cycle. Arrange candies in a strict single layer with generous spacing: leave at least 3/4-inch to 1-inch of space between Skittles, and 1.5 inches between taffy and gummy bears. Remember: candies will expand to nearly double their original footprint!
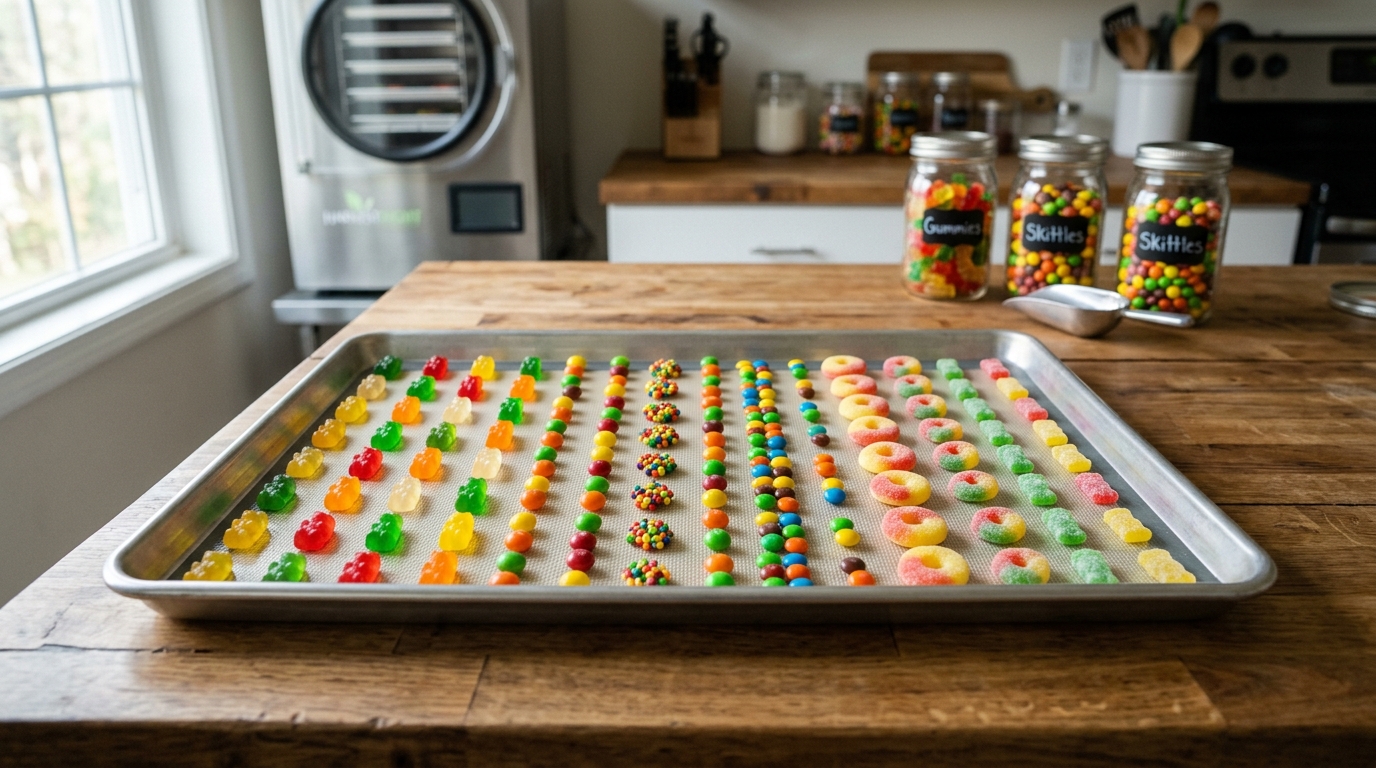
Step 3: Loading into the Freeze Dryer Chamber
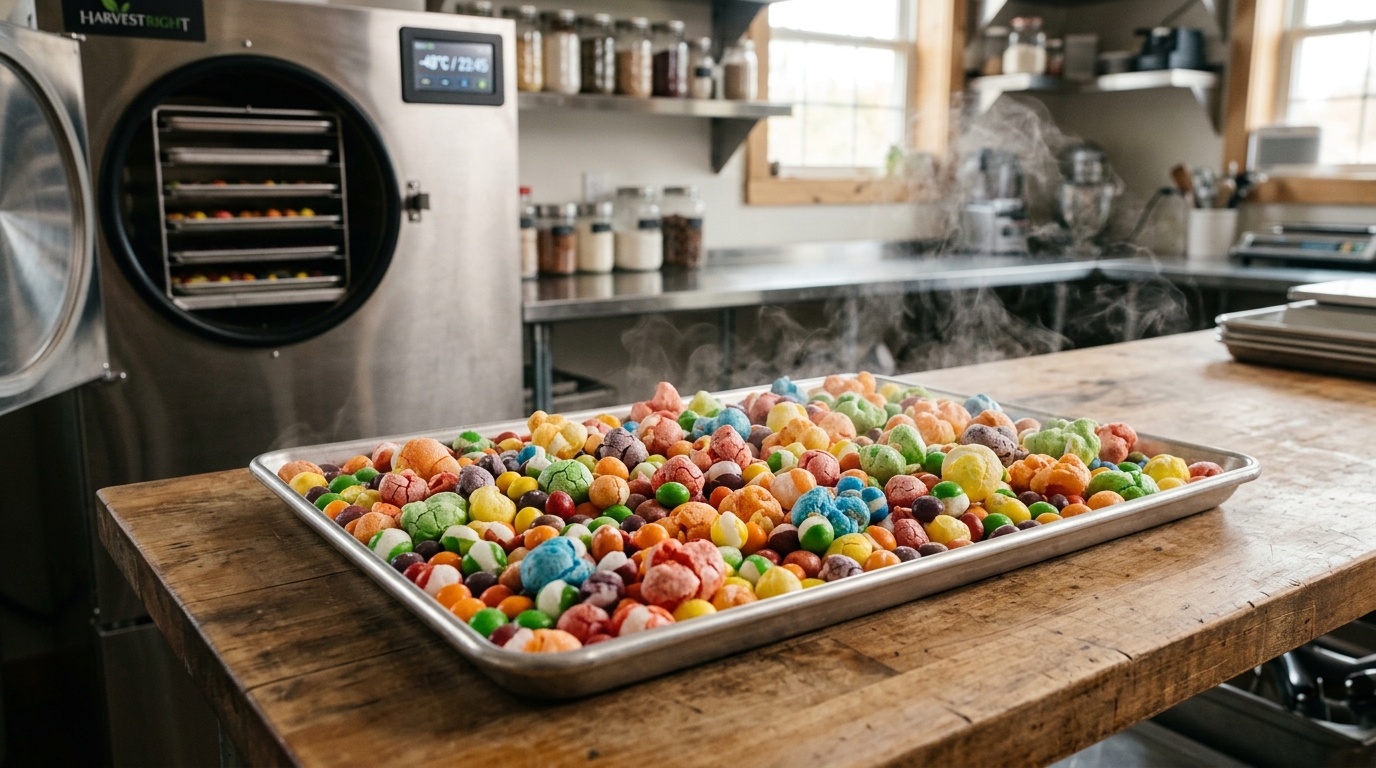
Slide the loaded trays onto the shelving unit inside your home freeze dryer (such as a Harvest Right unit). Ensure the chamber seal is completely clean of dust or sugar particles. Close the thick acrylic chamber door, latch the vacuum seal handle tightly, and close the drain valve on the lower exterior hose. Select the dedicated “Candy Mode” on the digital touchscreen interface.
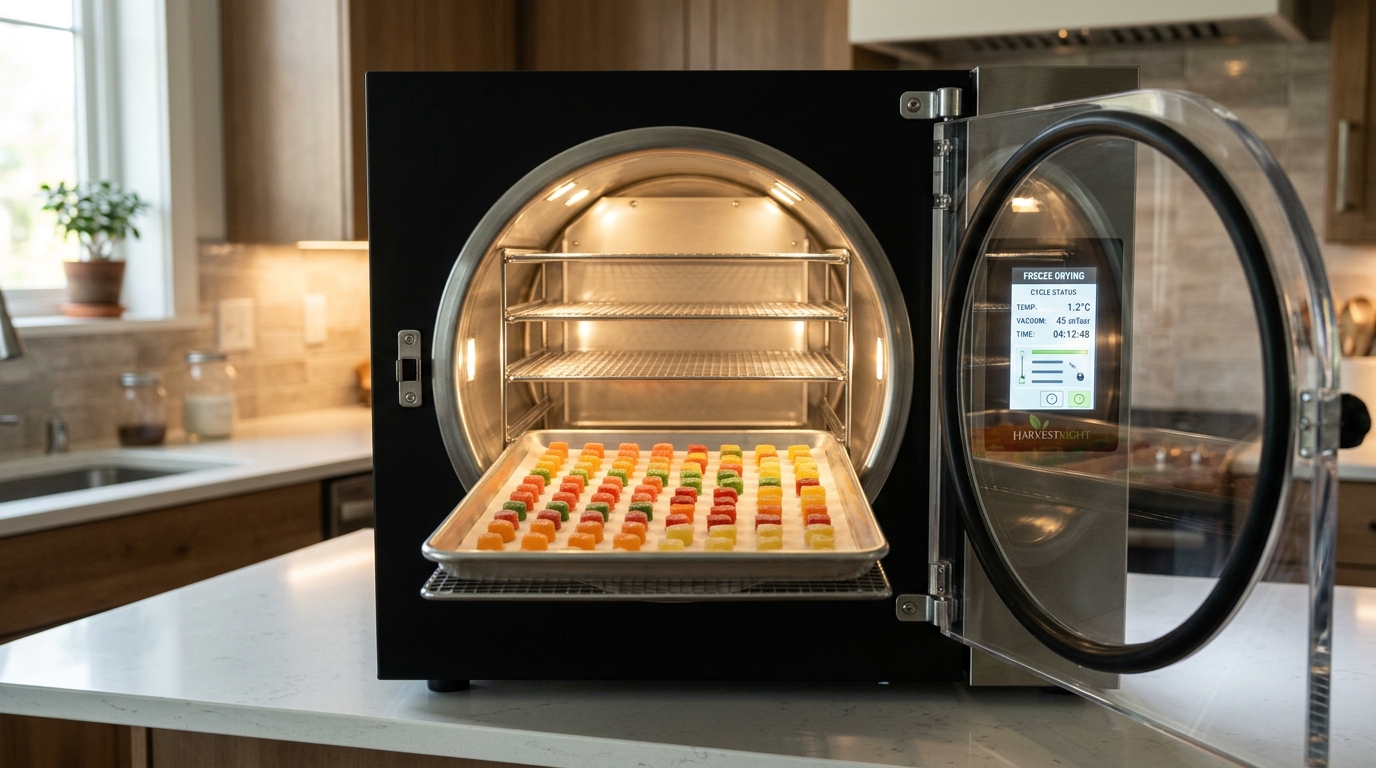
Step 4: The Sublimation & Vacuum Expansion Phase
Unlike standard freeze-drying which requires 24 to 36 hours for raw meats and vegetables, high-sugar candy processes remarkably fast in “Candy Mode” (typically 3 to 6 hours). In Candy Mode, the machine warms the trays to approximately 135°F to 145°F (57°C to 63°C) while pulling an aggressive vacuum down to 300-500 mTorr. Look through the viewing port: the moisture flashes into vapor and inflates the candies into puffy, brittle spheres with cracked shells!
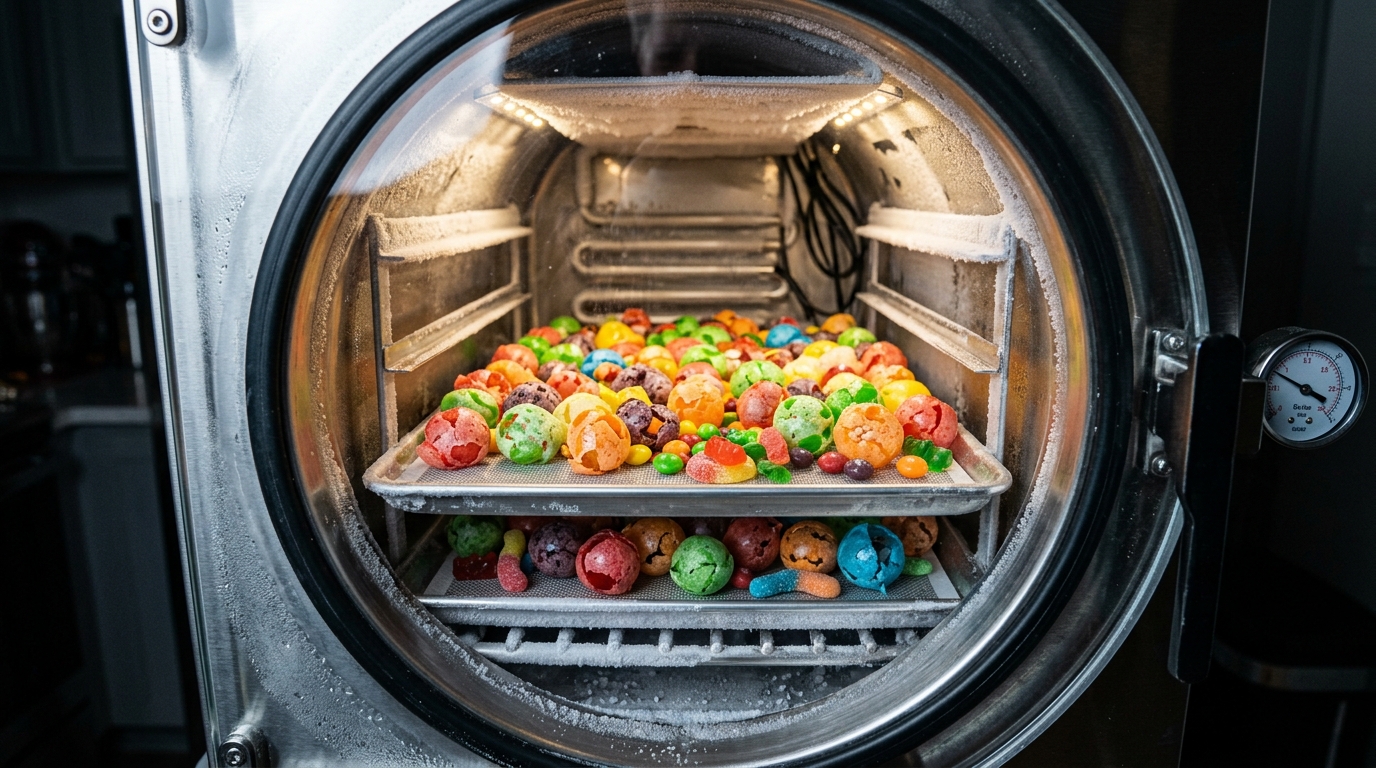
Step 5: Inspecting the Puffed, Brittle Candy
Once the cycle completes, open the drain valve to break the chamber vacuum with a gentle hiss of air. Open the door and slide the trays out. Inspect the candies immediately: they should feel completely dry, feather-light, and cool to the touch. The candy surfaces should have a powdery, matte finish with zero gummy stickiness or wet spots.
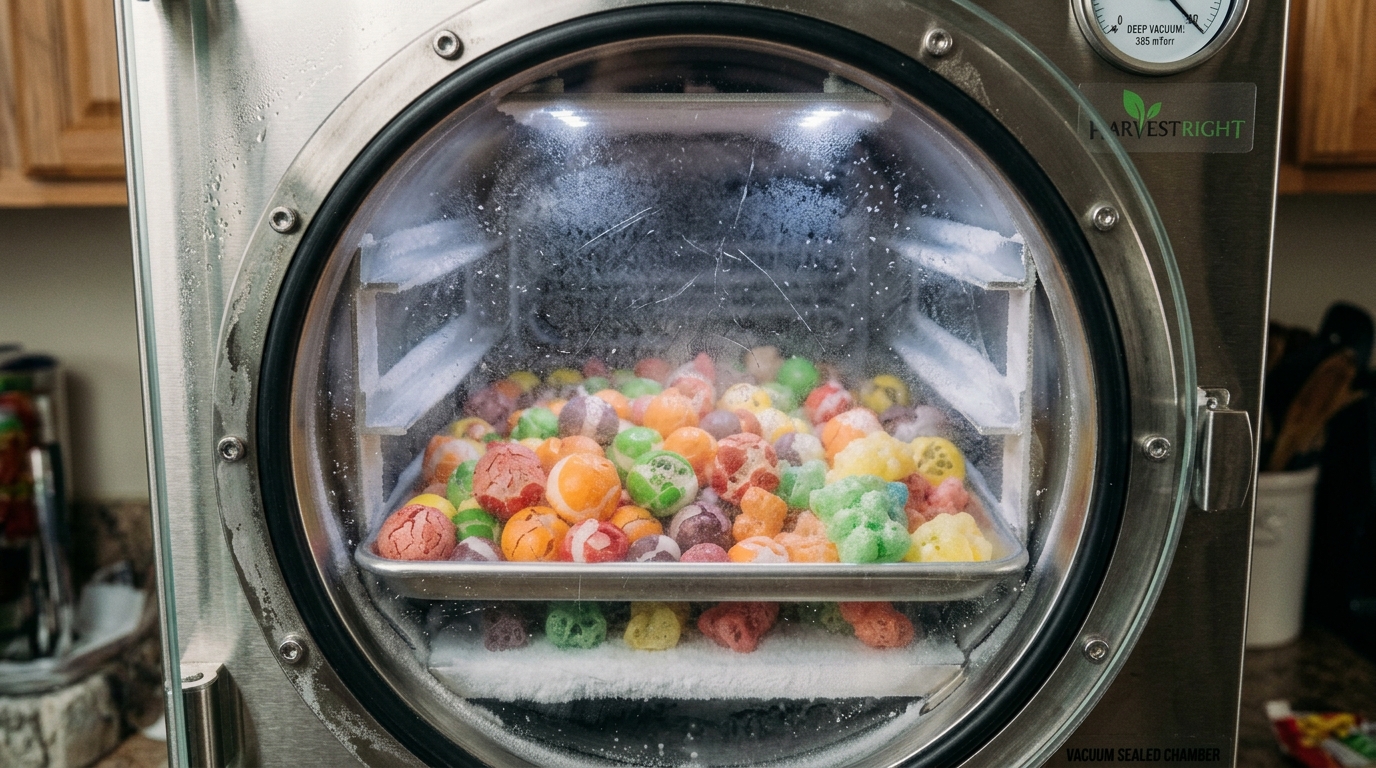
Step 6: The Snap & Dissolve Test
Pick up a puffed gummy bear or Skittle and gently snap it in half between your fingers. It should snap with an acoustic, brittle crack like a dry meringue, revealing an airy, porous honeycomb center that crumbles into fine sweet sugar crystals. Pop a piece into your mouth: it should instantly dissolve on your tongue with concentrated, explosive fruit flavor and zero chewy residue stuck to your molars.
Step 7: Packaging in Mylar with Oxygen Absorbers
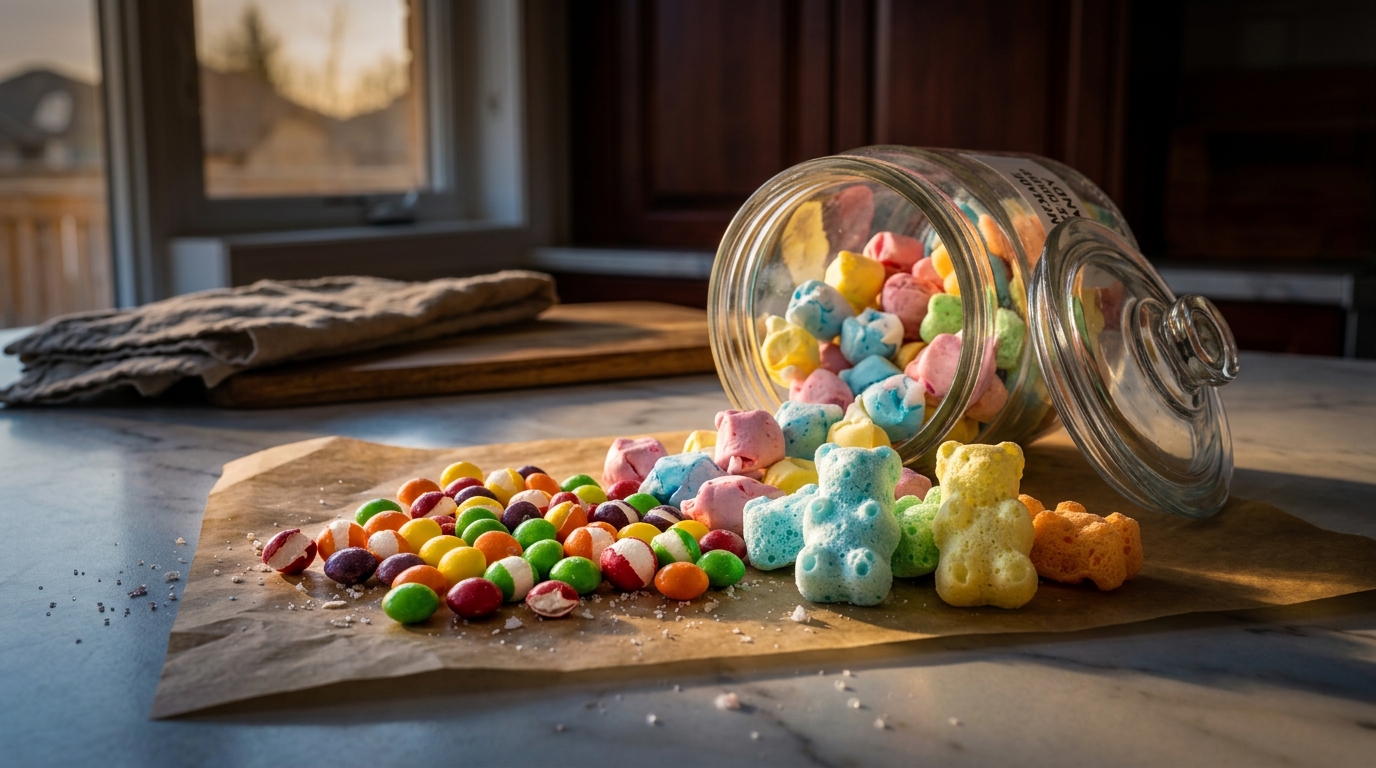
Work quickly! Within 15 to 20 minutes of exposure to humid kitchen air, freeze-dried candy begins absorbing atmospheric moisture. Immediately transfer your crunchy treats into heavy-duty 7-mil metallic Mylar pouches or airtight glass Mason jars. Drop one 100cc food-grade oxygen absorber into each pouch, purge excess air, and seal hermetically using an impulse heat sealer or your FoodSaver vacuum sealer. Stored this way in a cool, dark pantry, your homemade freeze-dried candy stays shatteringly crisp for up to 25 years!
Ultimate Homemade Freeze-Dried Candy Recipe (DIY Master Guide)
Ingredients & Equipment
- The Candy Selection:
- 2 large bags (15.6 oz each) Original Skittles (or Wild Berry)
- 1 bag (14 oz) Haribo Goldbears (or fruity gummy worms)
- 1 bag (12 oz) Salt Water Taffy (assorted flavors)
- 2 cups miniature marshmallows (or cereal marbits)
- Required Equipment:
- Home Freeze Dryer (Harvest Right) OR Dry Ice Chamber
- Food-grade silicone baking mat tray liners
- Heavy-duty 7-mil metallic Mylar storage bags
- 100cc food-grade oxygen absorber packets
- Impulse heat sealer or FoodSaver vacuum sealer
Instructions
- Prep and Line Trays: Fit freeze dryer metal trays with food-grade silicone mats. Unwrap all candies completely.
- Space Generously: Place candies in a single layer with 1-inch gaps between each piece to allow for 2x volume expansion.
- Load & Seal Machine: Slide trays onto freeze dryer racks. Close and latch acrylic door securely. Close the drain valve.
- Run Candy Mode: Select Candy Mode (warm tray temperature 135°F-145°F under deep vacuum). Run for 4 to 6 hours until moisture is fully evacuated.
- Inspect Crunch: Release vacuum via drain valve. Test a piece by snapping it; it should shatter with an acoustic crunch and zero gummy chew.
- Package Immediately: Pack within 15 minutes into Mylar bags with a 100cc oxygen absorber and heat seal hermetically.
Acoustic Crunch, Food Science & DIY Kitchen Mastery
The sensory explosion of homemade freeze-dried candy comes down to acoustic texture and total moisture evacuation. In sensory food science, crisp auditory cues and shattering structural resistance trigger powerful neurological satisfaction. Whether you are chasing the fiery, blistered acoustic crunch of our viral Dave’s Hot Chicken Recipe, savoring the delicate popping mouthfeel of seasoned flying fish roe in our authentic Creamy Tobiko Sauce Pasta, or exploring heritage French culinary crispness in our Lyon-Style Fried Tripe Recipe, mastering texture is what elevates everyday cooking into high-art gastronomy.
Taking full command of your kitchen through specialized DIY techniques unlocks limitless culinary creativity. If you love the biochemical precision of preservation, exploring ambient fermentation in our Homemade Tabasco Sauce Recipe reveals how salt, acid, and water activity dictate shelf-stability. For confectioners and snack enthusiasts outfitting their countertops with boutique sweet-making gear, pairing freeze-dried treats with warm, golden mini pastries from our tested Best Mini Donut Maker Review creates an unforgettable DIY dessert bar. And if you are expanding your kitchen workspace with precision gear, our expert buyer’s guide to the Best Sushi Making Kits for Beginners demonstrates that having the right specialized equipment turns complex artisan techniques into effortless fun. Even when contrasting ultra-modern space confections with deeply traditional, slow-simmered Latin American classics like Sopa de Mondongo (Tripe Soup), mastering the fundamentals of heat, water, and texture is the true mark of an accomplished home chef.
Frequently Asked Questions (FAQ)
Can I make freeze-dried candy without a freeze dryer?
Yes! You can use the Dry Ice Sublimation Cooler method: place an unsealed, perforated container of candies inside an insulated cooler filled with dry ice pellets. As the dry ice sublimes into heavy CO2 gas in a well-ventilated space over 24 to 48 hours, it pulls moisture directly out of the candies, creating a surprisingly crisp DIY version without machinery.
Why did my chocolate candy melt instead of puffing?
Chocolate contains cocoa butter and dairy milk fats. Fats have a very low melting point and cannot undergo sublimation because they do not contain free water. In a freeze dryer’s warm tray cycle, fats simply melt into oily grease. Always stick to gelatin, pectin, and sugar-based confections.
How do I keep freeze-dried candy from getting sticky?
Because freeze-dried candy has under 1% residual moisture, it is intensely hygroscopic (water-attracting). Store candies immediately in metallic Mylar bags or Mason jars with a food-safe oxygen absorber. Never leave candies exposed to open air for more than 15 minutes.