
Affiliate Disclosure: This post may contain affiliate links. If you make a purchase through these links, we may earn a commission at no extra cost to you. For more information, please see our affiliate disclosure.
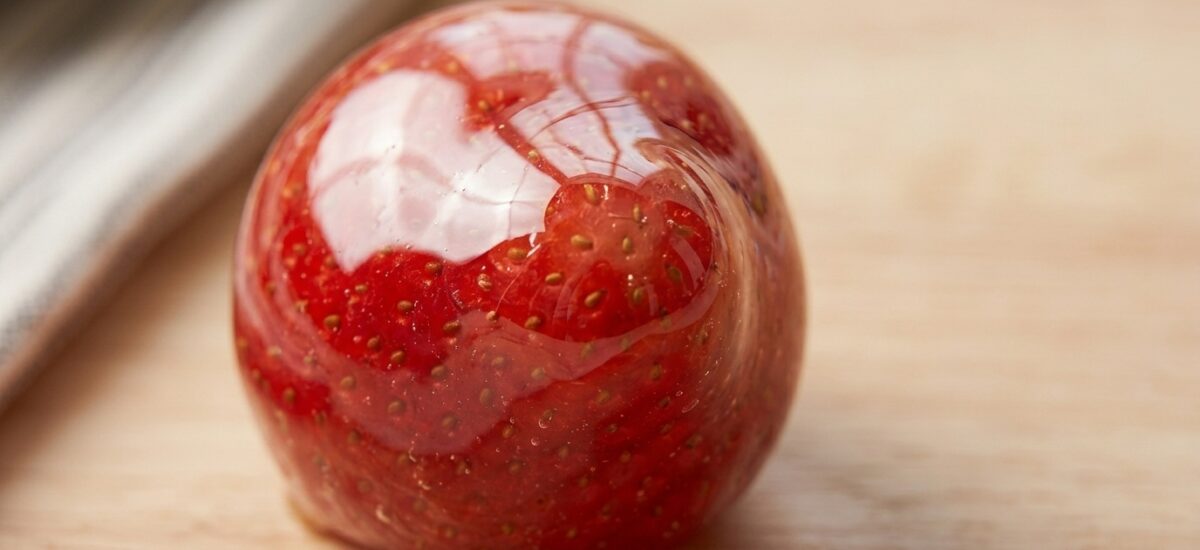
Dreaming of that perfectly crunchy, glossy candied fruit but don’t own a candy thermometer? You’re in luck! This easy Tanghulu recipe is designed to help you achieve that irresistible crackle without any special equipment. Tanghulu, a traditional Chinese candied fruit snack, has taken the internet by storm, and for good reason – it’s a delightful combination of fresh, juicy fruit and a crisp, sweet sugar shell.
Many people shy away from making Tanghulu at home, fearing the precise temperature control often associated with candy making. However, with a few simple visual cues and a bit of practice, you can master this popular treat and impress your friends and family. Forget the guesswork of a candy thermometer; we’ll guide you through each step to ensure your sugar syrup reaches the ‘hard crack’ stage, giving you that signature satisfying crunch.
Get ready to transform your favorite fruits into a dazzling, delicious snack. Whether you’re a seasoned home cook or a beginner in the kitchen, this foolproof method will have you making perfect Tanghulu in no time. Let’s dive in and create some sweet magic!
Ingredients
- 1 cup granulated sugar
- 1/2 cup water
- 1-2 cups fresh fruit (strawberries, grapes, mandarins, blueberries, kiwi slices, etc.)
- Wooden skewers or chopsticks
- A few drops of vegetable oil (for greasing)
Product Spotlight

Step-by-Step Instructions
Step 1: Prepare Your Fruit
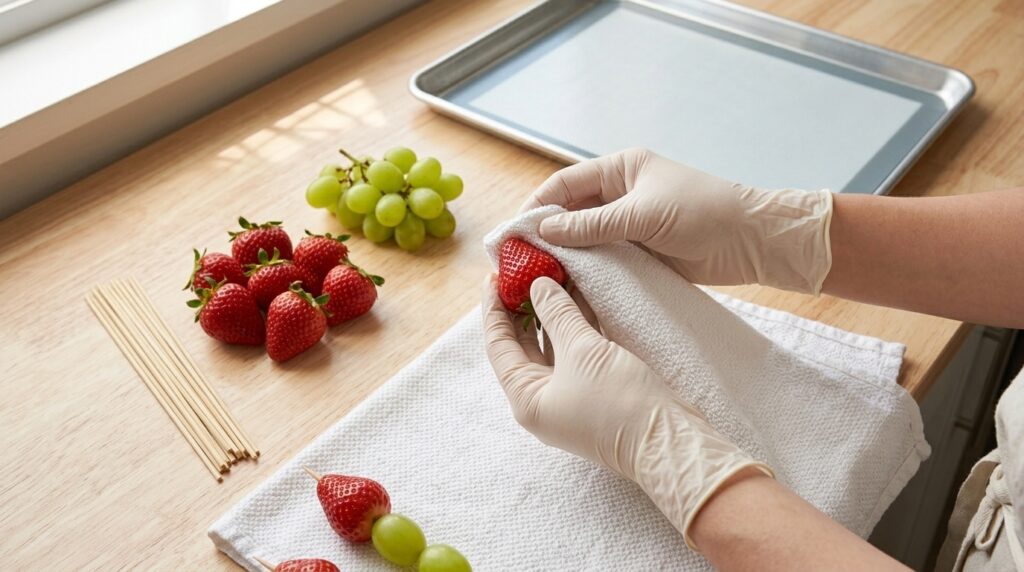
Thoroughly wash and dry your chosen fruits. This step is crucial! Any excess moisture on the fruit can prevent the sugar coating from sticking and becoming crisp. For strawberries, remove the green tops. For grapes, ensure they are completely dry. Thread the fruits onto wooden skewers, leaving a small space between each piece. Prepare a baking sheet lined with parchment paper or a silicone mat (we highly recommend a silicone mat for easy removal, like this one: ) and lightly grease it with a few drops of vegetable oil.
Step 2: Create the Sugar Syrup
In a small, heavy-bottomed saucepan, combine the granulated sugar and water. Do not stir the mixture at this stage. Place the saucepan over medium-high heat. Allow the sugar to dissolve and the syrup to come to a boil. Once boiling, resist the urge to stir. Stirring can cause the sugar to crystallize, resulting in a cloudy, grainy coating instead of a clear, crunchy one. You can gently swirl the pan if needed, but avoid direct stirring.

Step 3: Watch for Visual Cues (No Thermometer Needed!)
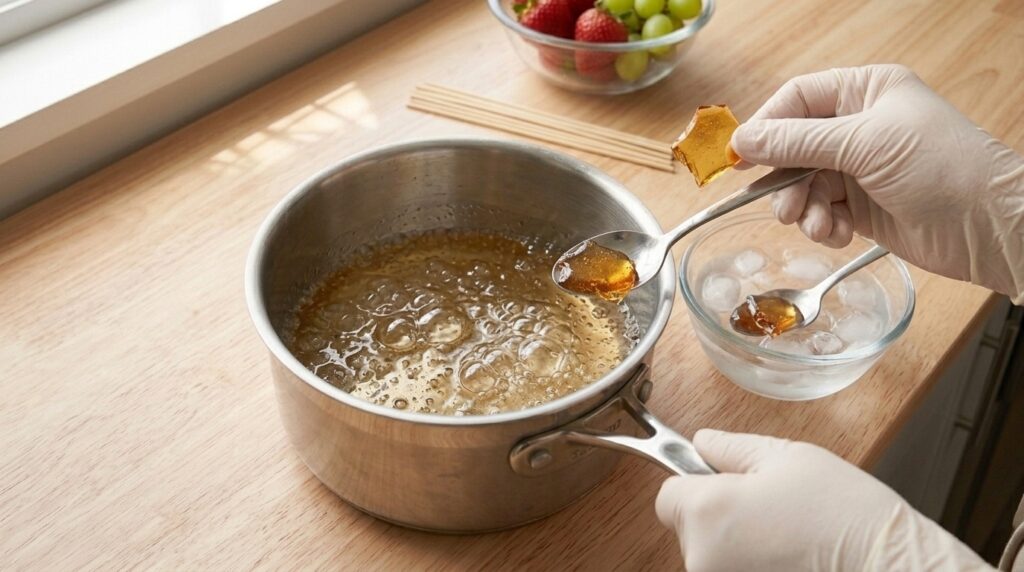
This is where the magic happens without a thermometer. Continue boiling the syrup, watching closely. The syrup will first look clear, then start to thicken and form larger bubbles. It will gradually turn a very light amber color. To test for the ‘hard crack’ stage, have a small bowl of ice-cold water ready. Carefully dip a spoon into the boiling syrup and then immediately into the ice water. If the hardened sugar piece snaps cleanly and crisply when you bite or break it, your syrup is ready! If it’s chewy, continue boiling for another minute or so and test again. This process typically takes about 8-12 minutes. For more candy-making tips, see this guide.
Step 4: Dip the Fruit
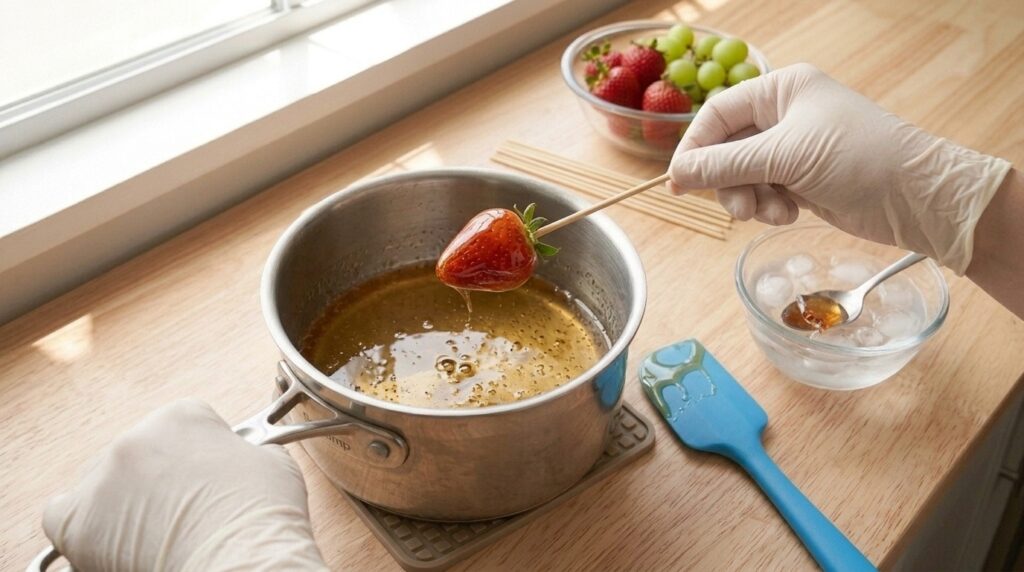
Once your syrup reaches the hard crack stage, immediately remove the saucepan from the heat. Working quickly, hold a fruit skewer and carefully dip it into the hot sugar syrup, rotating it to ensure an even, thin coating. Allow any excess syrup to drip off back into the pan. Speed is key here, as the syrup will harden rapidly. A good heat-resistant spatula can help manage the syrup:
Step 5: Cool and Set
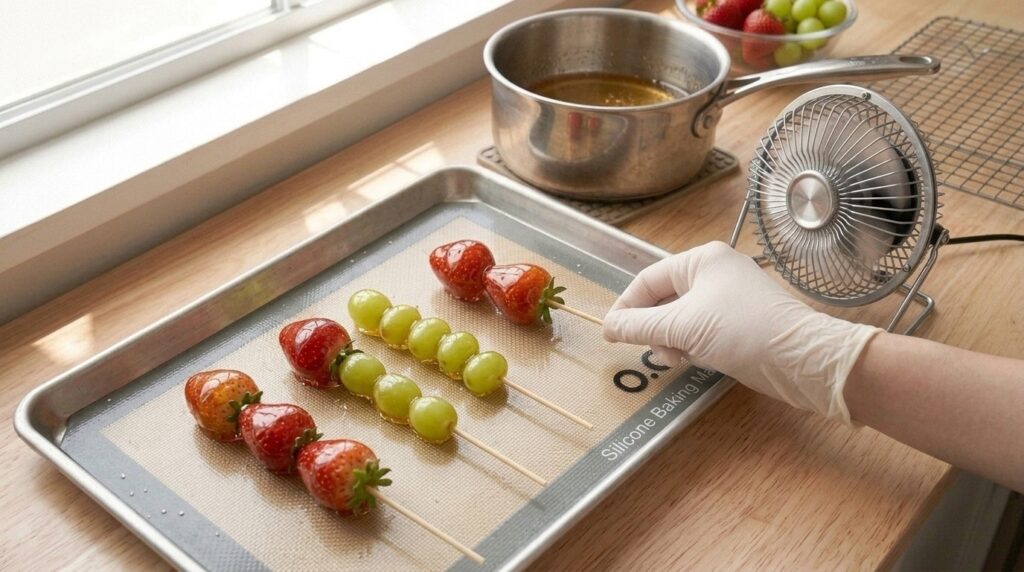
Immediately transfer the coated fruit skewers to your prepared greased baking sheet or silicone mat. To help the candy set faster and achieve maximum crunch, you can place the baking sheet in front of a small fan for a few minutes. Avoid putting it in the refrigerator, as the moisture can make the candy sticky. The sugar coating should harden completely within a few minutes, turning glossy and transparent. For a visual guide, check out Olivia Oven’s method.
Step 6: Serve and Enjoy!
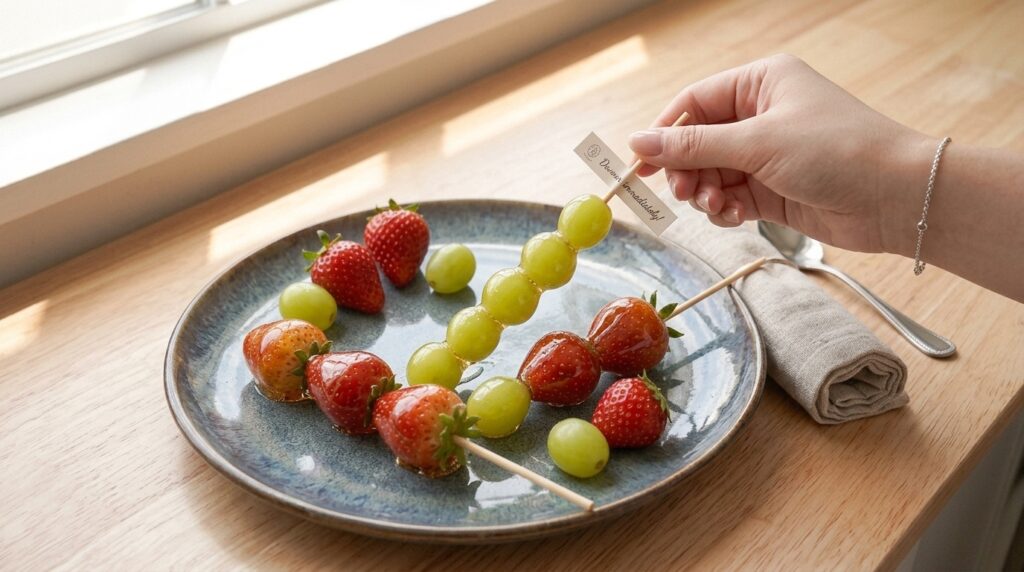
Once the Tanghulu is completely hardened, it’s ready to be devoured! The crunchy sugar shell combined with the fresh, juicy fruit is an unparalleled treat. Serve immediately for the best texture. Tanghulu is best enjoyed fresh, as humidity can cause the sugar coating to become sticky over time. If you have leftover syrup, don’t worry! You can often reheat it gently over low heat to dip more fruit, or even use it for other candied treats. For other favorite dessert recipes, explore our blog!
Easy Tanghulu Recipe Without a Candy Thermometer: Achieve Perfect Crunch Every Time!
Ingredients
- 1 cup granulated sugar
- 1/2 cup water
- 1-2 cups fresh fruit (strawberries, grapes, mandarins, blueberries, kiwi slices, etc.)
- Wooden skewers or chopsticks
- A few drops of vegetable oil (for greasing)
Instructions
- Thoroughly wash and dry your chosen fruits. This step is crucial! Any excess moisture on the fruit can prevent the sugar coating from sticking and becoming crisp. For strawberries, remove the green tops. For grapes, ensure they are completely dry. Thread the fruits onto wooden skewers, leaving a small space between each piece. Prepare a baking sheet lined with parchment paper or a silicone mat (we highly recommend a silicone mat for easy removal, like this one:) and lightly grease it with a few drops of vegetable oil.
- In a small, heavy-bottomed saucepan, combine the granulated sugar and water. Do not stir the mixture at this stage. Place the saucepan over medium-high heat. Allow the sugar to dissolve and the syrup to come to a boil. Once boiling, resist the urge to stir. Stirring can cause the sugar to crystallize, resulting in a cloudy, grainy coating instead of a clear, crunchy one. You can gently swirl the pan if needed, but avoid direct stirring.
- This is where the magic happens without a thermometer. Continue boiling the syrup, watching closely. The syrup will first look clear, then start to thicken and form larger bubbles. It will gradually turn a very light amber color. To test for the ‘hard crack’ stage, have a small bowl of ice-cold water ready. Carefully dip a spoon into the boiling syrup and then immediately into the ice water. If the hardened sugar piece snaps cleanly and crisply when you bite or break it, your syrup is ready! If it’s chewy, continue boiling for another minute or so and test again. This process typically takes about 8-12 minutes. For more candy-making tips, see this guide.
- Once your syrup reaches the hard crack stage, immediately remove the saucepan from the heat. Working quickly, hold a fruit skewer and carefully dip it into the hot sugar syrup, rotating it to ensure an even, thin coating. Allow any excess syrup to drip off back into the pan. Speed is key here, as the syrup will harden rapidly. A good heat-resistant spatula can help manage the syrup:
- Immediately transfer the coated fruit skewers to your prepared greased baking sheet or silicone mat. To help the candy set faster and achieve maximum crunch, you can place the baking sheet in front of a small fan for a few minutes. Avoid putting it in the refrigerator, as the moisture can make the candy sticky. The sugar coating should harden completely within a few minutes, turning glossy and transparent. For a visual guide, check out Olivia Oven’s method.
- Once the Tanghulu is completely hardened, it’s ready to be devoured! The crunchy sugar shell combined with the fresh, juicy fruit is an unparalleled treat. Serve immediately for the best texture. Tanghulu is best enjoyed fresh, as humidity can cause the sugar coating to become sticky over time. If you have leftover syrup, don’t worry! You can often reheat it gently over low heat to dip more fruit, or even use it for other candied treats. For other favorite dessert recipes, explore our blog!
FAQ Section
Why is my Tanghulu sticky?
Can I use any fruit for Tanghulu?
How do I prevent the sugar from crystallizing?
How long does Tanghulu last?
Conclusion
Making Tanghulu without a candy thermometer might seem daunting at first, but as you’ve seen, it’s entirely achievable with a keen eye and a bit of confidence. The visual cues – from clear syrup to light amber and the ice water test – are your best friends in this process. This delightful candied fruit snack is not only a joy to eat but also a fun and rewarding culinary experiment. So go ahead, gather your favorite fruits, and get ready to create some perfectly crunchy Tanghulu that will transport your taste buds straight to a bustling street market. Enjoy your homemade, perfectly crunchy Tanghulu!