Affiliate Disclosure: This post may contain affiliate links. If you make a purchase through these links, we may earn a commission at no extra cost to you. For more information, please see our affiliate disclosure.
If you’ve ever had the pleasure of tasting the legendary banana pudding from Magnolia Bakery in New York City, you know it’s not just a dessert—it’s an experience. That perfectly creamy, sweet, and comforting concoction has a way of transporting you to pure bliss. For years, I, like many others, have tried to crack the code, searching for that elusive, authentic copycat recipe that truly nails the flavor and texture. Well, my friends, the quest is over. I recently visited the iconic bakery, and through a friendly chat, I managed to get a manager to confirm the key elements of their beloved recipe!
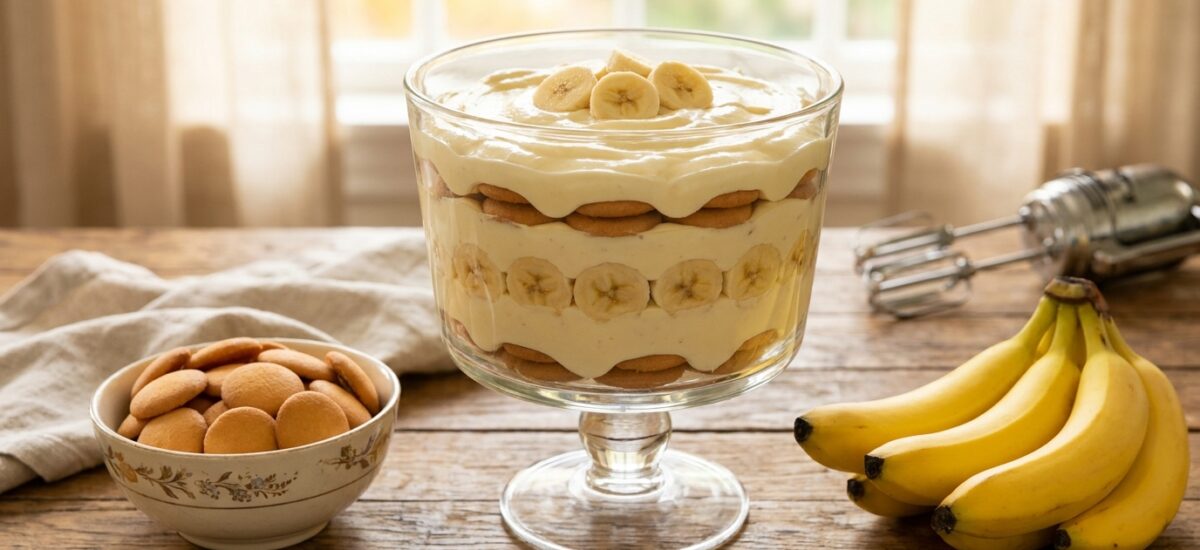
This isn’t just any banana pudding recipe; it’s the closest you’ll get to the real deal without stepping foot in a Magnolia Bakery. We’re talking about a luscious, no-bake dessert featuring layers of sweet vanilla pudding, ripe bananas, and crisp vanilla wafers, all crowned with a generous dollop of freshly whipped cream. It’s surprisingly simple to make, yet yields a show-stopping dessert that will impress everyone.
Forget everything you thought you knew about banana pudding; this recipe is a game-changer. Get ready to indulge in the creamy, dreamy dessert that has captivated hearts (and taste buds) worldwide. Let’s dive into the secrets and recreate this iconic treat!
Ingredients
- 1 (14-ounce) can sweetened condensed milk
- 1 ½ cups ice-cold water
- 1 (3.4-ounce) package instant vanilla pudding mix (Jell-O brand recommended)
- 3 cups heavy cream, very cold
- 1 teaspoon vanilla extract
- 1 (12-ounce) box vanilla wafers (Nilla Wafers recommended)
- 4-5 ripe bananas, sliced (not overripe, just ripe enough)
- Optional: Extra vanilla wafers or banana slices for garnish
Product Spotlight

Hamilton Beach 6-Speed Electric Hand Mixer
$24.99Traditional beaters, whisk attachments. Built for practical day-to-day use.
Buy on AmazonStep-by-Step Instructions
Step 1: Prepare the Pudding Base
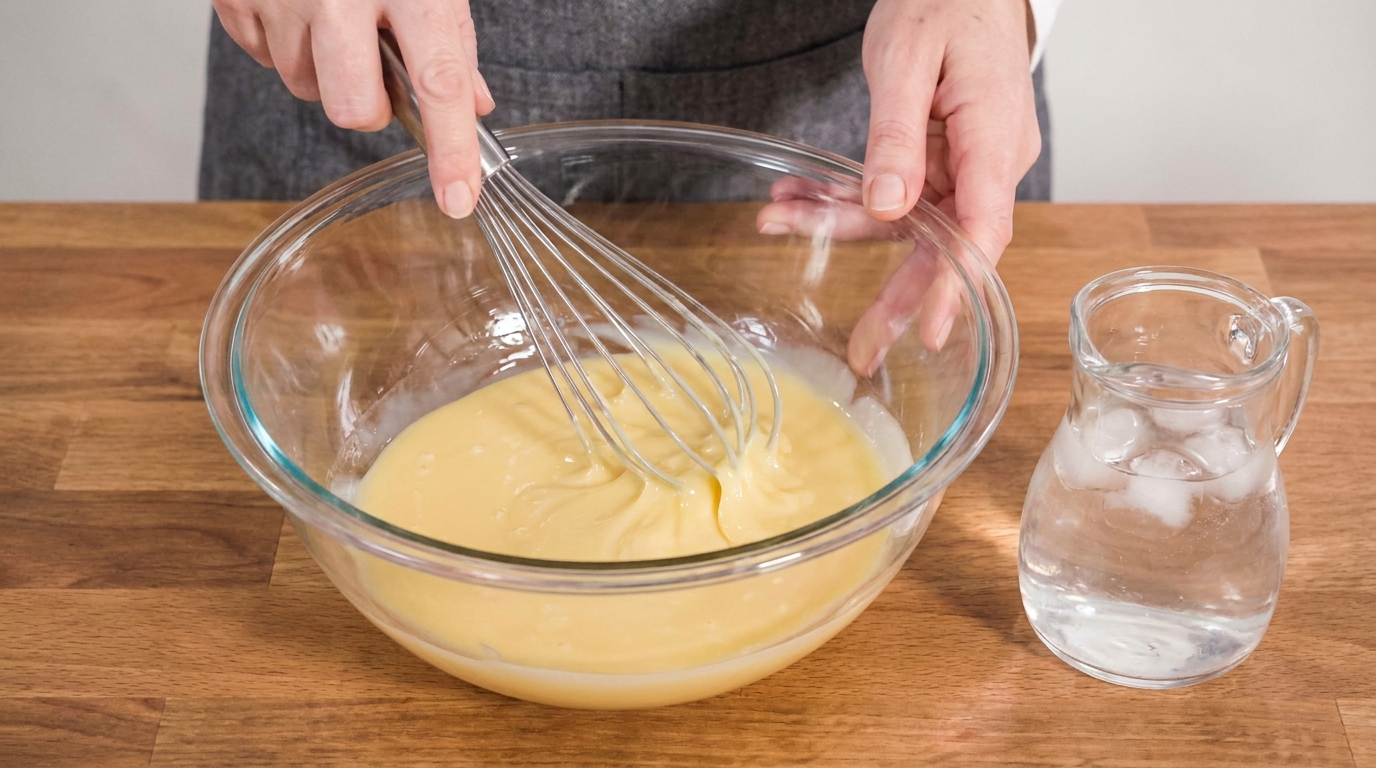
In a large bowl, combine the sweetened condensed milk and ice-cold water. Whisk them together until thoroughly combined. This forms the rich base of your pudding. The cold water is crucial here to ensure the pudding sets properly and quickly. Make sure there are no lumps remaining before moving on to the next step.
Step 2: Add Instant Pudding Mix
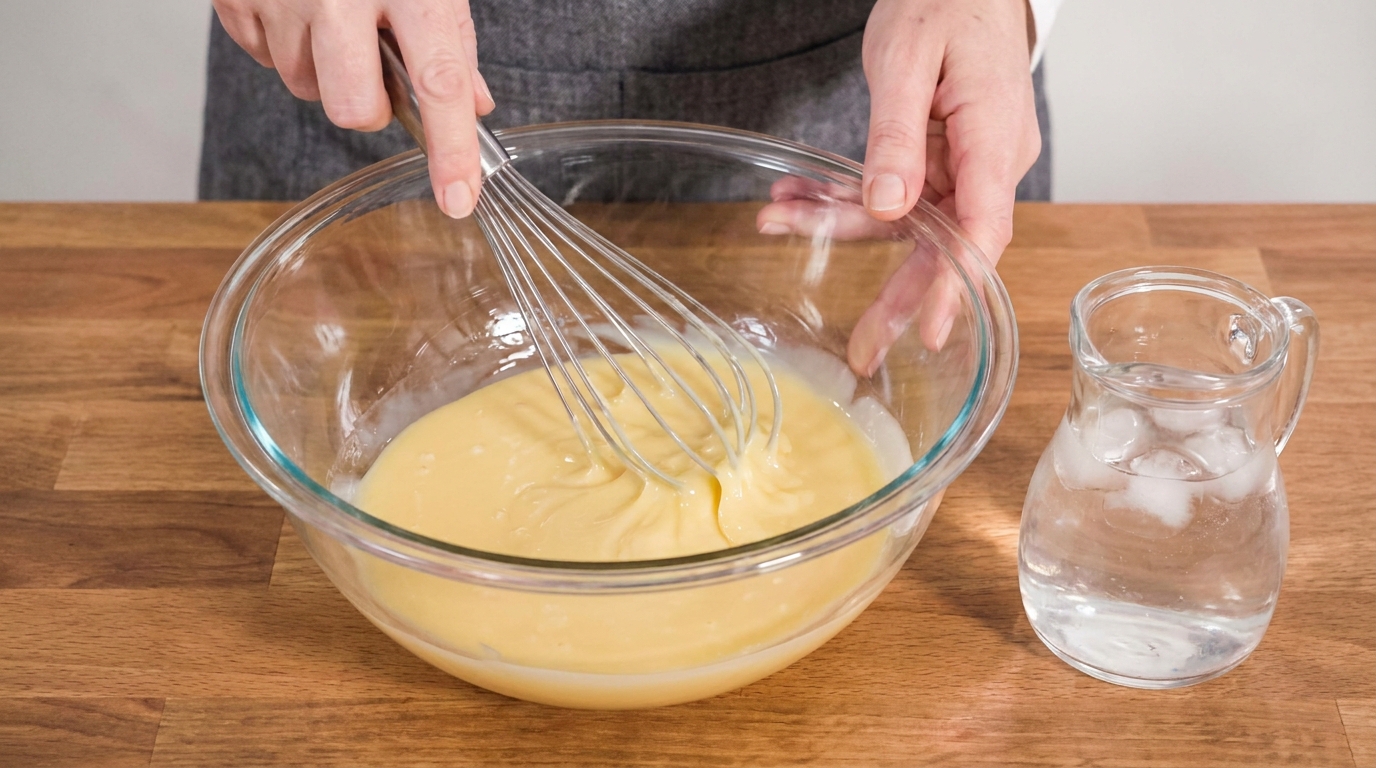
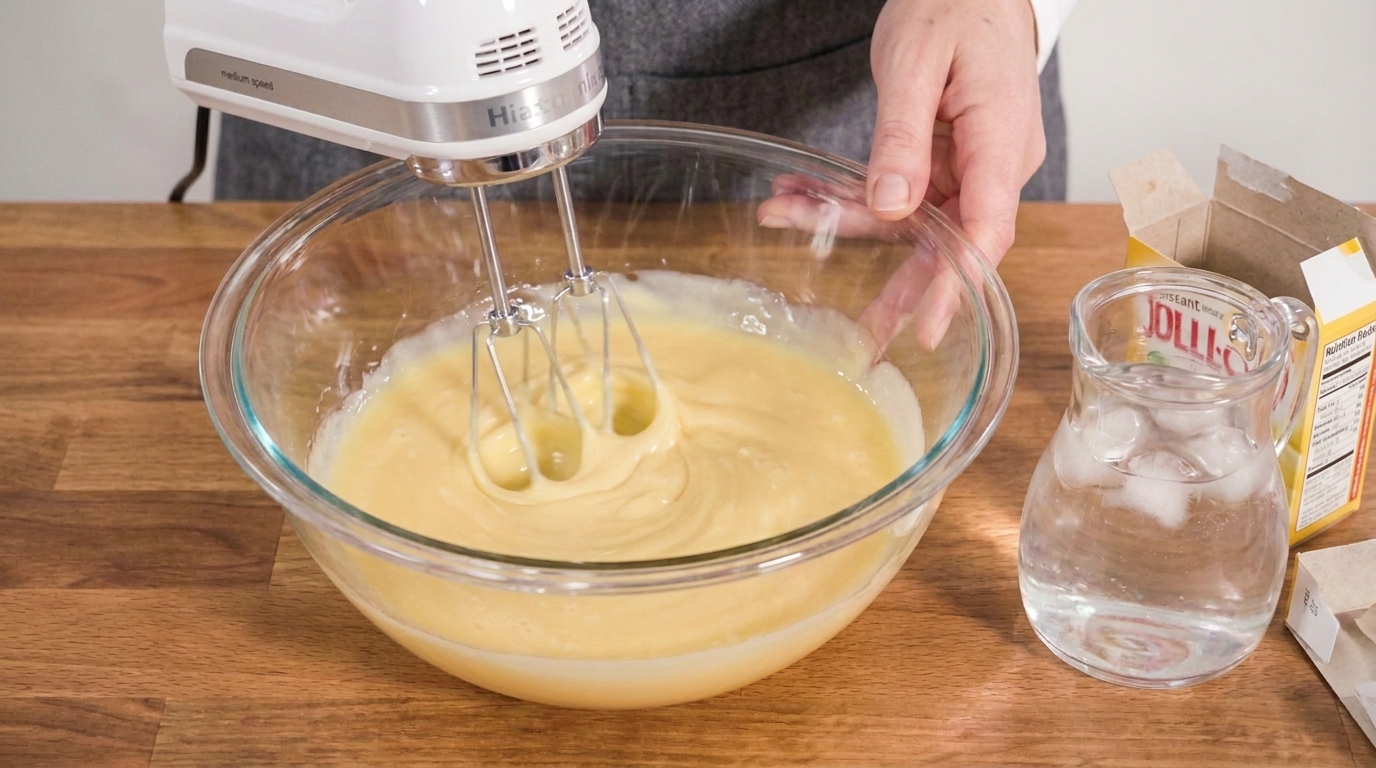
Add the instant vanilla pudding mix to the condensed milk mixture. Beat with an electric mixer on medium speed for about 2 minutes, or until the mixture is smooth and slightly thickened. Don’t overmix, as it can cause the pudding to become grainy. Once mixed, cover the bowl and refrigerate for at least 4 hours, or preferably overnight, to allow the pudding to set completely and chill thoroughly. This is a key step for that signature Magnolia Bakery texture.
Step 3: Whip the Cream
In a separate, very cold bowl (preferably a stainless steel mixing bowl that’s been chilled), whip the heavy cream and vanilla extract with an electric mixer on high speed until stiff peaks form. Be careful not to over-whip, or it will turn into butter. The whipped cream should be light and airy, yet firm enough to hold its shape.
Step 4: Combine Pudding and Whipped Cream
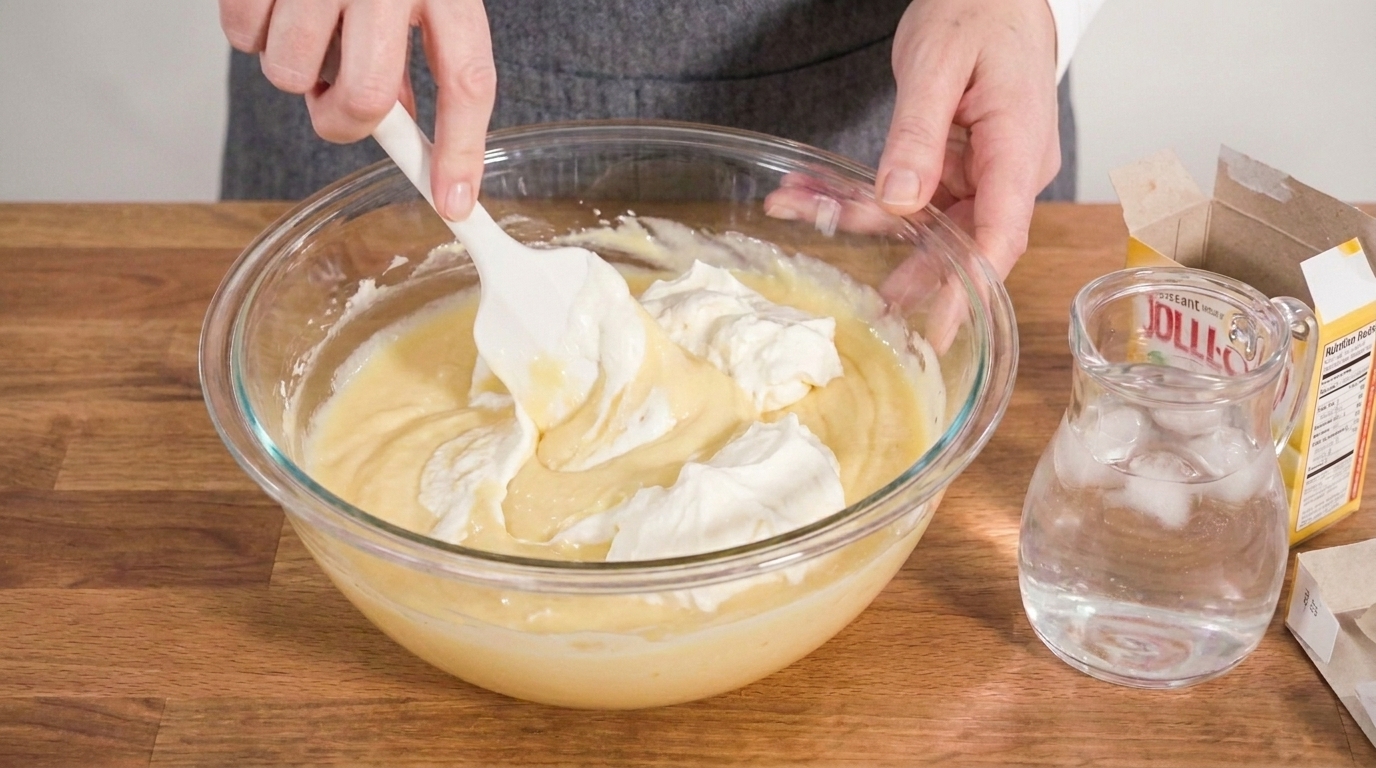
Once the pudding base is fully chilled and set, gently fold about one-third of the whipped cream into the pudding mixture until just combined. Then, carefully fold in the remaining whipped cream. The goal is to keep the mixture light and airy, not to deflate the whipped cream. This creates the signature cloud-like texture of the Magnolia Bakery pudding.
Step 5: Assemble the Pudding
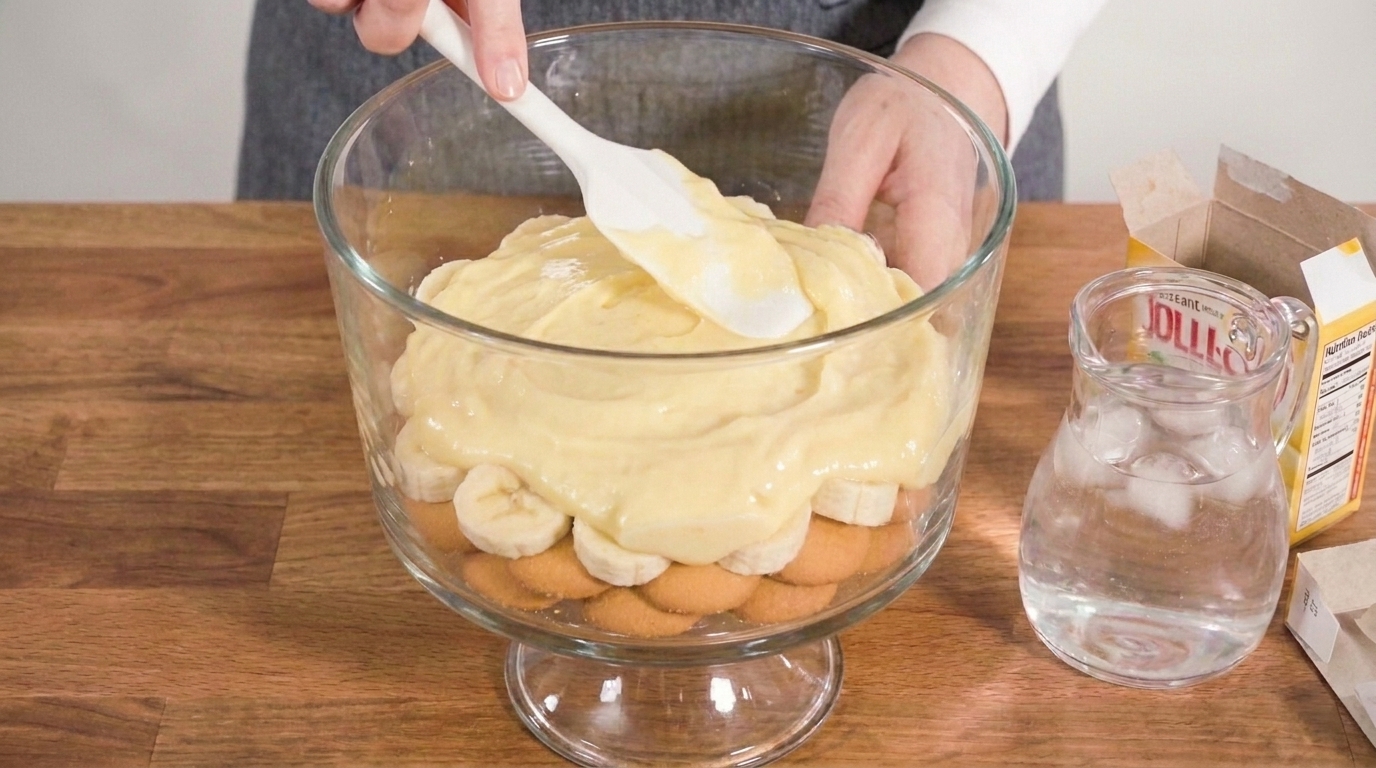
Now for the fun part: assembling your masterpiece! In a large, clear glass trifle bowl or individual serving dishes, arrange a layer of vanilla wafers at the bottom. Break some if needed to cover the base completely. Next, add a layer of sliced bananas over the wafers. Finally, spread a generous layer of the creamy pudding mixture over the bananas and wafers.
Step 6: Layer and Chill
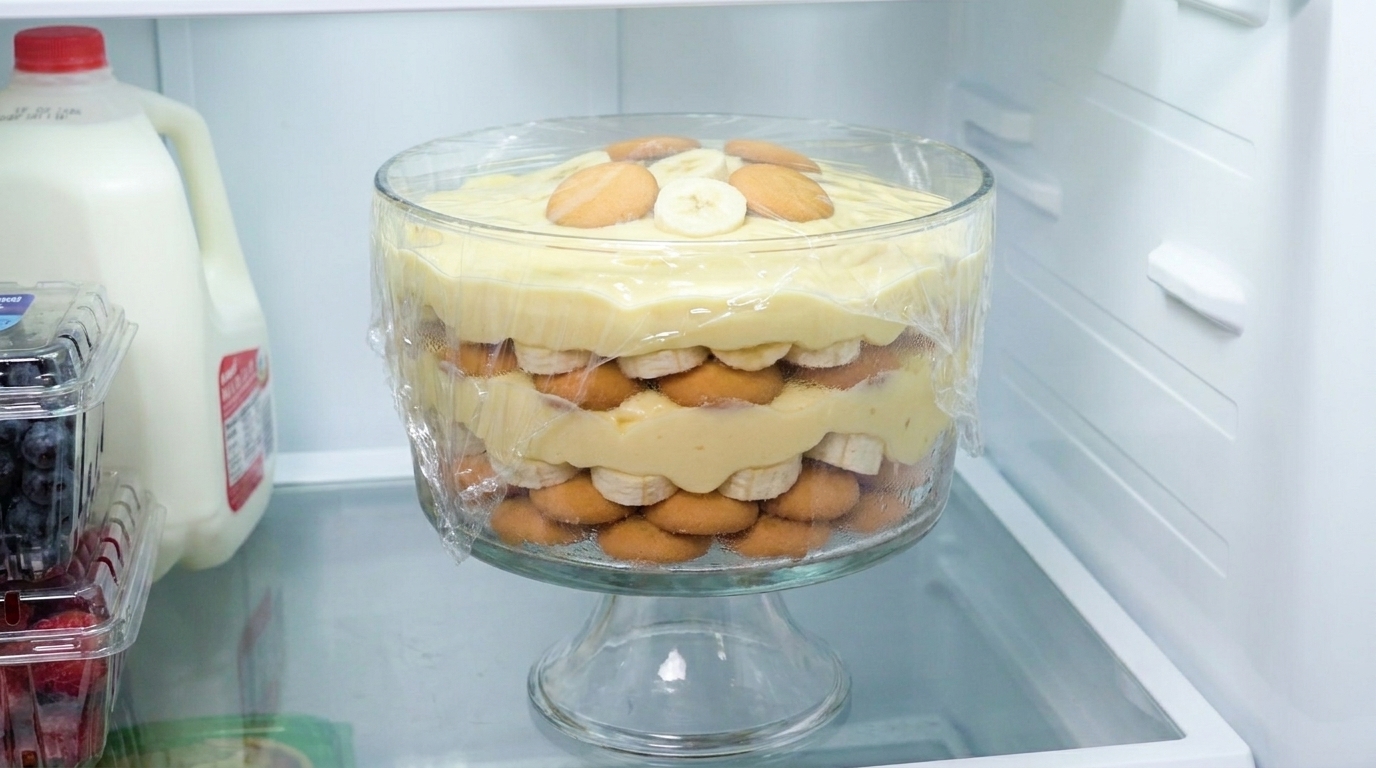
Repeat the layering process: vanilla wafers, then bananas, then pudding, until all ingredients are used, ending with a final layer of pudding. For the best presentation, you might want to save a few whole vanilla wafers and banana slices for the very top garnish. Cover the assembled pudding tightly with plastic wrap and refrigerate for at least 6-8 hours, or ideally overnight. This chilling time is essential for the wafers to soften and absorb the pudding’s flavor, creating that irresistible melt-in-your-mouth texture.
Banana Pudding Magnolia Bakery Copycat — I Got the Manager to Confirm the Real Recipe
Ingredients
- 1 (14-ounce) can sweetened condensed milk
- 1 ½ cups ice-cold water
- 1 (3.4-ounce) package instant vanilla pudding mix (Jell-O brand recommended)
- 3 cups heavy cream, very cold
- 1 teaspoon vanilla extract
- 1 (12-ounce) box vanilla wafers (Nilla Wafers recommended)
- 4-5 ripe bananas, sliced
Instructions
- In a large bowl, combine the sweetened condensed milk and ice-cold water. Whisk them together until thoroughly combined. This forms the rich base of your pudding. The cold water is crucial here to ensure the pudding sets properly and quickly. Make sure there are no lumps remaining before moving on to the next step.
- Add the instant vanilla pudding mix to the condensed milk mixture. Beat with an electric mixer on medium speed for about 2 minutes, or until the mixture is smooth and slightly thickened. Don’t overmix, as it can cause the pudding to become grainy. Once mixed, cover the bowl and refrigerate for at least 4 hours, or preferably overnight, to allow the pudding to set completely and chill thoroughly. This is a key step for that signature Magnolia Bakery texture.
- In a separate, very cold bowl (preferably a stainless steel mixing bowl that’s been chilled), whip the heavy cream and vanilla extract with an electric mixer on high speed until stiff peaks form. Be careful not to over-whip, or it will turn into butter. The whipped cream should be light and airy, yet firm enough to hold its shape.
- Once the pudding base is fully chilled and set, gently fold about one-third of the whipped cream into the pudding mixture until just combined. Then, carefully fold in the remaining whipped cream. The goal is to keep the mixture light and airy, not to deflate the whipped cream. This creates the signature cloud-like texture of the Magnolia Bakery pudding.
- Now for the fun part: assembling your masterpiece! In a large, clear glass trifle bowl or individual serving dishes, arrange a layer of vanilla wafers at the bottom. Break some if needed to cover the base completely. Next, add a layer of sliced bananas over the wafers. Finally, spread a generous layer of the creamy pudding mixture over the bananas and wafers.
- Repeat the layering process: vanilla wafers, then bananas, then pudding, until all ingredients are used, ending with a final layer of pudding. For the best presentation, you might want to save a few whole vanilla wafers and banana slices for the very top garnish. Cover the assembled pudding tightly with plastic wrap and refrigerate for at least 6-8 hours, or ideally overnight. This chilling time is essential for the wafers to soften and absorb the pudding’s flavor, creating that irresistible melt-in-your-mouth texture.
FAQ Section
What kind of bananas should I use for banana pudding?
Can I make this banana pudding ahead of time?
Why is my pudding not setting properly?
Can I use homemade vanilla pudding instead of instant?
Conclusion
And there you have it—your very own, incredibly authentic Magnolia Bakery Banana Pudding copycat! The patience required for the chilling time is truly worth it, as it allows all the flavors to meld beautifully and the wafers to soften to perfection. This recipe is a testament to simple ingredients coming together to create something truly magical. Whether you’re making it for a special occasion or just to treat yourself, this banana pudding is sure to become a beloved staple in your food repertoire.
For more delightful dessert ideas, check out our Fudgy Brownie Recipe or explore other favorite dessert recipes on Food Jot. Happy baking (or rather, no-baking)!