
Affiliate Disclosure: This post may contain affiliate links. If you make a purchase through these links, we may earn a commission at no extra cost to you. For more information, please see our affiliate disclosure.
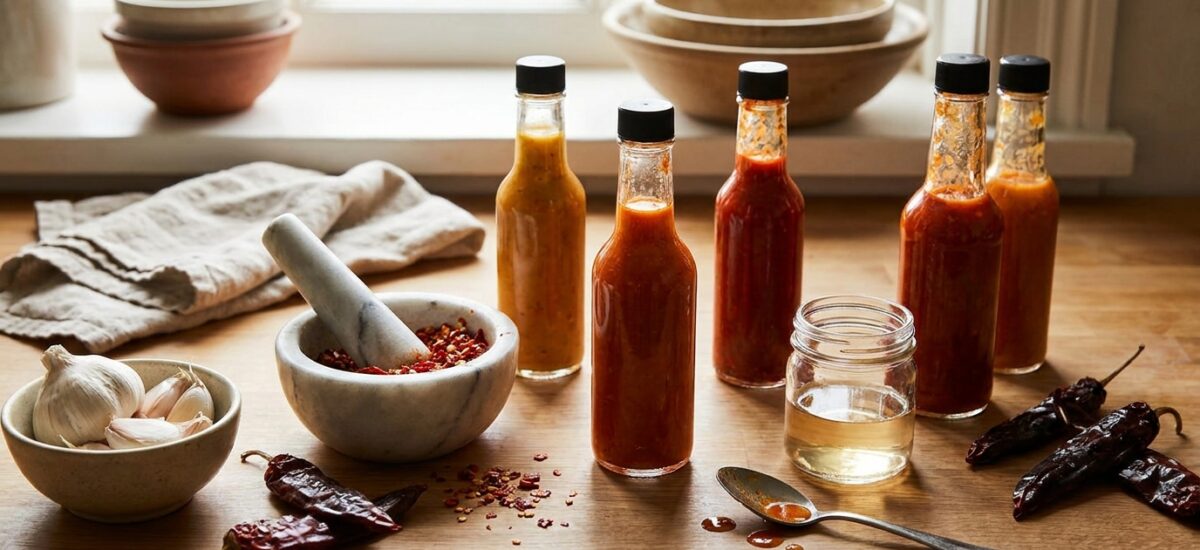
There’s nothing quite like the fiery kick and complex flavor of homemade hot sauce. You envision a vibrant, tangy, and deeply satisfying condiment that elevates every meal. But if you’re like many home cooks, you might have experienced the frustrating reality of a homemade hot sauce that, well, just tastes… flat. It has heat, sure, but lacks that elusive depth, complexity, and bright tang you crave from your favorite store-bought varieties. You’ve tried different peppers, adjusted the vinegar, and still, something is missing.
The good news? You’re not alone, and the solution is simpler than you think. The secret to transforming your hot sauce from merely spicy to truly sensational lies in one often-overlooked step: fermentation. This ancient technique, used in countless culinary traditions, is the game-changer that introduces incredible depth, nuanced flavors, and a natural acidity that vinegar alone can’t replicate. Forget those one-note, sharp vinegar bombs; get ready to create a hot sauce that sings with flavor.
Ingredients
- 2 lbs fresh chili peppers (e.g., habanero, serrano, jalapeño, or a mix), stems removed, roughly chopped (no need to de-seed unless you prefer less heat)
- 6 cloves garlic, peeled
- 1 small onion, roughly chopped
- 2 tablespoons non-iodized sea salt
- 4 cups filtered water (chlorine-free)
- Optional: 1 small carrot or apple, roughly chopped (for added sweetness and fermentation fuel)
- 1/2 cup apple cider vinegar (for finishing)
Product Spotlight
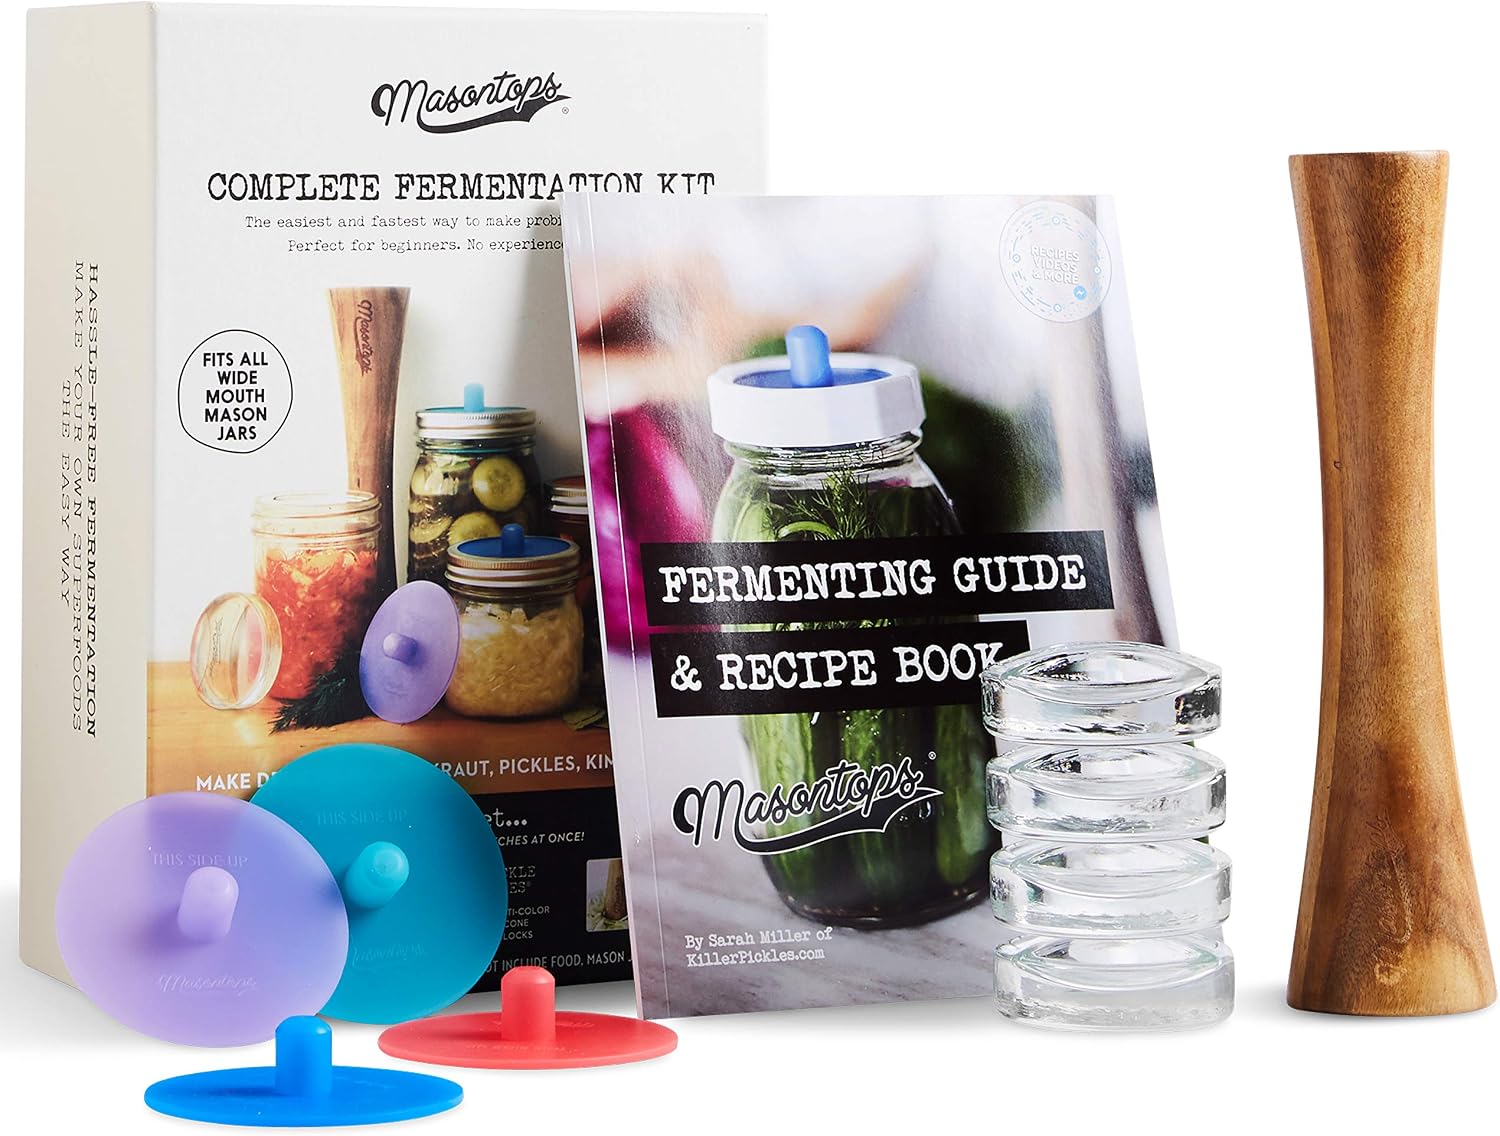
Fermentation Kit with Airlocks
$39.99Food-grade plastic and glass finish. Wide-mouth jars compatibility.
Buy on AmazonStep-by-Step Instructions
Step 1: Prepare Your Peppers and Veggies
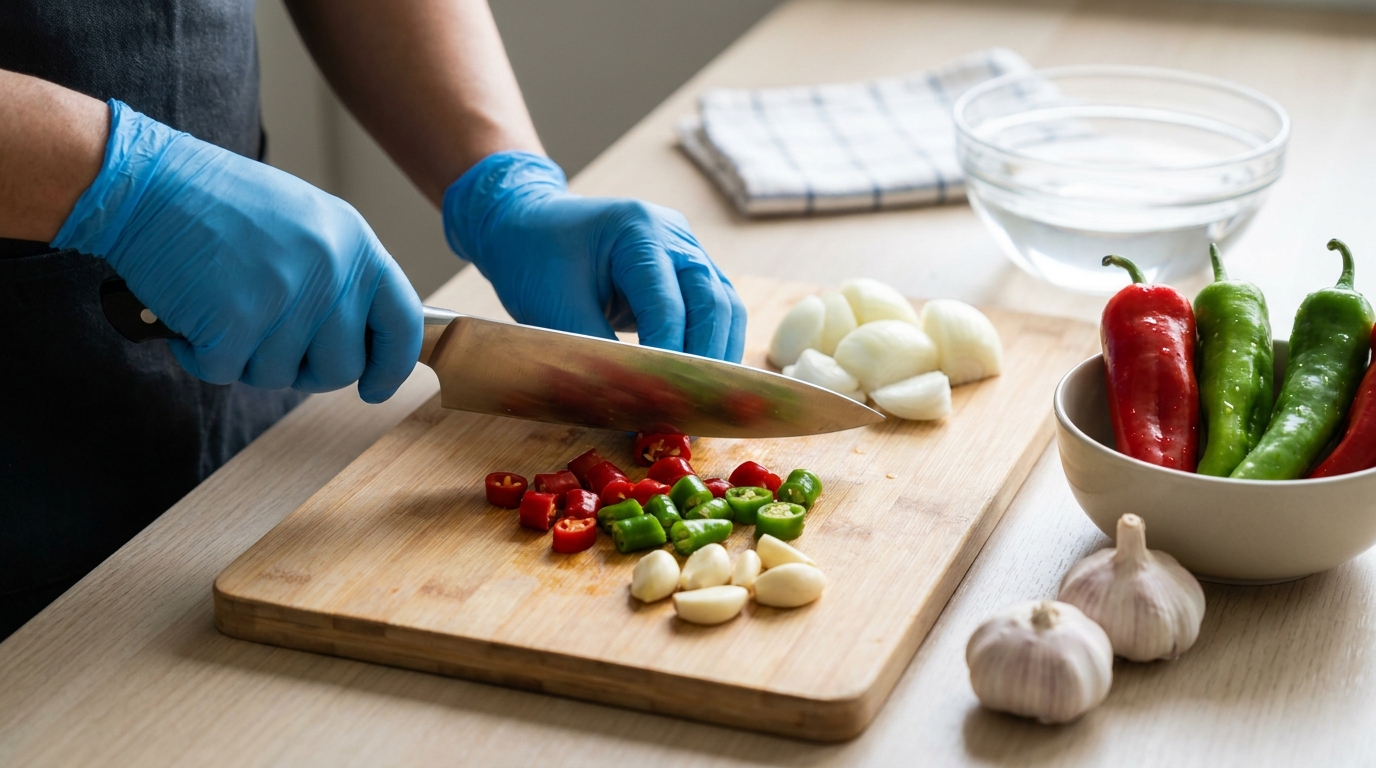
Wash your chosen chili peppers thoroughly. Remove the stems. Roughly chop the peppers, garlic, and onion. If using, chop the carrot or apple as well. Remember, wear gloves when handling hot peppers to avoid skin irritation! For precise cuts, consider using a high-quality chef’s knife.
Step 2: Create the Brine
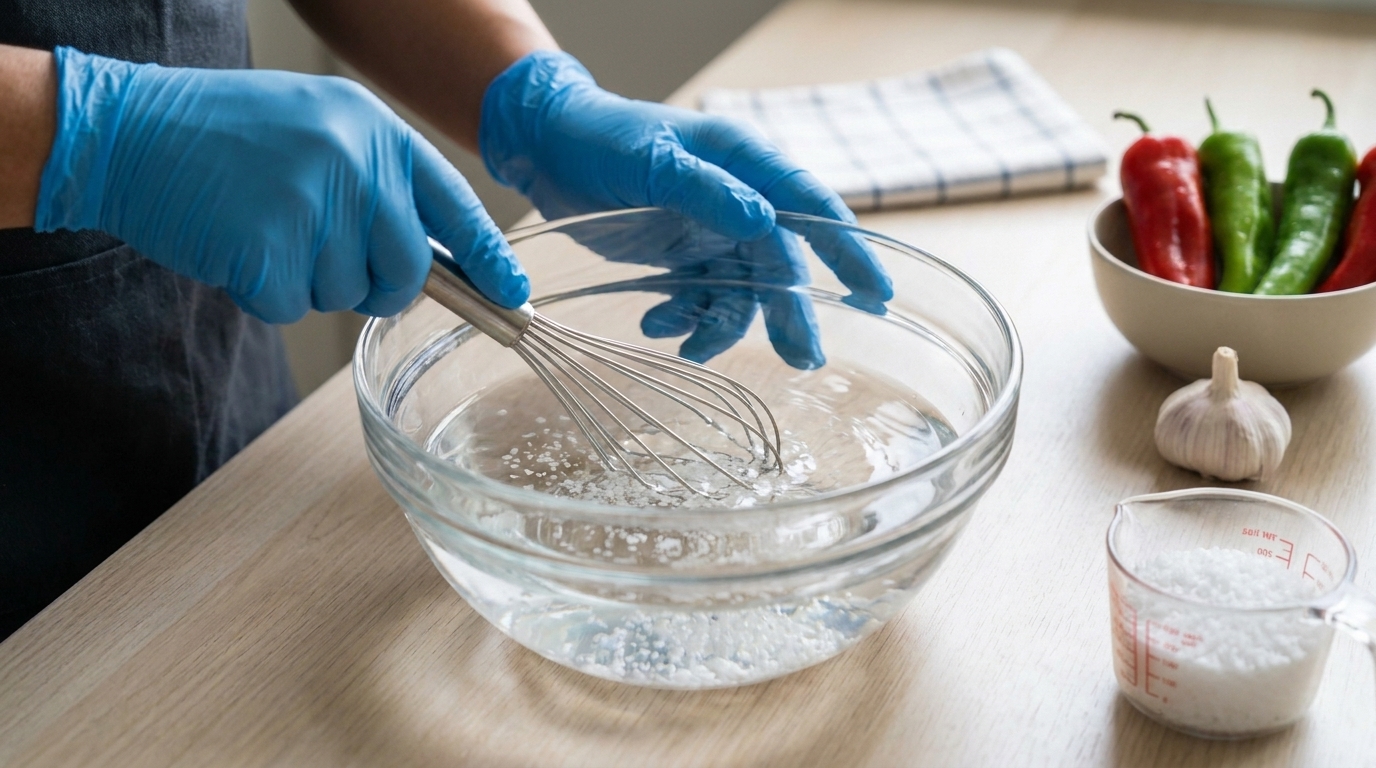
In a large bowl, dissolve the non-iodized sea salt in filtered water. Stir until the salt is completely dissolved. Using filtered or distilled water is crucial, as chlorine can inhibit the beneficial bacteria needed for fermentation.
Step 3: Pack Your Fermentation Jar
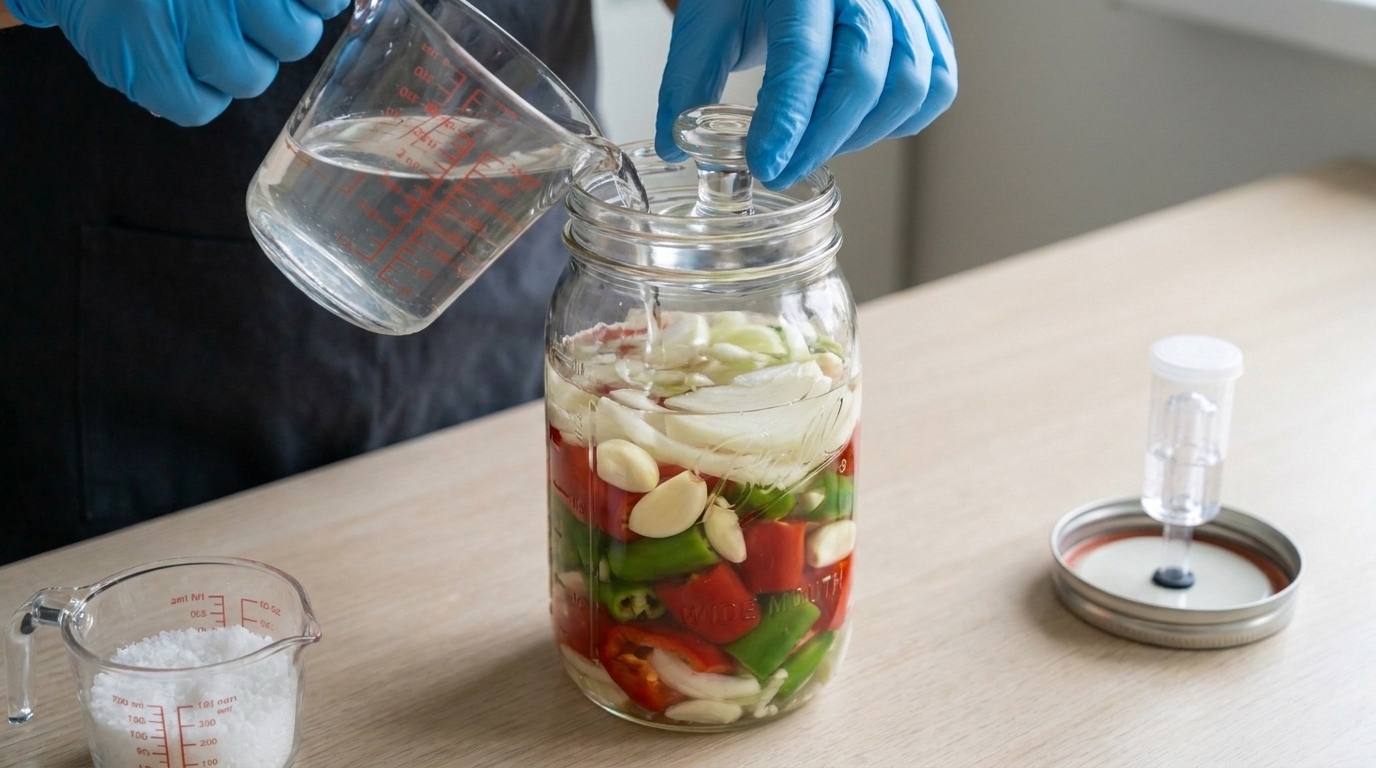
Place the chopped peppers, garlic, onion, and any optional vegetables into a clean, sanitized glass jar. A wide-mouth canning jar works perfectly. Pour the brine over the vegetables, ensuring they are completely submerged. You may need to use a fermentation weight or a small, clean plate to keep the solids under the brine to prevent mold growth. Leave about 1-2 inches of headspace at the top of the jar. For successful fermentation, a dedicated fermentation kit with airlocks is highly recommended.
Step 4: Ferment!
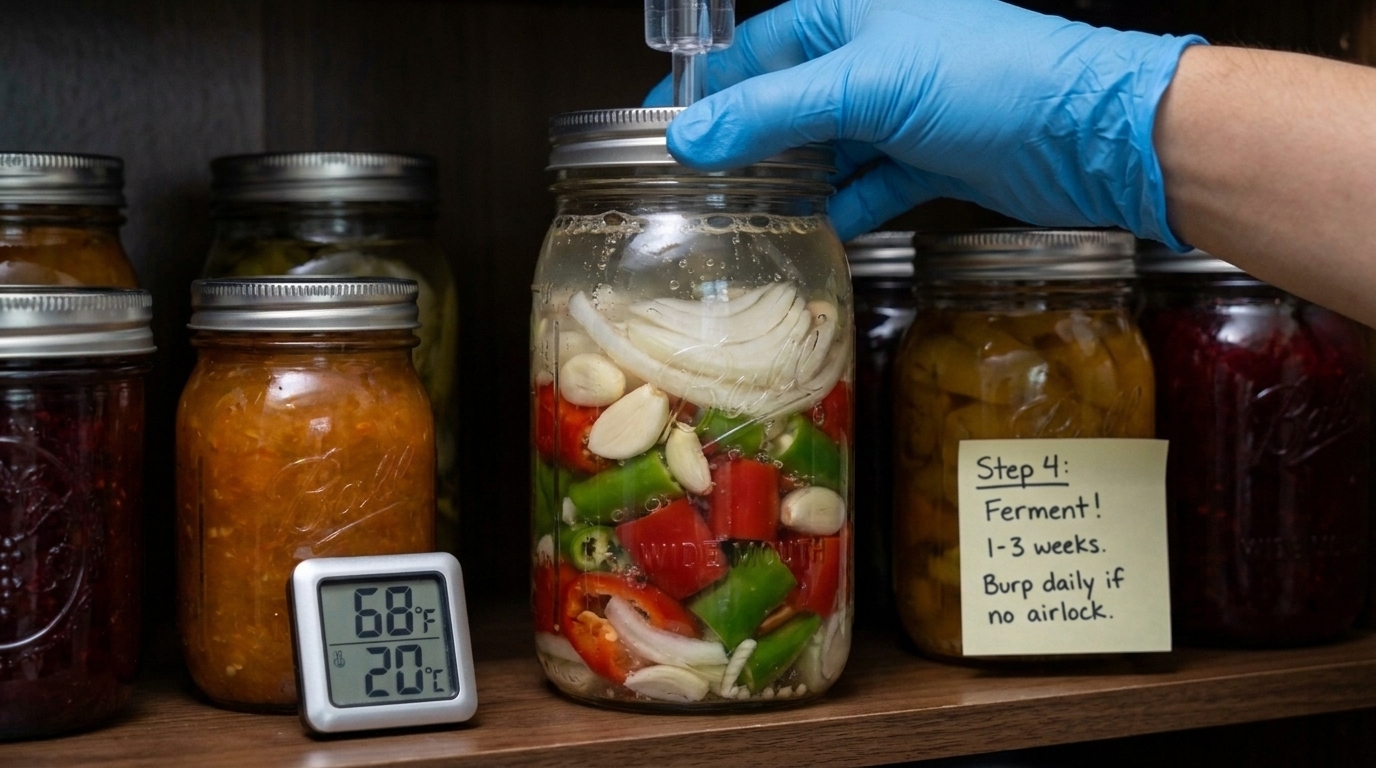
Loosely cover the jar with a lid or use an airlock system. Place the jar in a cool, dark spot, ideally between 60-75°F (15-24°C). Allow it to ferment for 1-3 weeks. You’ll notice bubbles forming, indicating active fermentation. “Burp” the jar daily if not using an airlock to release built-up gases. Taste a small piece of pepper periodically after the first week; when it reaches your desired tanginess and flavor depth, it’s ready for the next step.
Step 5: Blend Your Sauce
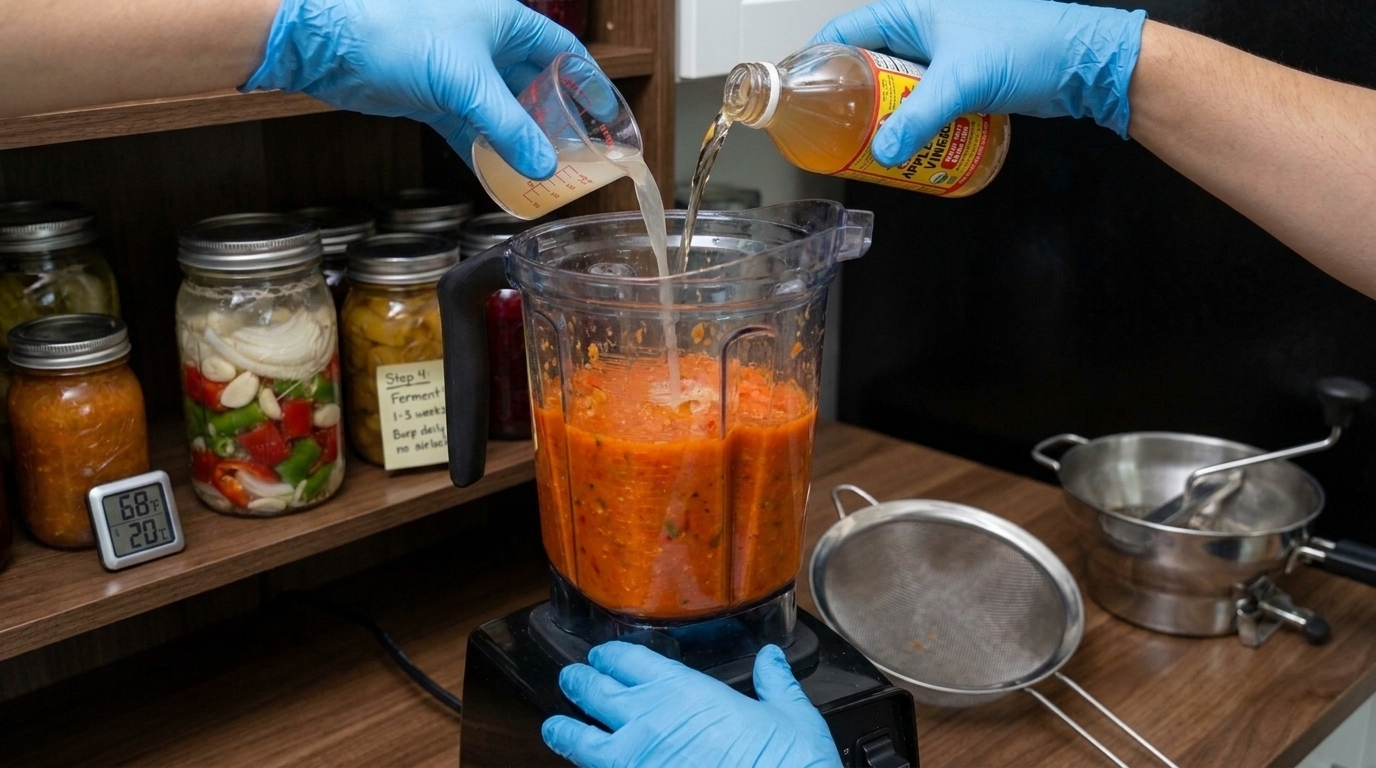
Once fermentation is complete, drain the peppers and vegetables, reserving the brine. Transfer the fermented solids to a high-speed blender. Add a small amount of the reserved brine (start with 1/2 cup) and the apple cider vinegar. Blend until completely smooth. Add more brine, a tablespoon at a time, until you reach your desired consistency. For an extra smooth sauce, you can pass it through a fine-mesh sieve or a food mill.
Step 6: Adjust Seasoning and Bottle
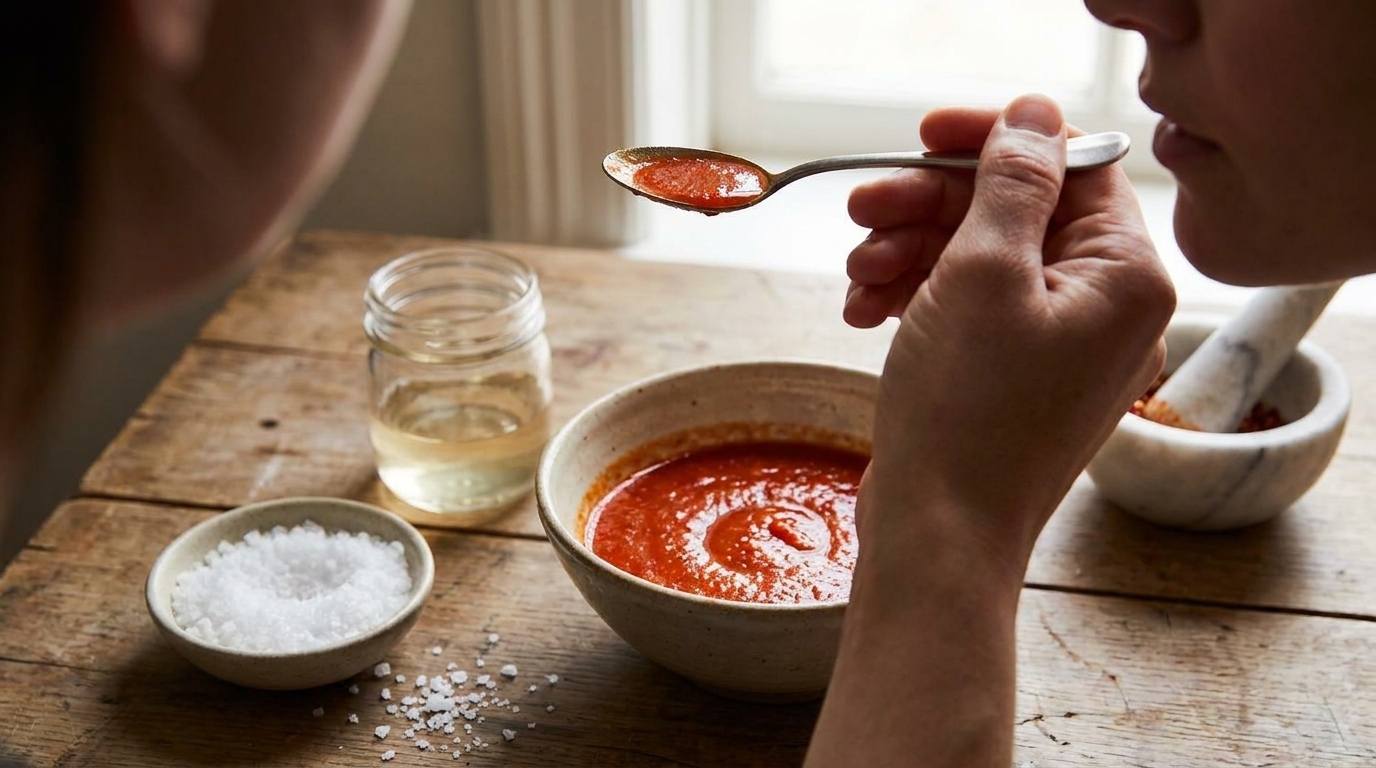
Taste the hot sauce and adjust salt if necessary. Remember, the fermentation process already adds a lot of flavor and some salinity. If you prefer a thinner sauce, add a bit more brine or filtered water. For a thicker sauce, you can gently simmer it on the stovetop for 5-10 minutes, stirring constantly, but this will kill some of the beneficial probiotics. Pour the finished hot sauce into clean, sanitized hot sauce bottles using a funnel.
Step 7: Store Your Homemade Hot Sauce
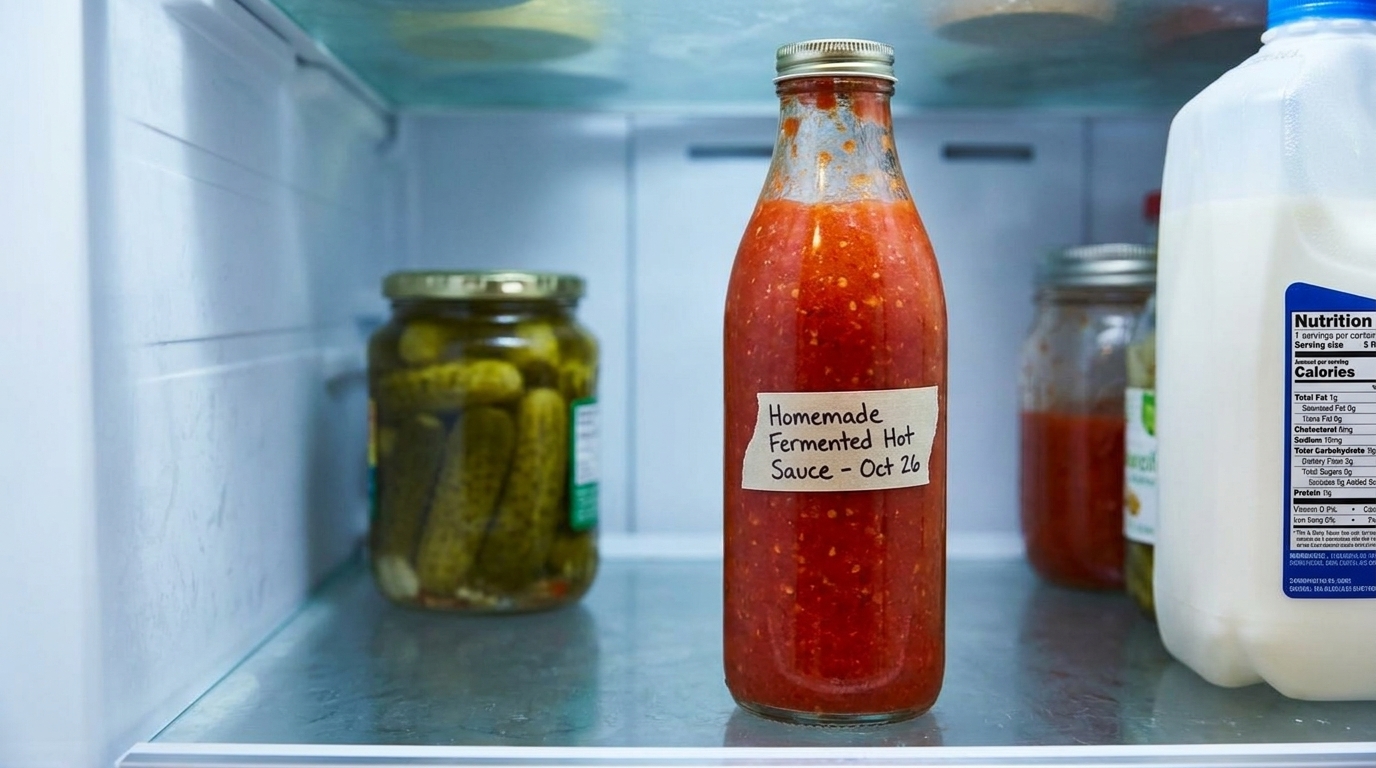
Store your fermented hot sauce in the refrigerator. It will continue to develop flavor over time and should last for several months, if not longer, due to its acidity and salt content. Enjoy your perfectly balanced, deeply flavorful homemade hot sauce on everything!
Why Your Homemade Hot Sauce Always Tastes Flat (And the One Step That Fixes Everything)
Ingredients
- 2 lbs fresh chili peppers (e.g., habanero, serrano, jalapeño, or a mix), stems removed, roughly chopped (no need to de-seed unless you prefer less heat)
- 6 cloves garlic, peeled
- 1 small onion, roughly chopped
- 2 tablespoons non-iodized sea salt
- 4 cups filtered water (chlorine-free)
- Optional: 1 small carrot or apple, roughly chopped (for added sweetness and fermentation fuel)
- 1/2 cup apple cider vinegar (for finishing)
Instructions
- Wash your chosen chili peppers thoroughly. Remove the stems. Roughly chop the peppers, garlic, and onion. If using, chop the carrot or apple as well. Remember, wear gloves when handling hot peppers to avoid skin irritation! For precise cuts, consider using a high-quality chef’s knife.
- In a large bowl, dissolve the non-iodized sea salt in filtered water. Stir until the salt is completely dissolved. Using filtered or distilled water is crucial, as chlorine can inhibit the beneficial bacteria needed for fermentation.
- Place the chopped peppers, garlic, onion, and any optional vegetables into a clean, sanitized glass jar. A wide-mouth canning jar works perfectly. Pour the brine over the vegetables, ensuring they are completely submerged. You may need to use a fermentation weight or a small, clean plate to keep the solids under the brine to prevent mold growth. Leave about 1-2 inches of headspace at the top of the jar. For successful fermentation, a dedicated fermentation kit with airlocks is highly recommended.
- Loosely cover the jar with a lid or use an airlock system. Place the jar in a cool, dark spot, ideally between 60-75°F (15-24°C). Allow it to ferment for 1-3 weeks. You’ll notice bubbles forming, indicating active fermentation. “Burp” the jar daily if not using an airlock to release built-up gases. Taste a small piece of pepper periodically after the first week; when it reaches your desired tanginess and flavor depth, it’s ready for the next step.
- Once fermentation is complete, drain the peppers and vegetables, reserving the brine. Transfer the fermented solids to a high-speed blender. Add a small amount of the reserved brine (start with 1/2 cup) and the apple cider vinegar. Blend until completely smooth. Add more brine, a tablespoon at a time, until you reach your desired consistency. For an extra smooth sauce, you can pass it through a fine-mesh sieve or a food mill.
- Taste the hot sauce and adjust salt if necessary. Remember, the fermentation process already adds a lot of flavor and some salinity. If you prefer a thinner sauce, add a bit more brine or filtered water. For a thicker sauce, you can gently simmer it on the stovetop for 5-10 minutes, stirring constantly, but this will kill some of the beneficial probiotics. Pour the finished hot sauce into clean, sanitized hot sauce bottles using a funnel.
- Store your fermented hot sauce in the refrigerator. It will continue to develop flavor over time and should last for several months, if not longer, due to its acidity and salt content. Enjoy your perfectly balanced, deeply flavorful homemade hot sauce on everything!
FAQ Section
Can I skip fermentation?
How long does fermented hot sauce last?
What kind of peppers should I use?
Conclusion
Say goodbye to flat, one-dimensional hot sauces and hello to a world of vibrant, complex flavors. By embracing the simple yet powerful technique of fermentation, you unlock a depth of taste that will elevate your homemade hot sauce to new heights. No longer will you wonder “Why your homemade hot sauce always tastes flat” because you’ll have the secret weapon: time, salt, and beneficial bacteria! Experiment with different peppers and added ingredients to discover your signature heat. Ready to explore more homemade condiments? Check out our recipe for Homemade Ketchup Without Sugar or learn to make your own Homemade Pesto Sauce. For more culinary tips and inspiration, visit Serious Eats Recipes, AllRecipes, or NY Times Cooking. Happy fermenting!