
Affiliate Disclosure: This post may contain affiliate links. If you make a purchase through these links, we may earn a commission at no extra cost to you. For more information, please see our affiliate disclosure.
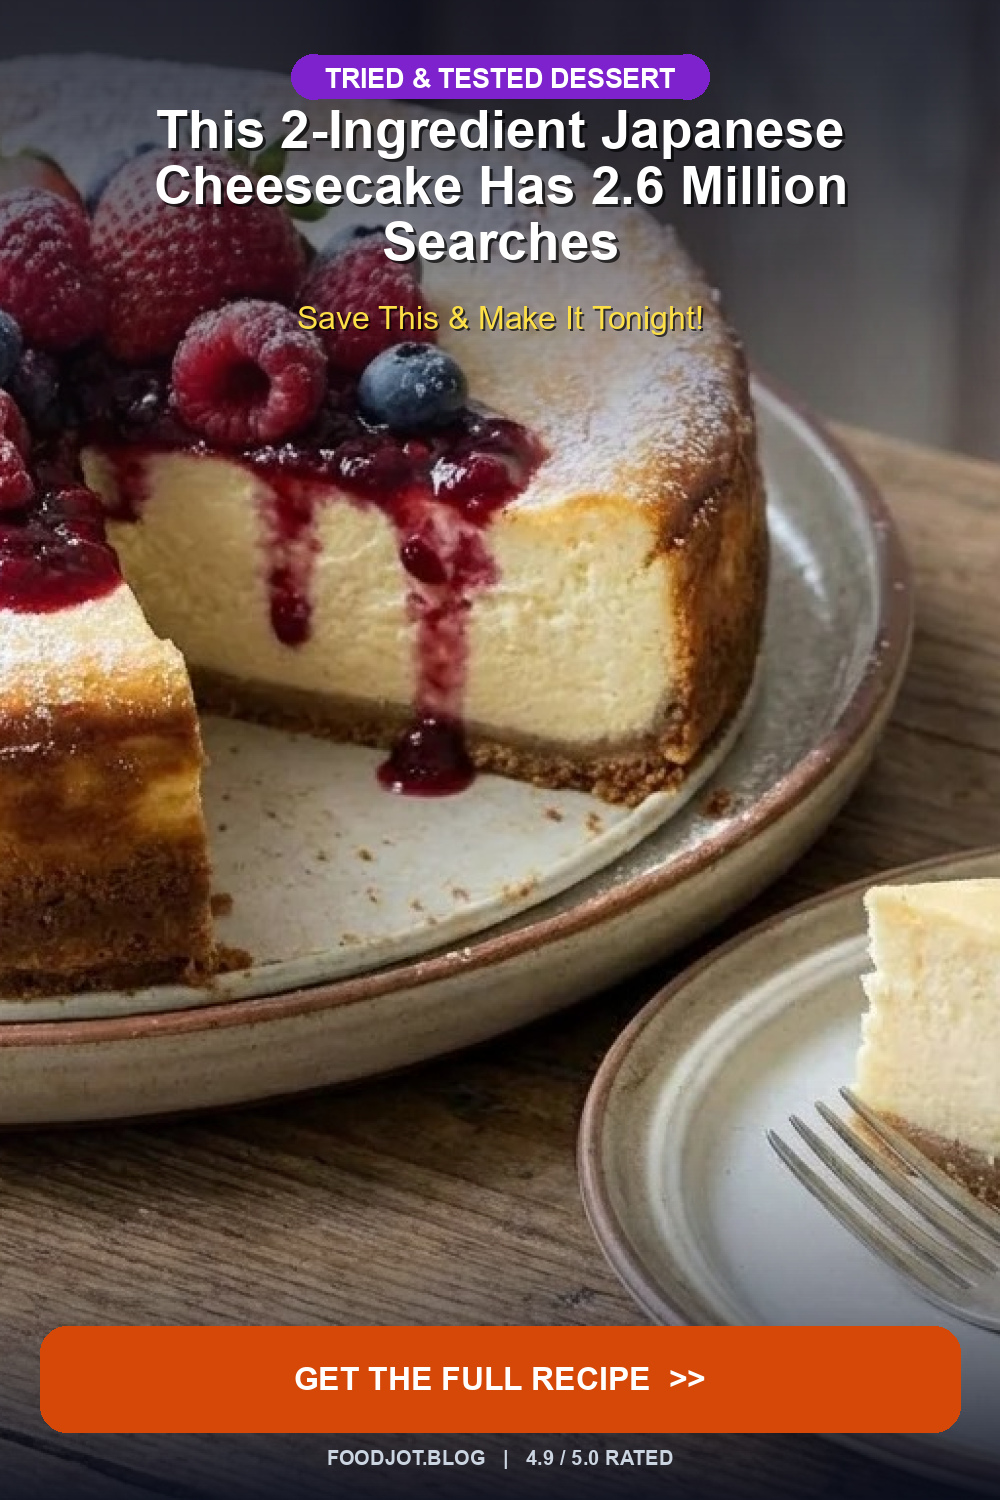
Get ready to join the viral sensation that has taken the internet by storm! The 2-Ingredient Japanese Cheesecake is more than just a trend; it’s a testament to how simple ingredients can create something truly extraordinary. With over 2.6 million searches, this recipe proves that you don’t need a lengthy ingredient list or complex techniques to achieve a dessert that’s utterly divine. If you’ve been dreaming of that impossibly light, airy, and melt-in-your-mouth fluffy texture, your search ends here. We’re giving you the exact recipe before it takes over every kitchen!
Forget everything you thought you knew about cheesecake. This Japanese-inspired version, often called a soufflé cheesecake, redefines indulgence with its cloud-like consistency. It’s significantly lighter than its dense New York counterpart, offering a delicate sweetness that’s perfect for any occasion. Whether you’re a seasoned baker or a complete novice, this recipe is designed for success, promising a show-stopping dessert with minimal fuss. Prepare to impress everyone with this deceptively simple viral treat!
Ingredients
- 4 large eggs, separated
- 8 oz (226g) cream cheese, softened
The Magic Behind Two Ingredients
It’s truly remarkable how two humble ingredients – cream cheese and eggs – can transform into such a sophisticated dessert. The secret lies in the technique. The fat from the cream cheese provides richness and structure, while the separated and whipped egg whites introduce an incredible amount of air, creating that signature soufflé-like lift and airy texture. When baked in a water bath, the gentle, moist heat allows the cheesecake to rise slowly and evenly, preventing it from drying out or cracking, resulting in a perfectly smooth and delicate crumb.

Product Spotlight
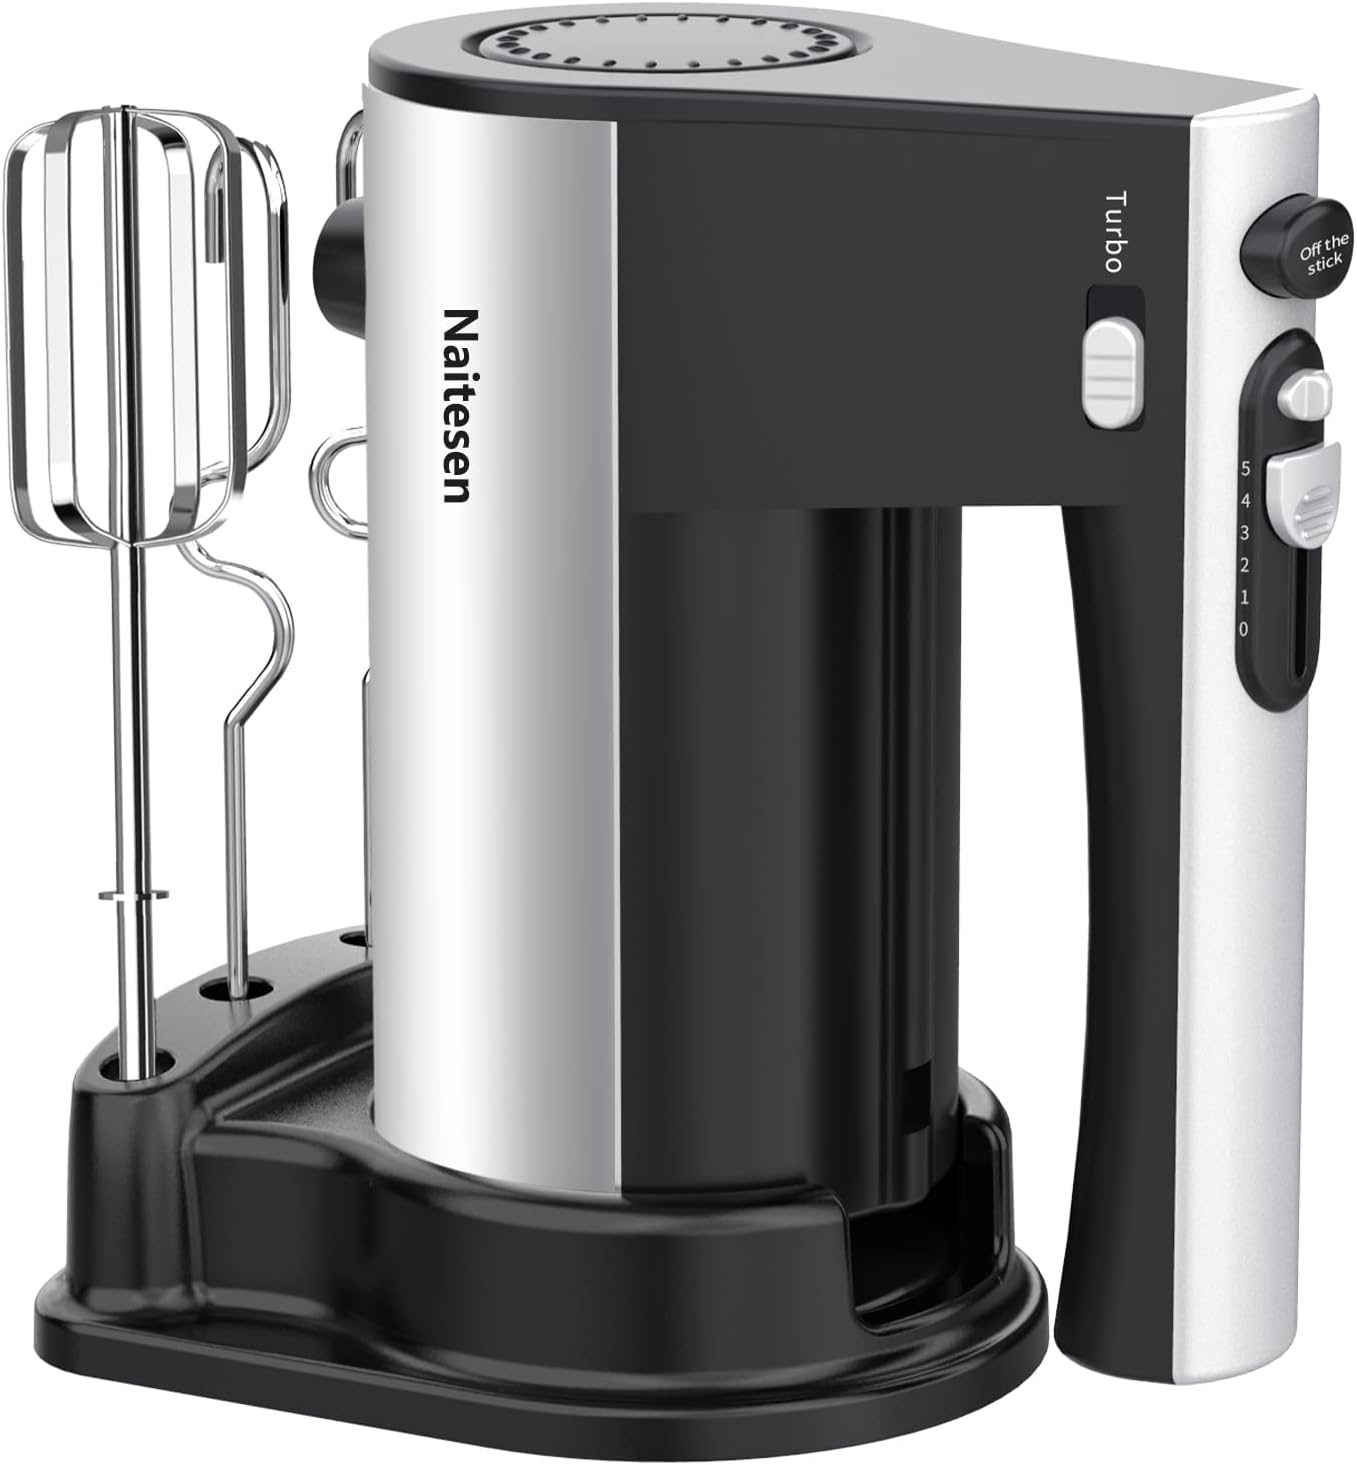
High-Power Electric Hand Mixer
$39.99250 Watts power. 5-speed with turbo boost speeds.
Buy on AmazonStep-by-Step Instructions
Step 1: Prepare Your Ingredients and Pan
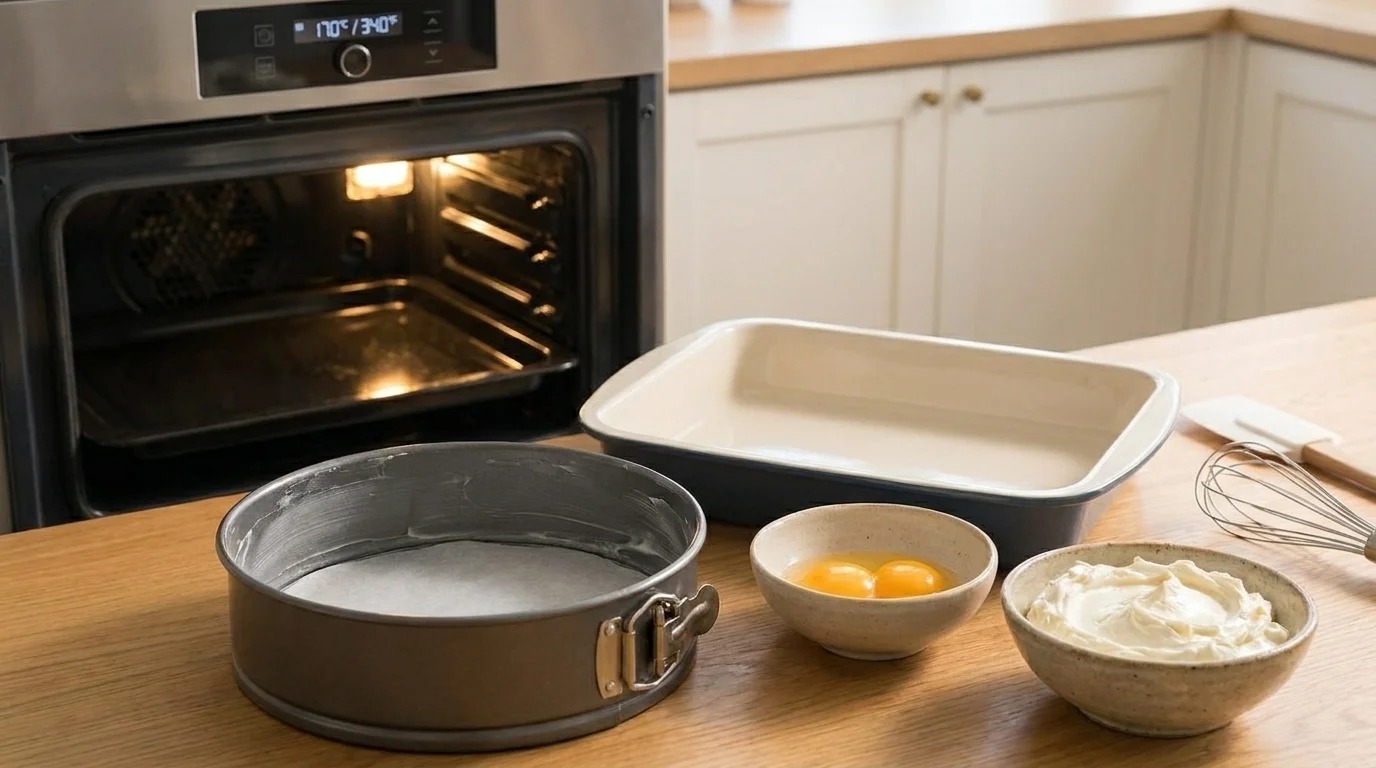
Preheat your oven to 340°F (170°C). Grease an 8-inch round springform pan and line the bottom with parchment paper. You’ll also need a larger baking dish for a water bath. Ensure your cream cheese is at room temperature for smooth mixing, and separate your egg whites and yolks into two mixing bowls. This preparation is key to the cheesecake’s success.
Step 2: Create the Cream Cheese Base
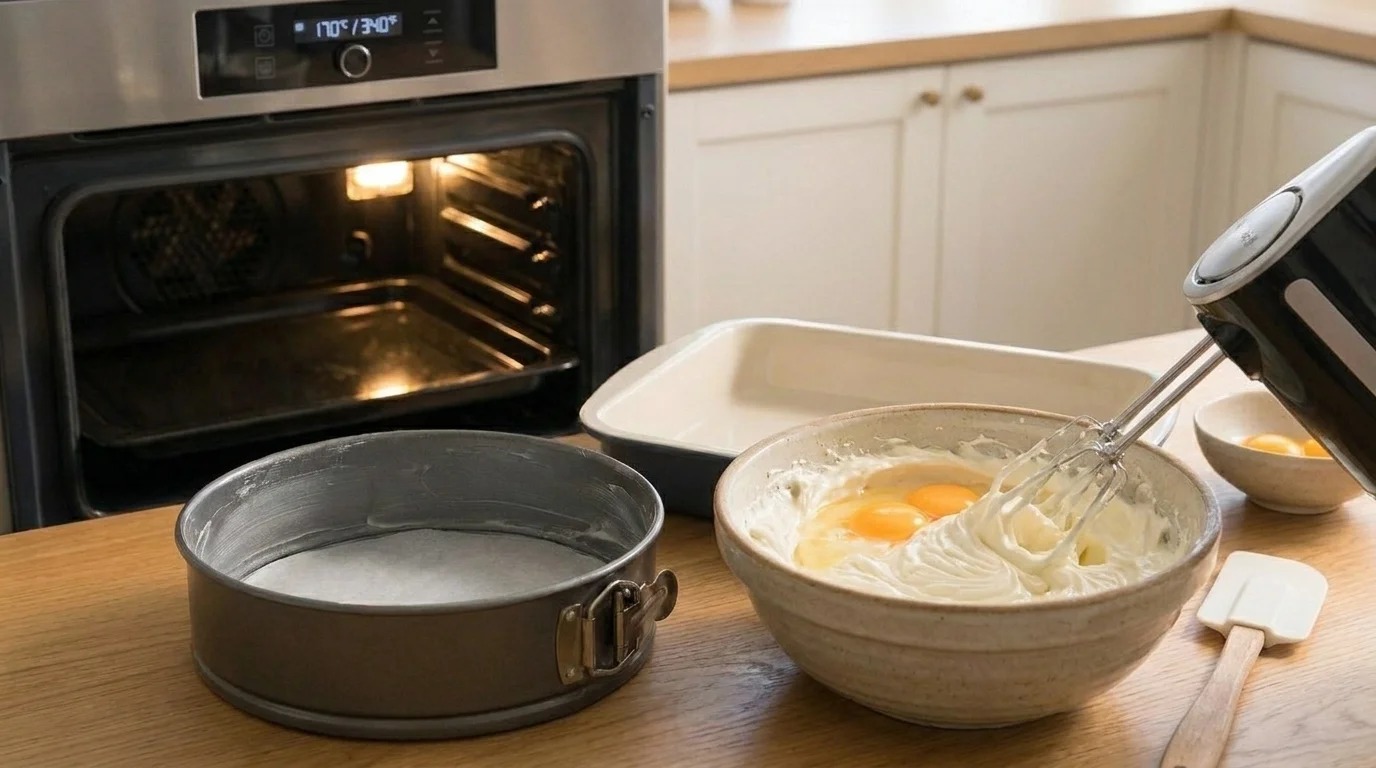
In a large bowl, combine the softened cream cheese with the egg yolks. Using an electric hand mixer , beat the mixture until it’s completely smooth and free of lumps. This should take about 2-3 minutes. Scrape down the sides of the bowl to ensure everything is well incorporated. The goal is a uniform, creamy consistency for your cheesecake base.
Step 3: Whip the Egg Whites
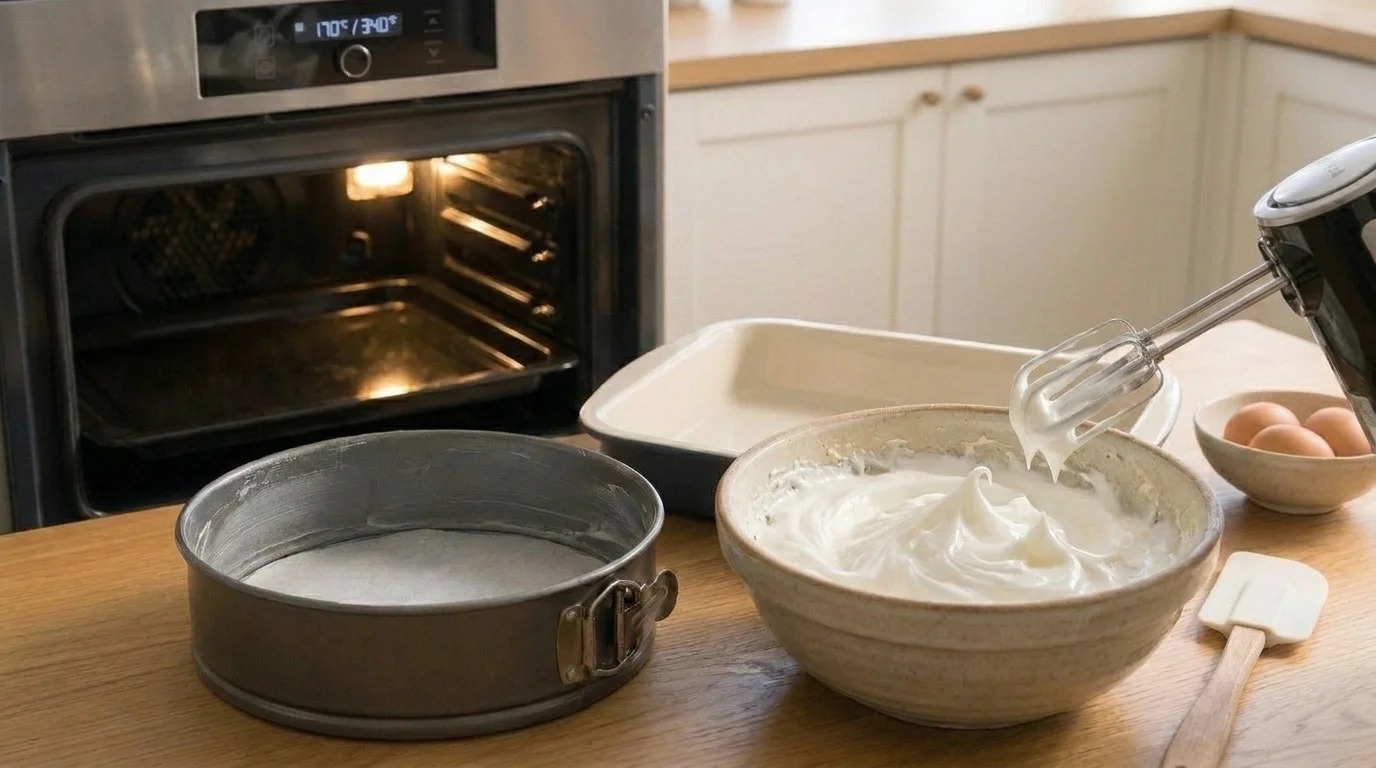
In a separate, clean bowl, beat the egg whites until stiff peaks form. This means when you lift the beaters, the whites hold their shape firmly. Be careful not to overbeat, as this can make them dry. If you have a stand mixer , this step is even easier. Stiff peaks are crucial for the soufflé-like texture of the Japanese cheesecake.
Step 4: Gently Fold the Mixtures
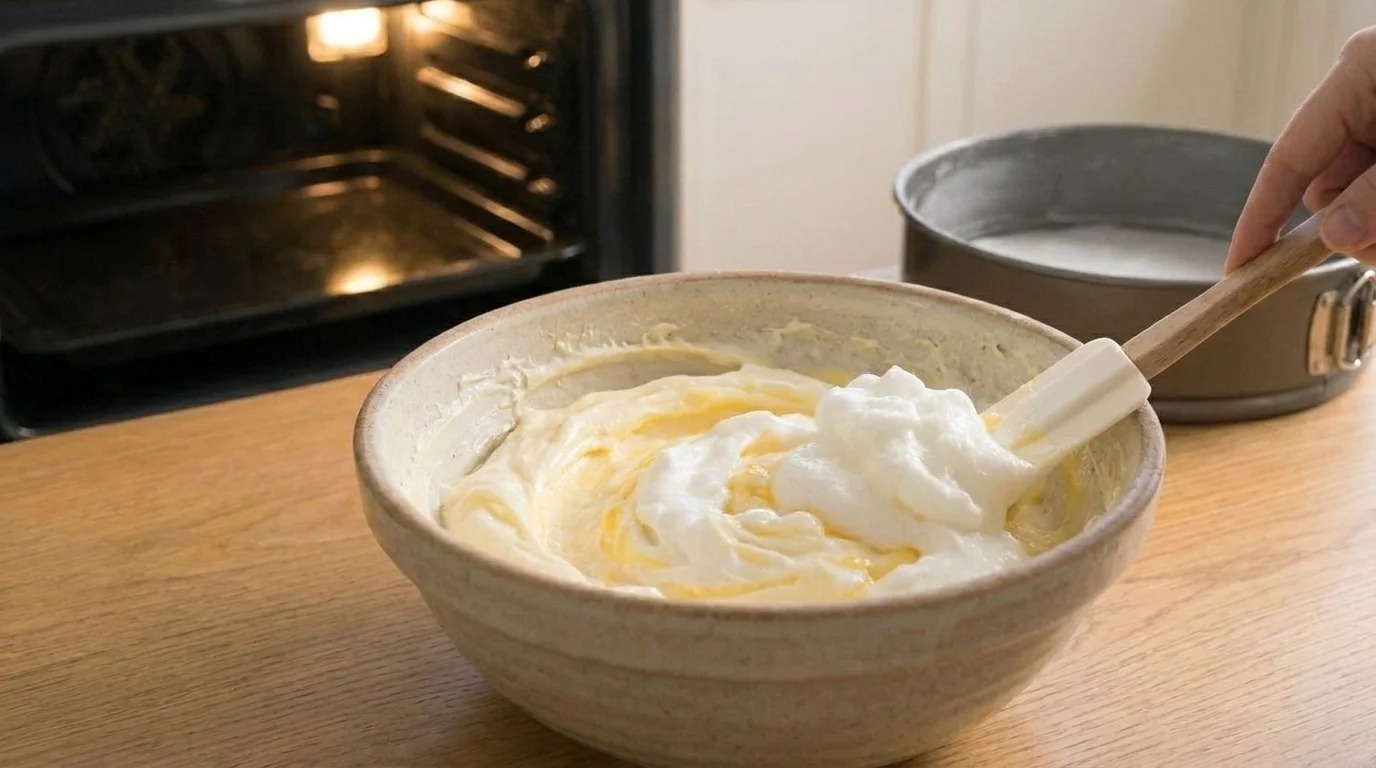
Add about one-third of the whipped egg whites to the cream cheese and egg yolk mixture. Gently fold them in using a silicone spatula . Once mostly combined, add the remaining egg whites and continue to fold gently until no streaks of egg white remain. The key here is to preserve as much air as possible in the egg whites, which gives the cheesecake its signature lightness.
Step 5: Bake in a Water Bath
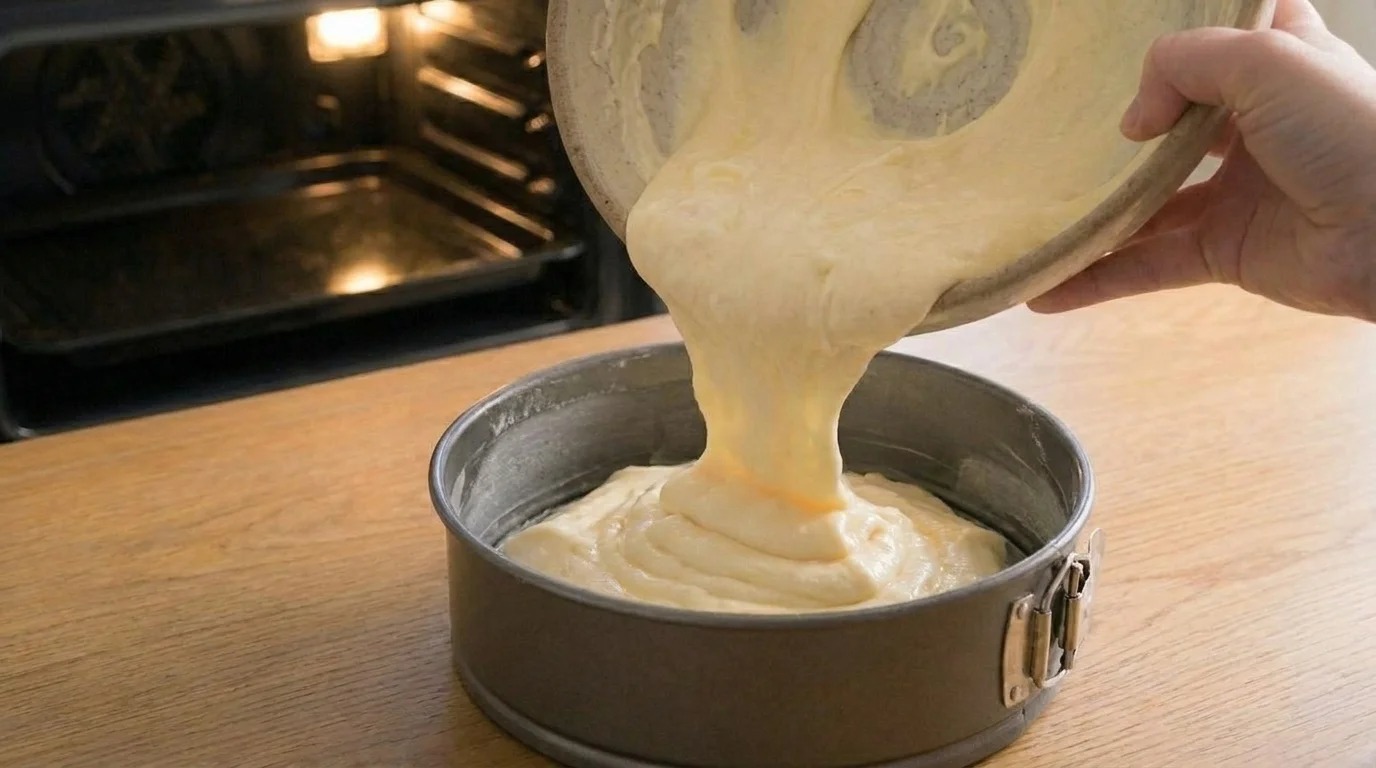
Pour the batter into your prepared springform pan . Place the springform pan into the larger baking dish and fill the outer dish with about 1 inch of hot water. Carefully transfer this setup to your preheated oven. The water bath creates a moist environment, preventing cracks and ensuring an even, gentle bake, much like a delicate custard. This technique is essential for the perfect texture. For more insights into this viral recipe, check out Just a Taste’s version.
Step 6: Bake and Cool
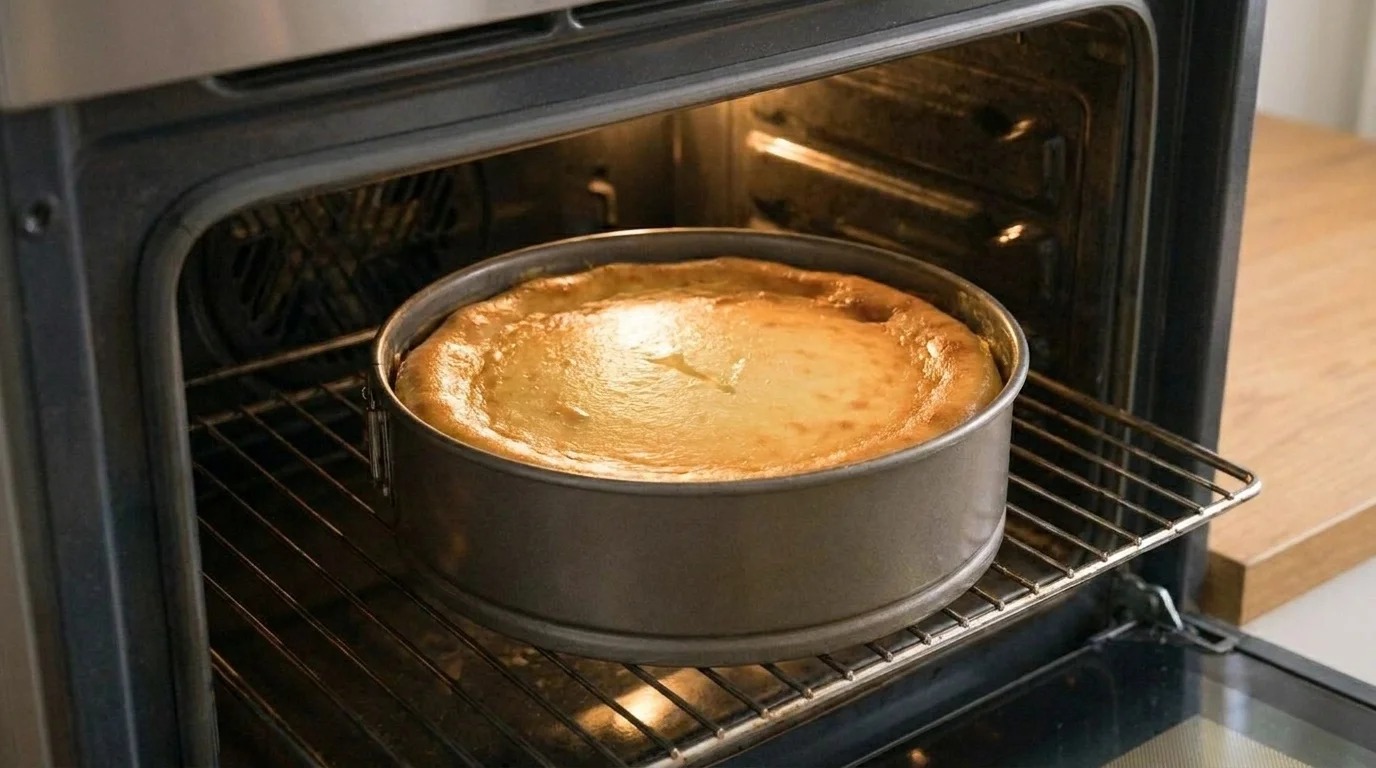
Bake for 40-50 minutes, or until the top is golden brown and the center is set but still slightly jiggly. Turn off the oven, crack the door open slightly, and let the cheesecake cool inside the oven for at least 30 minutes. This slow cooling prevents the cheesecake from deflating too quickly. Once cooled in the oven, remove it and let it come to room temperature before refrigerating for at least 2 hours. For another take on this simple dessert, see Taste Bliss Recipes. You can also find a similar viral take on Yummy Inspirations and Tasting Table. For more viral trends, visit Viral Food Trends 2025.
Step 7: Serve and Enjoy!
Once thoroughly chilled, carefully remove the cheesecake from the springform pan. Slice and serve plain, or with a dusting of powdered sugar, fresh berries, or a light fruit sauce. This cheesecake is best enjoyed cold. For more viral recipes, check out Eating by Elaine’s version.
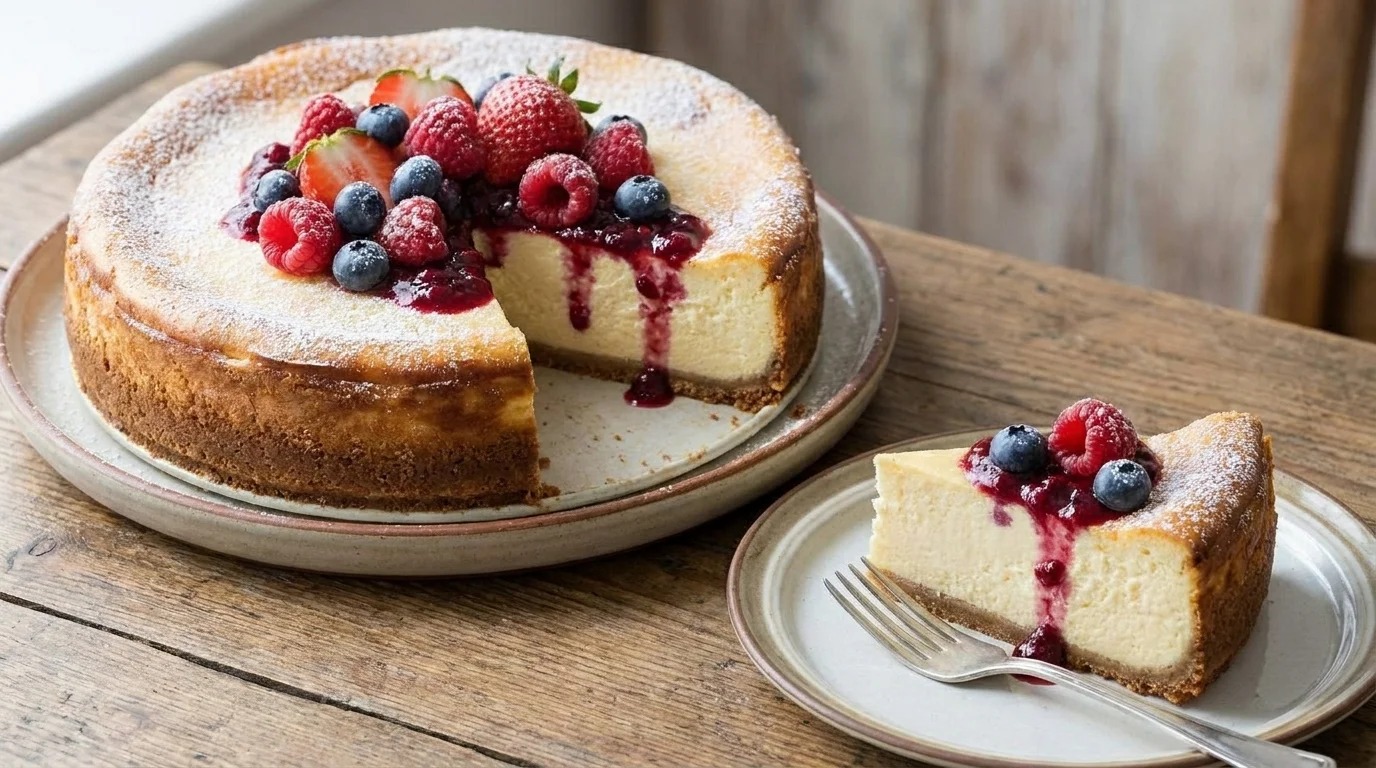
This 2-Ingredient Japanese Cheesecake Has 2.6 Million Searches — Here’s the Exact Recipe Before It’s Everywhere
Ingredients
- 4 large eggs, separated
- 8 oz (226g) cream cheese, softened
Instructions
- Preheat your oven to 340°F (170°C). Grease an 8-inch round springform pan and line the bottom with parchment paper. You’ll also need a larger baking dish for a water bath. Ensure your cream cheese is at room temperature for smooth mixing, and separate your egg whites and yolks into two mixing bowls. This preparation is key to the cheesecake’s success.
- In a large bowl, combine the softened cream cheese with the egg yolks. Using an electric hand mixer [PRODUCT_AFFILIATE_LINK_2], beat the mixture until it’s completely smooth and free of lumps. This should take about 2-3 minutes. Scrape down the sides of the bowl to ensure everything is well incorporated. The goal is a uniform, creamy consistency for your cheesecake base.
- In a separate, clean bowl, beat the egg whites until stiff peaks form. This means when you lift the beaters, the whites hold their shape firmly. Be careful not to overbeat, as this can make them dry. If you have a stand mixer [PRODUCT_AFFILIATE_LINK_7], this step is even easier. Stiff peaks are crucial for the soufflé-like texture of the Japanese cheesecake.
- Add about one-third of the whipped egg whites to the cream cheese and egg yolk mixture. Gently fold them in using a silicone spatula [PRODUCT_AFFILIATE_LINK_5]. Once mostly combined, add the remaining egg whites and continue to fold gently until no streaks of egg white remain. The key here is to preserve as much air as possible in the egg whites, which gives the cheesecake its signature lightness.
- Pour the batter into your prepared springform pan [PRODUCT_AFFILIATE_LINK_3]. Place the springform pan into the larger baking dish and fill the outer dish with about 1 inch of hot water. Carefully transfer this setup to your preheated oven. The water bath creates a moist environment, preventing cracks and ensuring an even, gentle bake, much like a delicate custard. This technique is essential for the perfect texture. For more insights into this viral recipe, check out Just a Taste’s version.
- Bake for 40-50 minutes, or until the top is golden brown and the center is set but still slightly jiggly. Turn off the oven, crack the door open slightly, and let the cheesecake cool inside the oven for at least 30 minutes. This slow cooling prevents the cheesecake from deflating too quickly. Once cooled in the oven, remove it and let it come to room temperature before refrigerating for at least 2 hours. For another take on this simple dessert, see Taste Bliss Recipes. You can also find a similar viral take on Yummy Inspirations and Tasting Table. For more viral trends, visit Viral Food Trends 2025.
- Once thoroughly chilled, carefully remove the cheesecake from the springform pan. Slice and serve plain, or with a dusting of powdered sugar, fresh berries, or a light fruit sauce. This cheesecake is best enjoyed cold. For more viral recipes, check out Eating by Elaine’s version.
FAQ Section
Can I use low-fat cream cheese for this recipe?
Why did my cheesecake crack on top?
How do I know when the Japanese cheesecake is done?
Can I add flavorings to this 2-ingredient cheesecake?
Conclusion
There you have it – the viral 2-ingredient Japanese cheesecake that’s captivated millions! This recipe proves that culinary magic doesn’t require complexity; sometimes, the simplest combinations yield the most stunning results. Its fluffy texture and delicate flavor make it an instant favorite, perfect for any occasion from a casual weeknight treat to an elegant dinner party. Don’t wait for it to be everywhere; whip up this incredible dessert today and savor every cloud-like bite. Enjoy your journey into the world of ridiculously easy and delicious baking!
Pin This Recipe For Later
Save this delicious homemade recipe & step-by-step cooking guide directly to your Pinterest board!