
Affiliate Disclosure: This post may contain affiliate links. If you make a purchase through these links, we may earn a commission at no extra cost to you. For more information, please see our affiliate disclosure.
Ingredients
- 1 pound (approx. 450g) fresh red Tabasco peppers (or a mix of cayenne, serrano, or other red chilies for varied heat)
- 2 tablespoons coarse sea salt (non-iodized)
- 1 cup distilled white vinegar (5% acidity)
- 1/2 cup filtered water (if needed for blending)
Before you begin, ensure you have all your ingredients and essential kitchen tools ready. Remember, when working with hot peppers, safety first! Consider wearing heat-resistant gloves to protect your hands from capsaicin, the compound responsible for the heat.
Product Spotlight
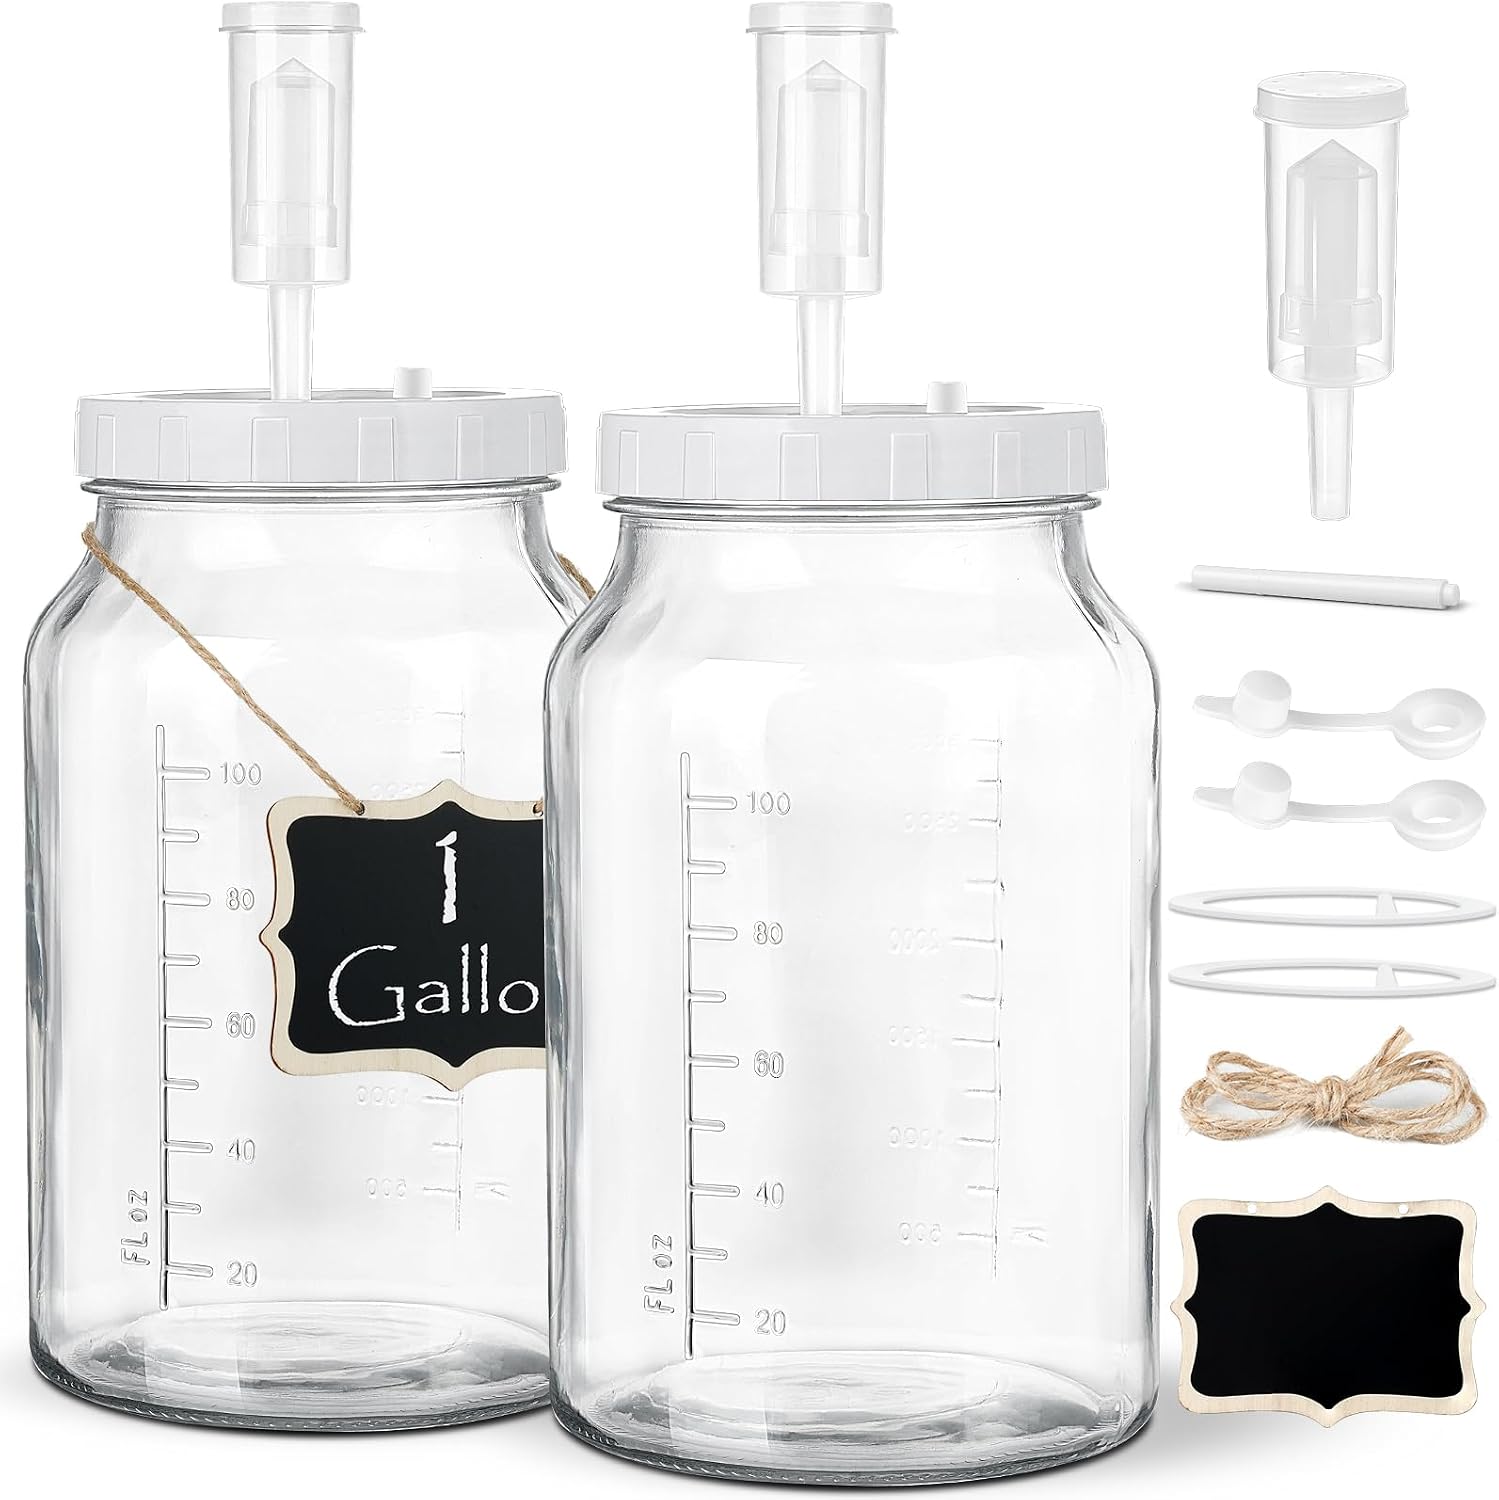
Fermentation Jar Kit with Airlock
$29.991 Gallon capacity. Glass with BPA-free plastic lid and airlock finish.
Buy on AmazonStep-by-Step Instructions
Step 1: Prepare the Peppers
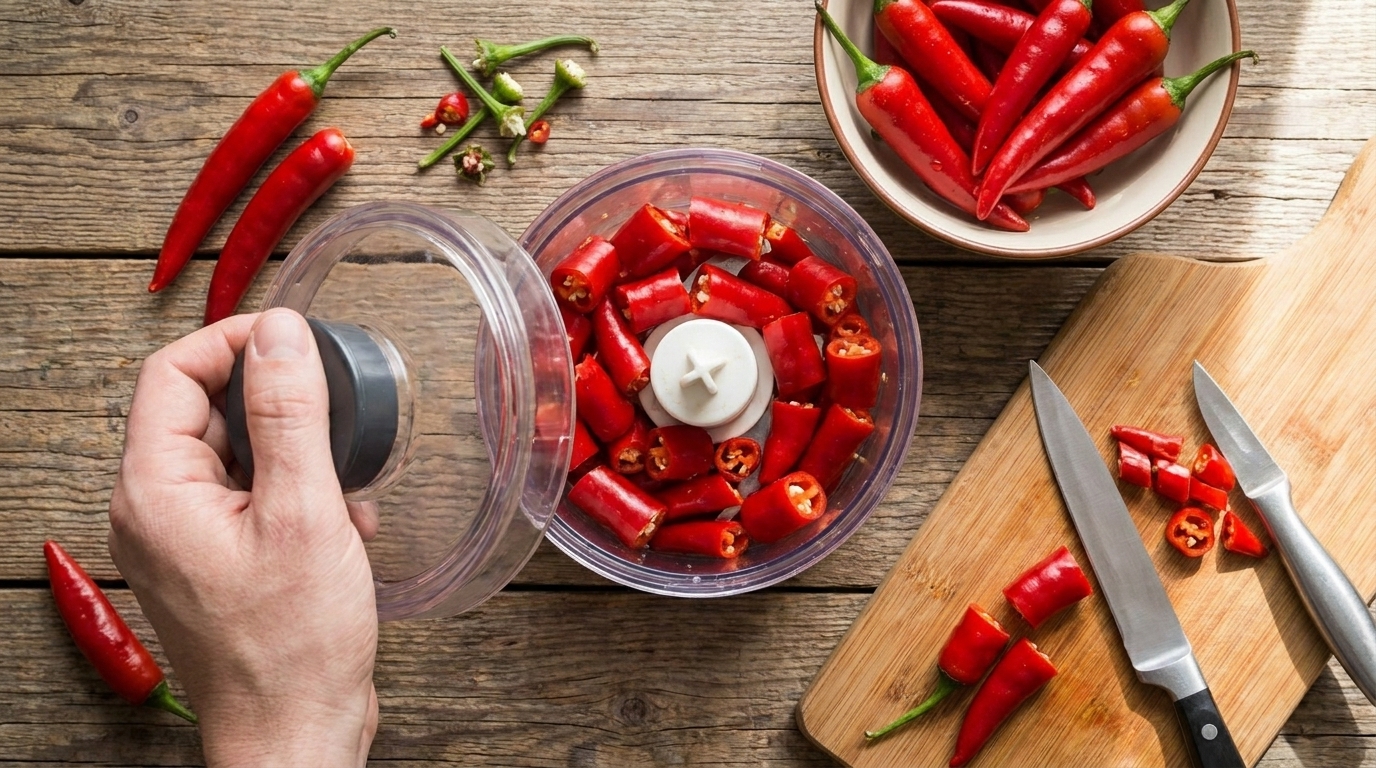
Wash your peppers thoroughly and remove the stems. You can leave the seeds in for extra heat, or remove some for a milder sauce. Roughly chop the peppers. For this step, a good food processor or immersion blender will be useful.
Step 2: Ferment the Peppers
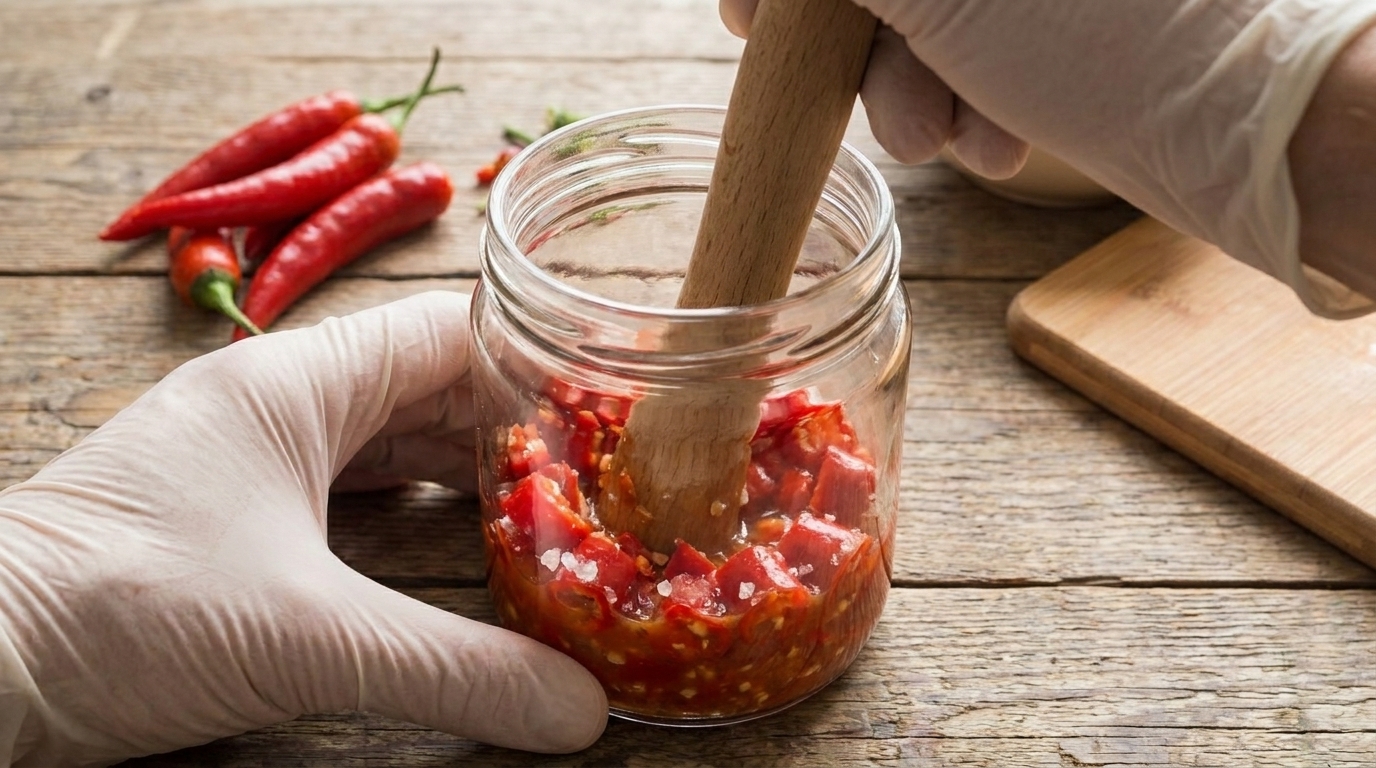
In a clean glass jar, combine the chopped peppers and coarse sea salt. Mash them together using a muddler or your hands (with gloves!) until the peppers release their juices. The salt will draw out more liquid and initiate the fermentation process. Transfer the mixture to a fermentation jar with an airlock. Ensure the peppers are submerged under their liquid. If not, add a little filtered water to cover them. Ferment at room temperature (ideally 68-75°F / 20-24°C) for 5-7 days, or up to 2 weeks, burping the jar daily if not using an airlock. You’ll see bubbles forming, indicating active fermentation. For more on fermentation, check out this guide to fermented foods.
Step 3: Blend the Fermented Mash
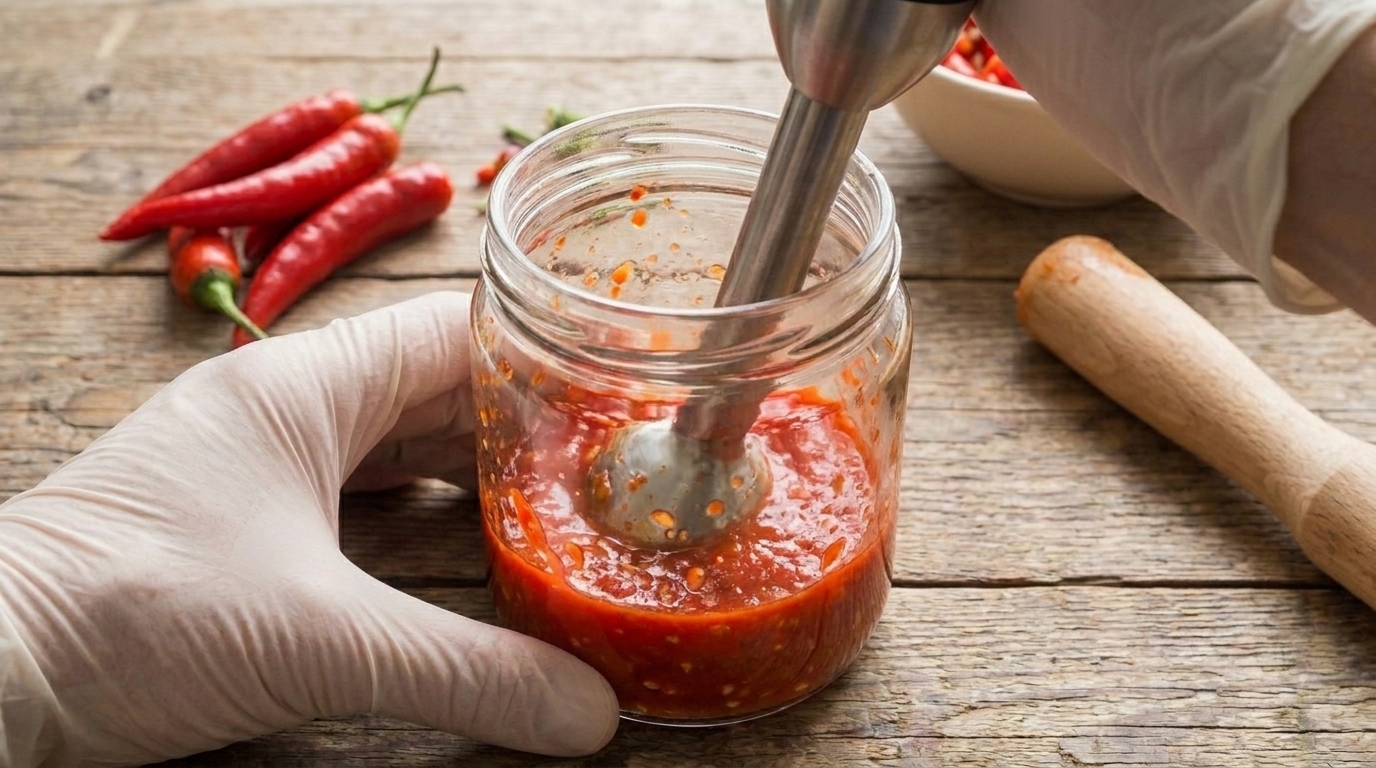
Once fermented, transfer the pepper mash (liquid and solids) to a blender. Add the white vinegar and blend until completely smooth. This may take a few minutes to achieve a consistent puree. For the best consistency, a high-speed immersion blender works wonders, ensuring no chunks remain.
Step 4: Strain the Sauce
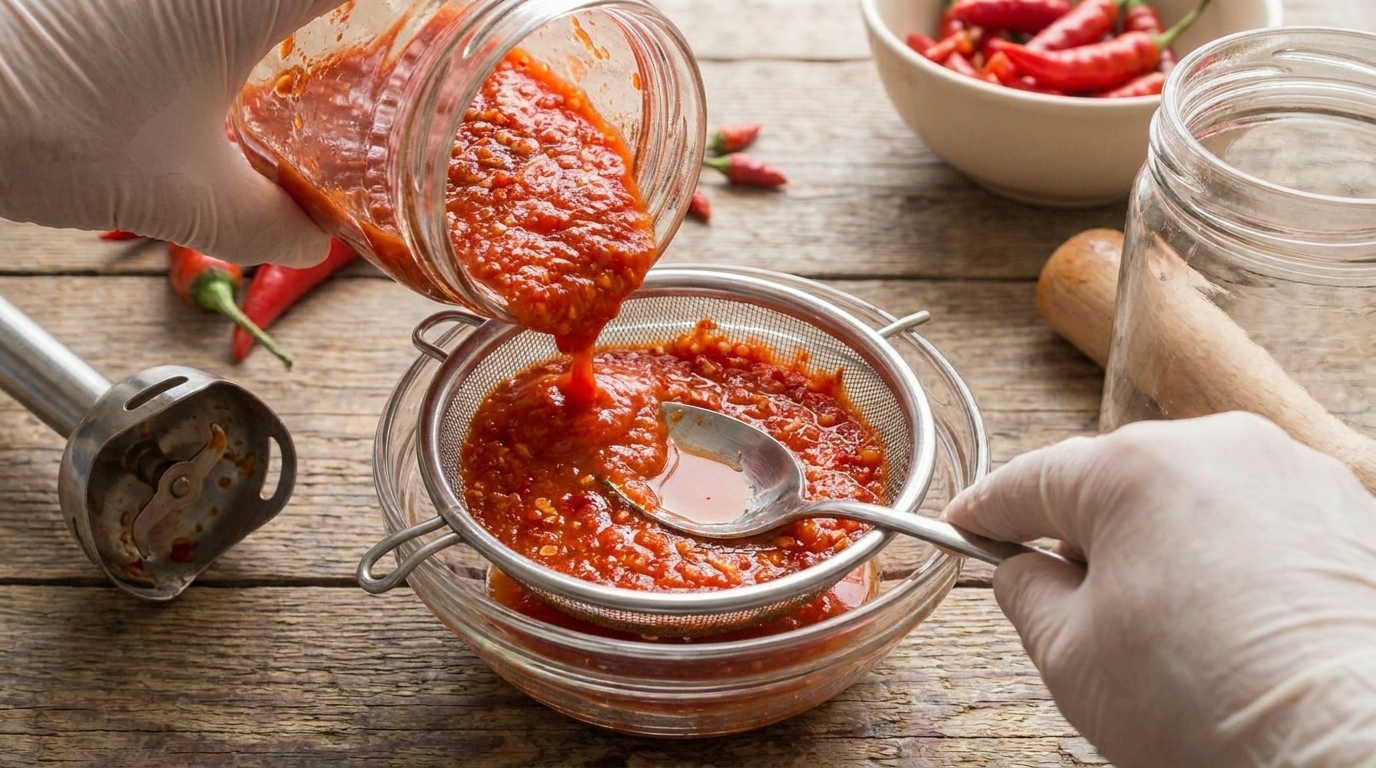
Pour the blended mixture through a fine-mesh strainer set over a bowl. Use a spatula or the back of a spoon to press as much liquid as possible from the solids, extracting all that flavorful goodness. Discard the remaining pulp (or save it for drying into chili flakes!).
Step 5: Bottle and Store
Pour your freshly made Tabasco sauce into clean, sterilized hot sauce bottles. Seal them tightly. Your homemade Tabasco sauce is now ready to use! For optimal flavor development, you can let it age in the bottles for another week or two in a cool, dark place. This aging process further mellows the flavors and enhances complexity, much like how Serious Eats approaches flavor development.

Step 6: Enjoy!
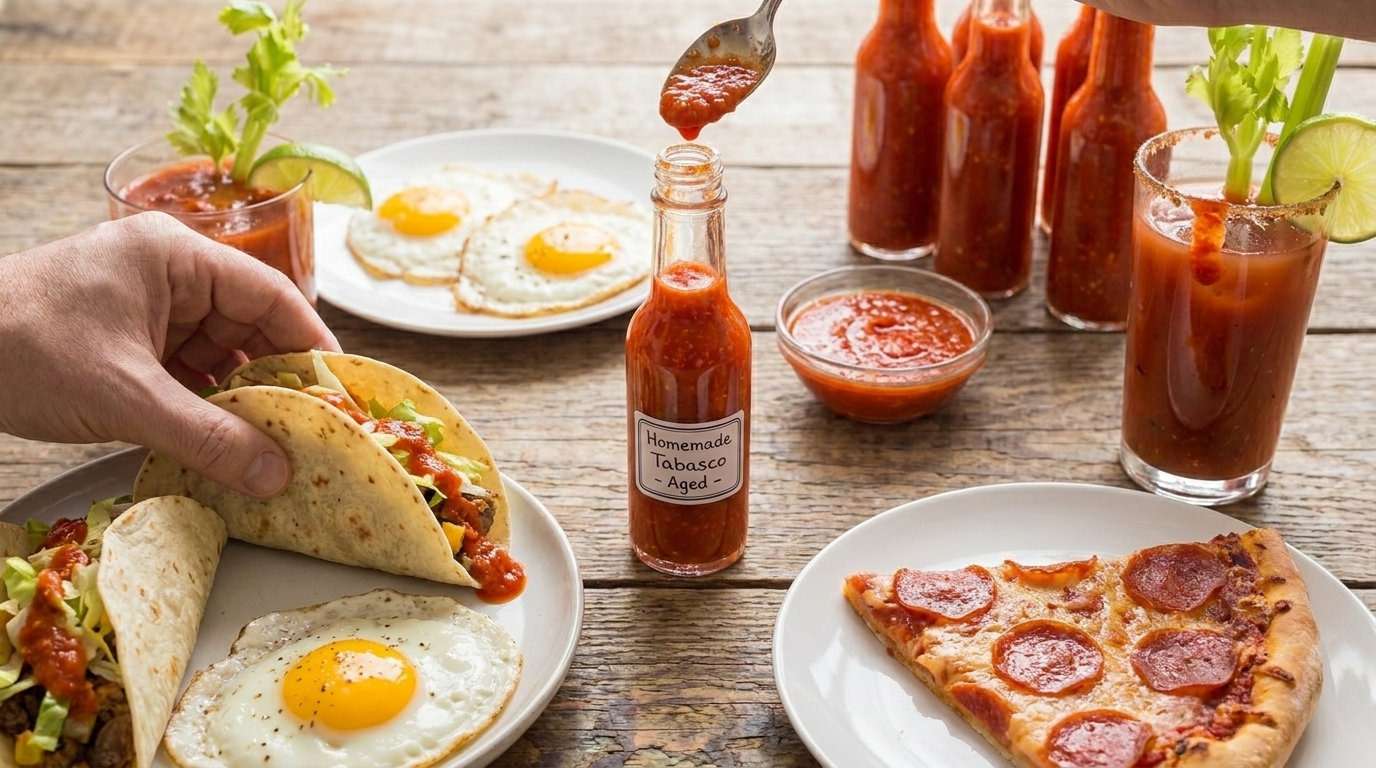
Your homemade Tabasco sauce is perfect for adding a spicy, tangy kick to eggs, tacos, pizza, or even a Bloody Mary. Explore other must-try recipes on Food Jot for inspiration!
Master the Heat: Your Guide to Homemade Tabasco Sauce
Ingredients
- 1 pound (approx. 450g) fresh red Tabasco peppers (or a mix of cayenne, serrano, or other red chilies for varied heat)
- 2 tablespoons coarse sea salt (non-iodized)
- 1 cup distilled white vinegar (5% acidity)
- 1/2 cup filtered water (if needed for blending)
Instructions
- Wash your peppers thoroughly and remove the stems. You can leave the seeds in for extra heat, or remove some for a milder sauce. Roughly chop the peppers. For this step, a good food processor or immersion blender will be useful.
- In a clean glass jar, combine the chopped peppers and coarse sea salt. Mash them together using a muddler or your hands (with gloves!) until the peppers release their juices. The salt will draw out more liquid and initiate the fermentation process. Transfer the mixture to a fermentation jar with an airlock. Ensure the peppers are submerged under their liquid. If not, add a little filtered water to cover them. Ferment at room temperature (ideally 68-75°F / 20-24°C) for 5-7 days, or up to 2 weeks, burping the jar daily if not using an airlock. You’ll see bubbles forming, indicating active fermentation. For more on fermentation, check out this guide to fermented foods.
- Once fermented, transfer the pepper mash (liquid and solids) to a blender. Add the white vinegar and blend until completely smooth. This may take a few minutes to achieve a consistent puree. For the best consistency, a high-speed immersion blender works wonders, ensuring no chunks remain.
- Pour the blended mixture through a fine-mesh strainer set over a bowl. Use a spatula or the back of a spoon to press as much liquid as possible from the solids, extracting all that flavorful goodness. Discard the remaining pulp (or save it for drying into chili flakes!).
- Pour your freshly made Tabasco sauce into clean, sterilized hot sauce bottles. Seal them tightly. Your homemade Tabasco sauce is now ready to use! For optimal flavor development, you can let it age in the bottles for another week or two in a cool, dark place. This aging process further mellows the flavors and enhances complexity, much like how Serious Eats approaches flavor development.
- Your homemade Tabasco sauce is perfect for adding a spicy, tangy kick to eggs, tacos, pizza, or even a Bloody Mary. Explore other must-try recipes on Food Jot for inspiration!
FAQ Section
Can I use other peppers besides Tabasco peppers?
How long does homemade Tabasco sauce last?
Is fermentation necessary for this recipe?
Conclusion
Crafting your own Tabasco sauce is a rewarding experience that puts a unique, flavorful condiment at your fingertips. From the initial fermentation to the final bottling, each step contributes to a sauce that’s rich in flavor, perfectly balanced, and carries that unmistakable Tabasco kick. So gather your peppers, embrace the process, and get ready to enjoy the unparalleled taste of homemade hot sauce!
Don’t be shy about sharing your creations with friends and family. This homemade fiery elixir is sure to become a staple in your kitchen. Happy spicing!
Pin This Review For Later
Save this honest buying guide & pros/cons summary directly to your Pinterest Kitchen or Gadgets board!