Affiliate Disclosure: This post may contain affiliate links. If you make a purchase through these links, we may earn a commission at no extra cost to you. For more information, please see our affiliate disclosure.
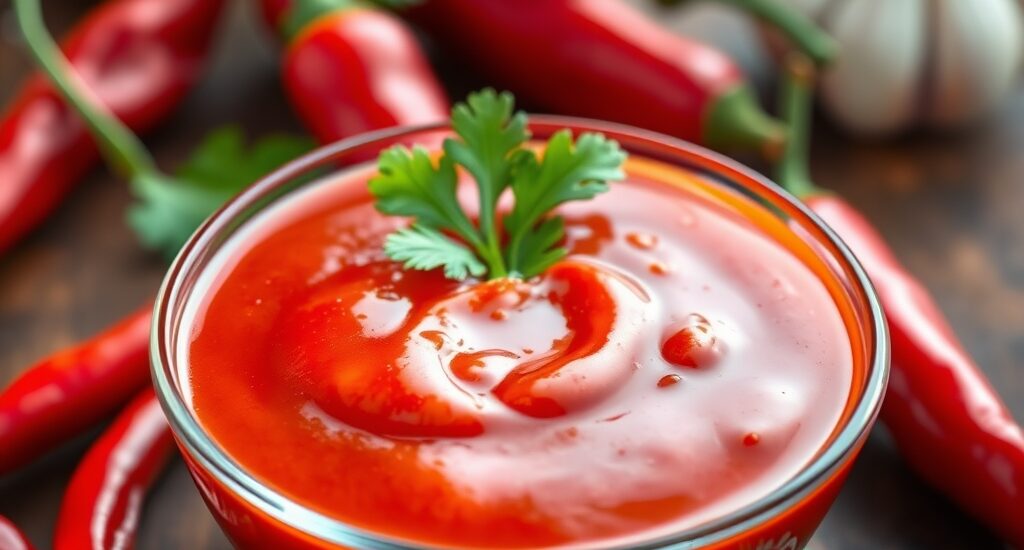
Are you a fan of the iconic, fiery kick Sriracha brings to your favorite dishes? What if we told you that the best Sriracha you’ll ever taste isn’t found on a grocery store shelf, but can be made right in your own kitchen? This homemade sauce is a game-changer, offering a depth of flavor and a vibrant freshness that store-bought versions simply can’t match.
Forget the preservatives and artificial flavors; our recipe focuses on simple, wholesome ingredients and the magic of fermentation to create a hot sauce that’s truly exceptional. Get ready to elevate your culinary creations with a condiment that boasts a complex heat and a tangy, garlicky punch. Once you try this, you’ll never go back!
Ingredients
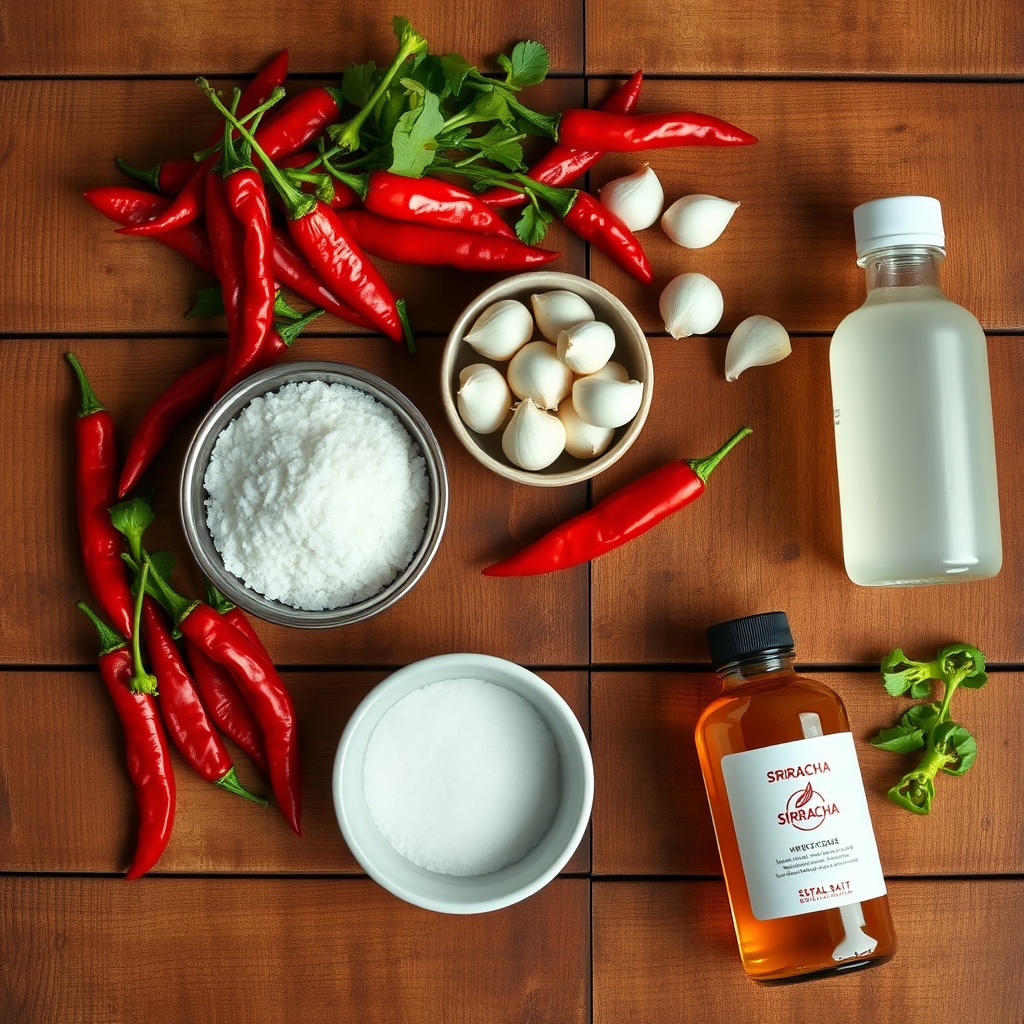
The secret to an outstanding homemade Sriracha lies in selecting the right ingredients. The star of the show, of course, is the chili pepper. While traditional Sriracha often uses red jalapeños or serranos, many home cooks find that a blend of Fresno chilies and a few Thai bird’s eye chilies offers a fantastic balance of heat and fruitiness. Look for bright red, firm peppers without blemishes. The fresher the peppers, the better your sauce will taste.
Garlic is another cornerstone of Sriracha’s signature flavor. Fresh garlic, not powdered, is essential. When fermented, the garlic mellows and develops an incredible depth. White vinegar provides the necessary tang and helps with preservation. Sugar balances the heat and acidity, and salt is crucial for both flavor and fermentation. Using high-quality sea salt or kosher salt is recommended over iodized table salt, which can sometimes interfere with fermentation.
Ingredients
- 1.5 lbs (approx. 680g) red chili peppers (Fresno, red jalapeño, or a mix with a few Thai bird’s eye for extra heat), stems removed
- 6-8 cloves garlic, peeled
- 2 tablespoons sea salt (non-iodized)
- 2 tablespoons granulated sugar
- 1/2 cup white distilled vinegar
- 1/4 cup water (or more, if needed for blending)
Product Spotlight
Step-by-Step Instructions
Step 1: Prepare the Chilies and Garlic. Thoroughly wash your red chili peppers and remove the stems. For a milder sauce, you can remove some of the seeds and membranes, but for classic Sriracha heat, leave them in. Roughly chop the chilies and peel the garlic cloves. Remember to wear kitchen gloves when handling chilies to protect your hands from capsaicin. A photorealistic image of freshly washed and chopped red chili peppers and peeled garlic cloves on a clean cutting board, ready for blending, with kitchen gloves visible nearby.
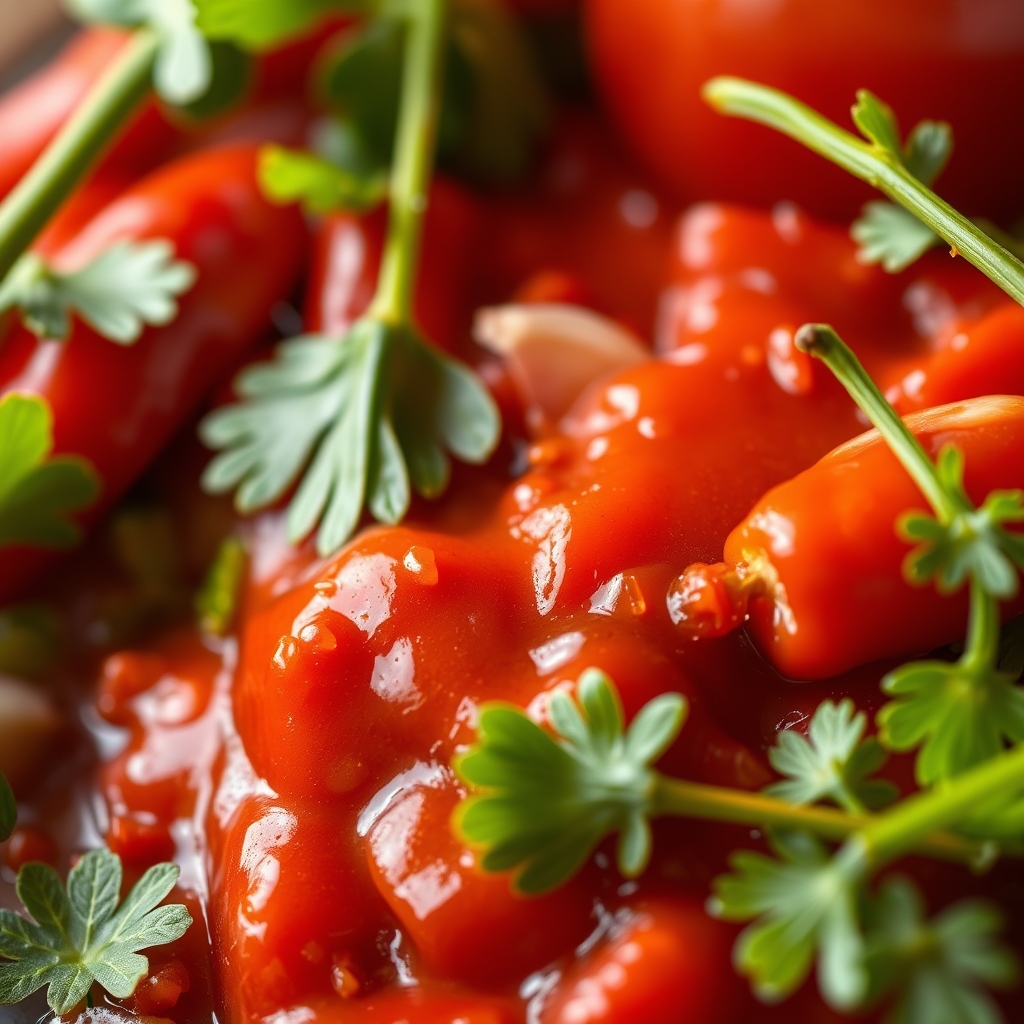
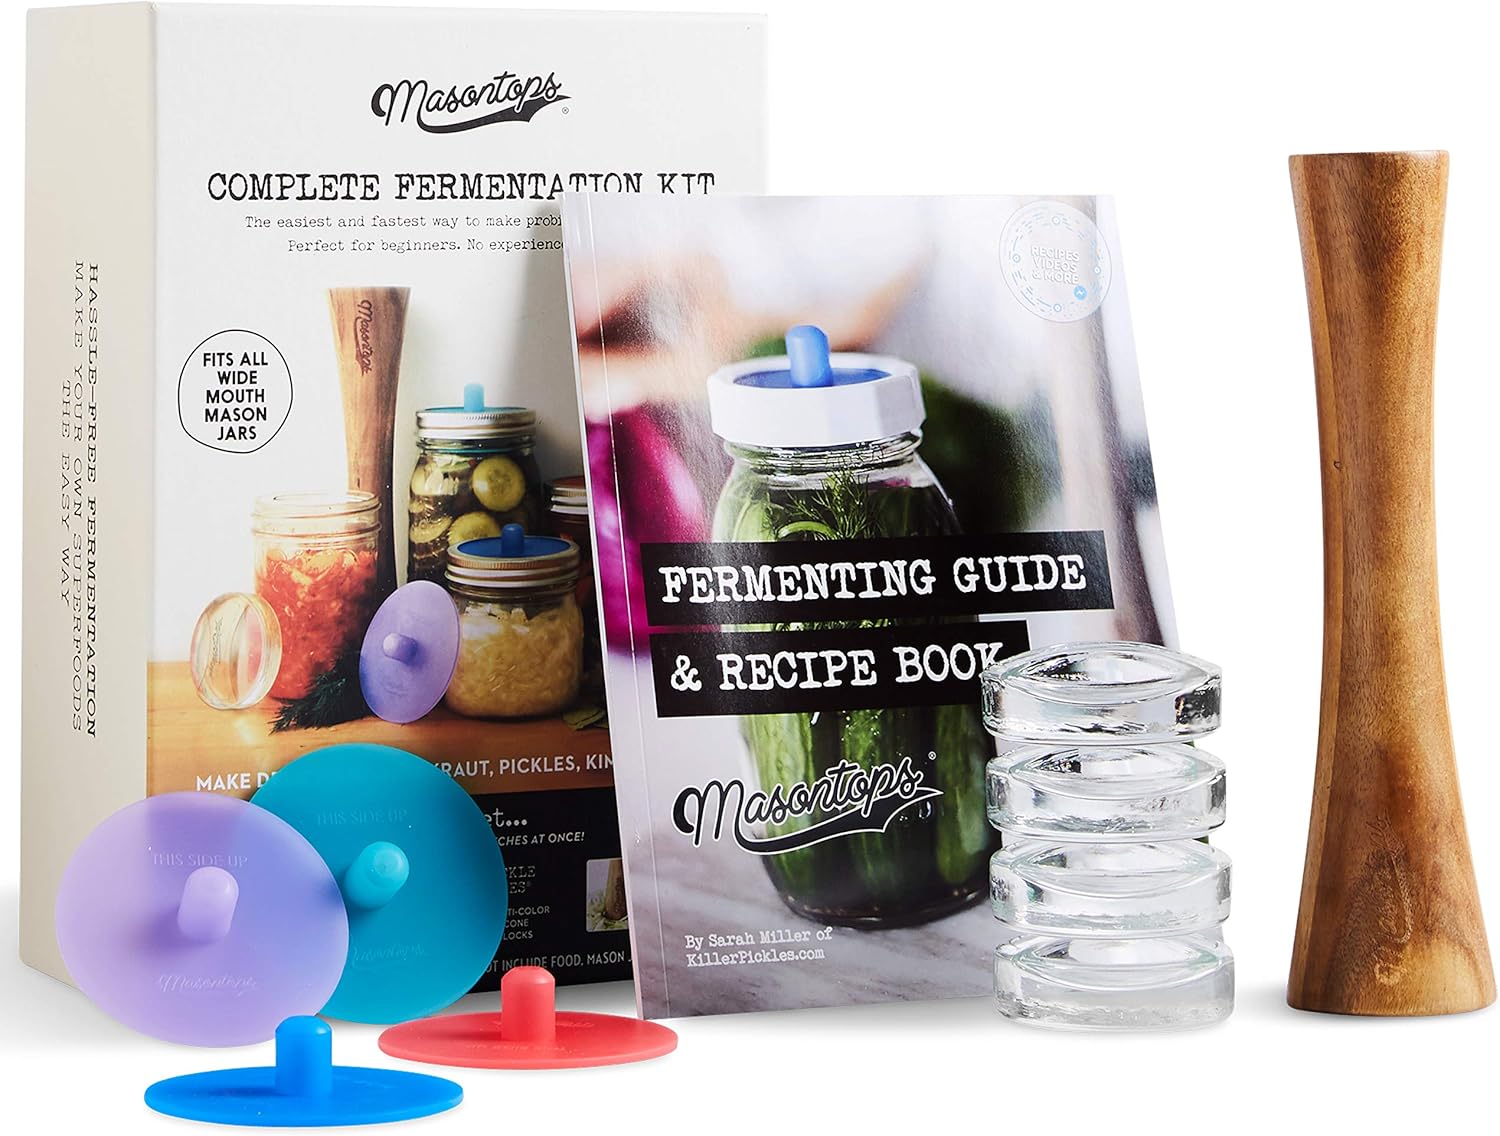
Step 2: Ferment the Chili Mixture. In a food processor or a powerful blender like the Vitamix Ascent Series Blender, combine the chopped chilies, garlic, and sea salt. Blend until you achieve a coarse paste. Transfer this paste to a clean glass jar or a fermentation kit with airlocks. Ensure the mixture is submerged under any liquid (you might need to press it down). Cover loosely with a lid or use an airlock. Let it ferment at room temperature (68-75°F or 20-24°C) for 3-7 days. You’ll see small bubbles forming, indicating fermentation. Check it daily, stirring if needed, and release any pressure. A photorealistic, high-angle shot of chopped red chilies, garlic, and salt being blended in a food processor to form a coarse paste, with the texture clearly visible.
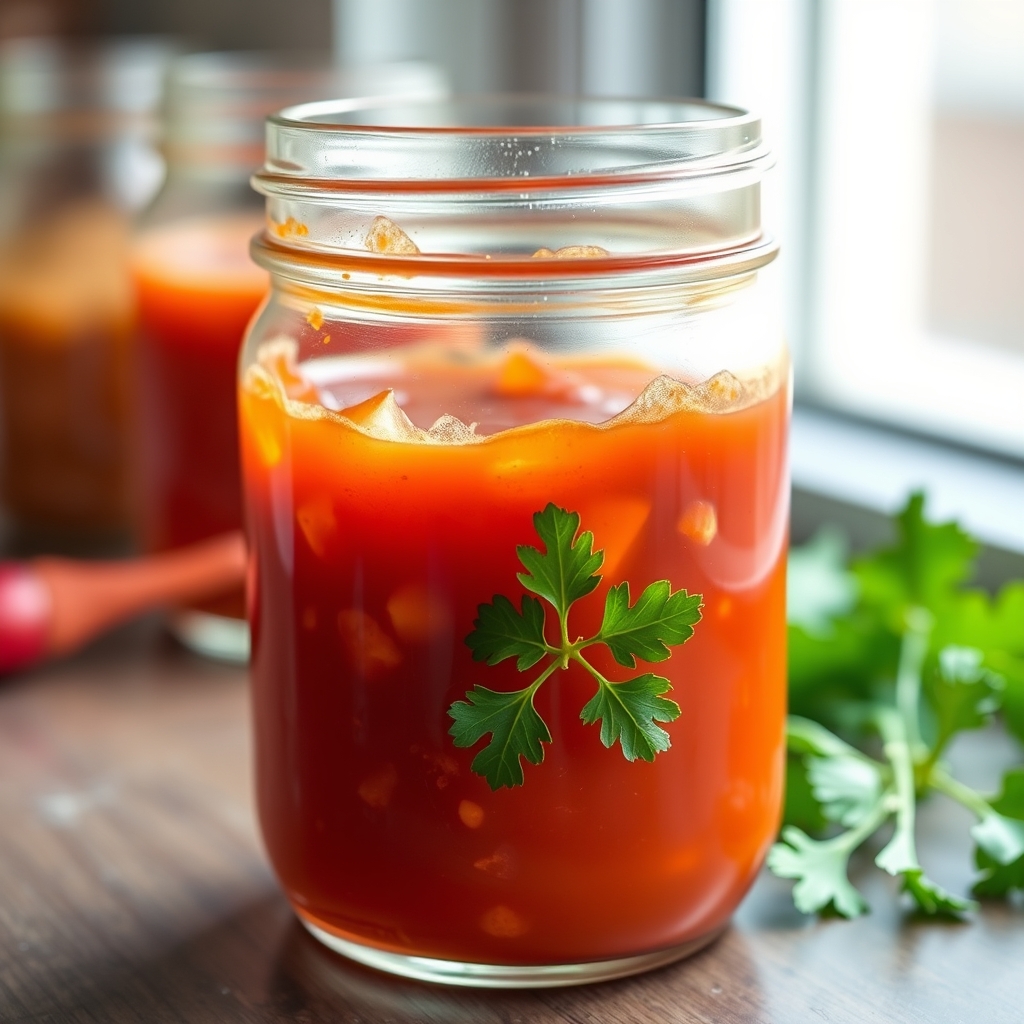
Step 3: Process the Fermented Paste. After fermentation, transfer the entire fermented chili paste to your blender. Add the granulated sugar, white vinegar, and 1/4 cup of water. Blend on high speed until the mixture is as smooth as possible. This might take several minutes, depending on your blender’s power. Add a tablespoon or two more water if the mixture is too thick to blend properly. For tips on achieving the perfect consistency, refer to DIY Sriracha Recipe: How to Make Healthier Hot Sauce at Home. A photorealistic action shot of the fermented chili paste, sugar, vinegar, and water being vigorously blended in a high-speed blender, creating a smooth, vibrant red liquid.
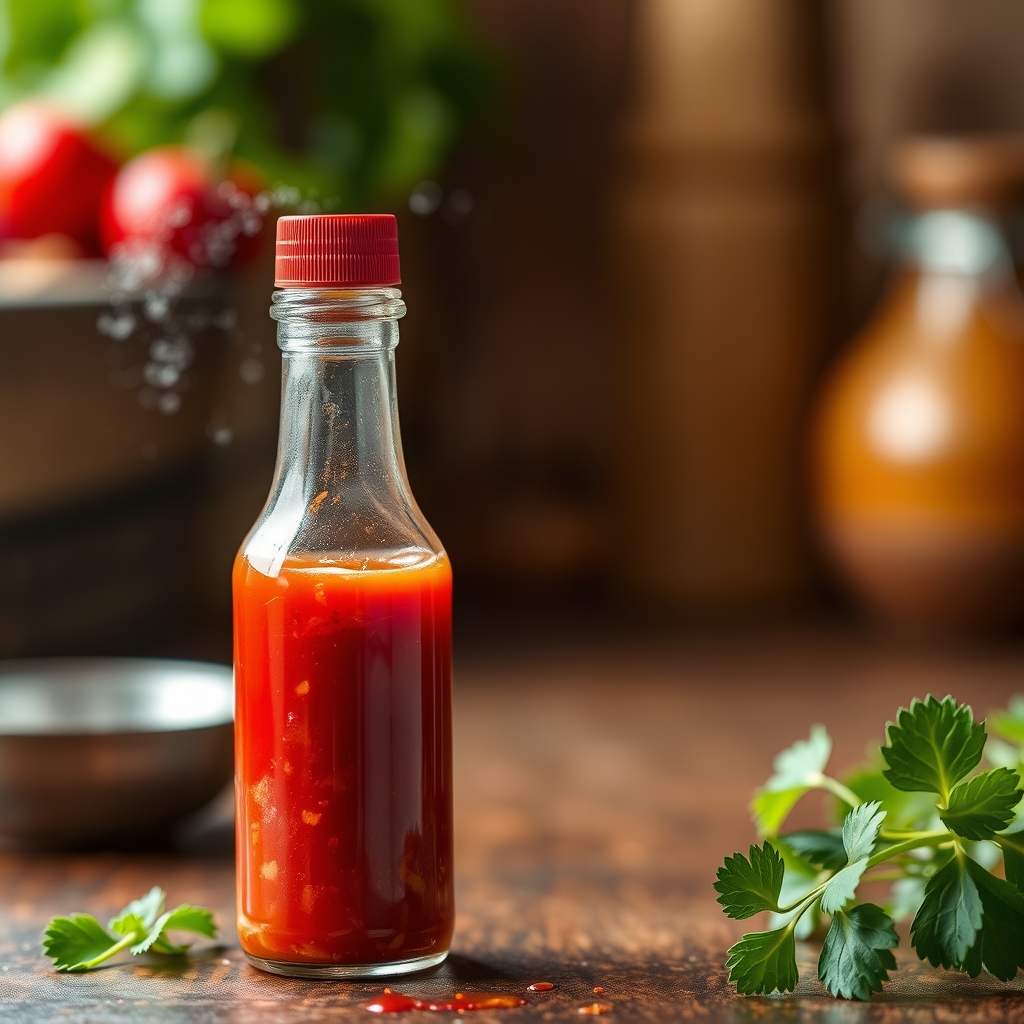
Step 4: Strain for Smoothness (Optional but Recommended). For a super smooth, store-bought consistency, pass the blended sauce through a fine-mesh strainer. Use a spoon or spatula to press the pulp against the mesh, extracting as much liquid as possible. Discard the remaining solids (or save them for another spicy dish!). This step is key for that classic Sriracha texture. A detailed, close-up shot of a vibrant red sriracha sauce being pressed through a fine-mesh strainer into a bowl, with the smooth liquid dripping through and the pulp remaining in the strainer.
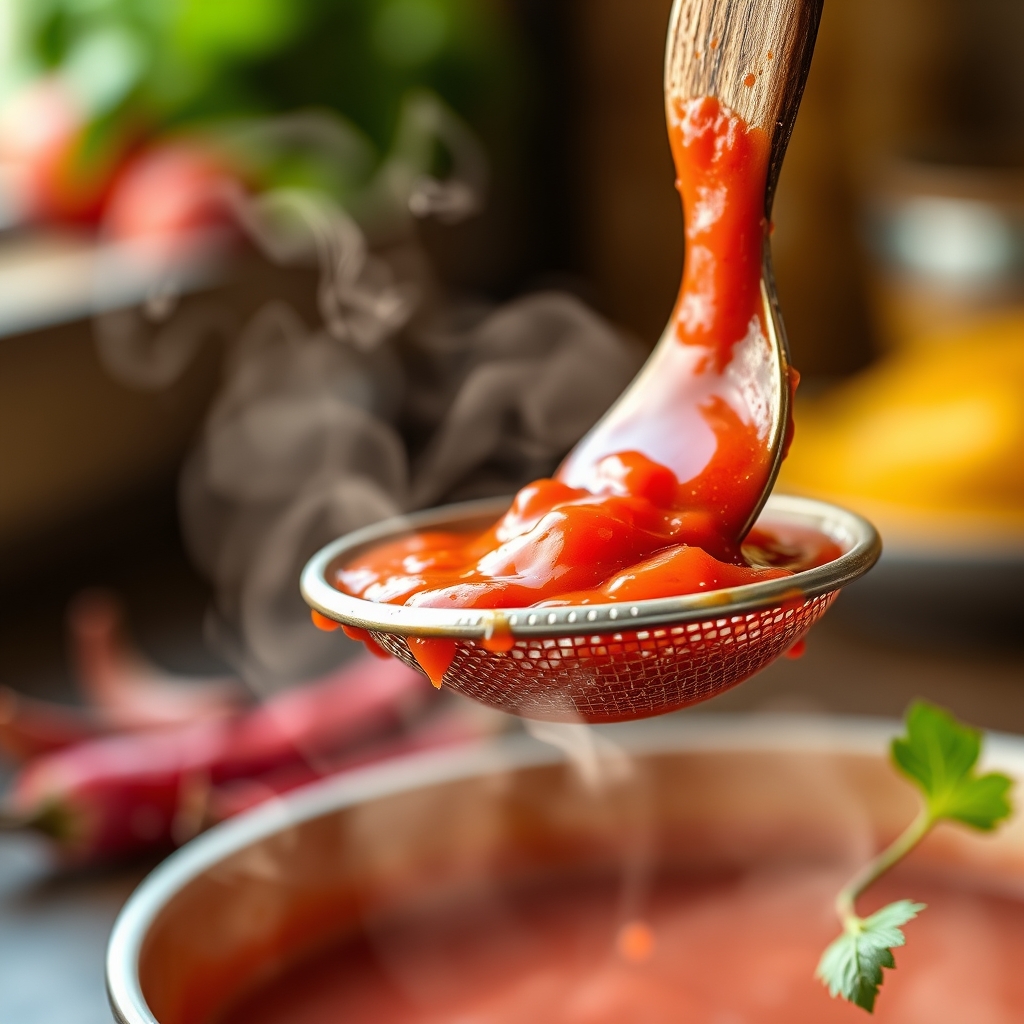
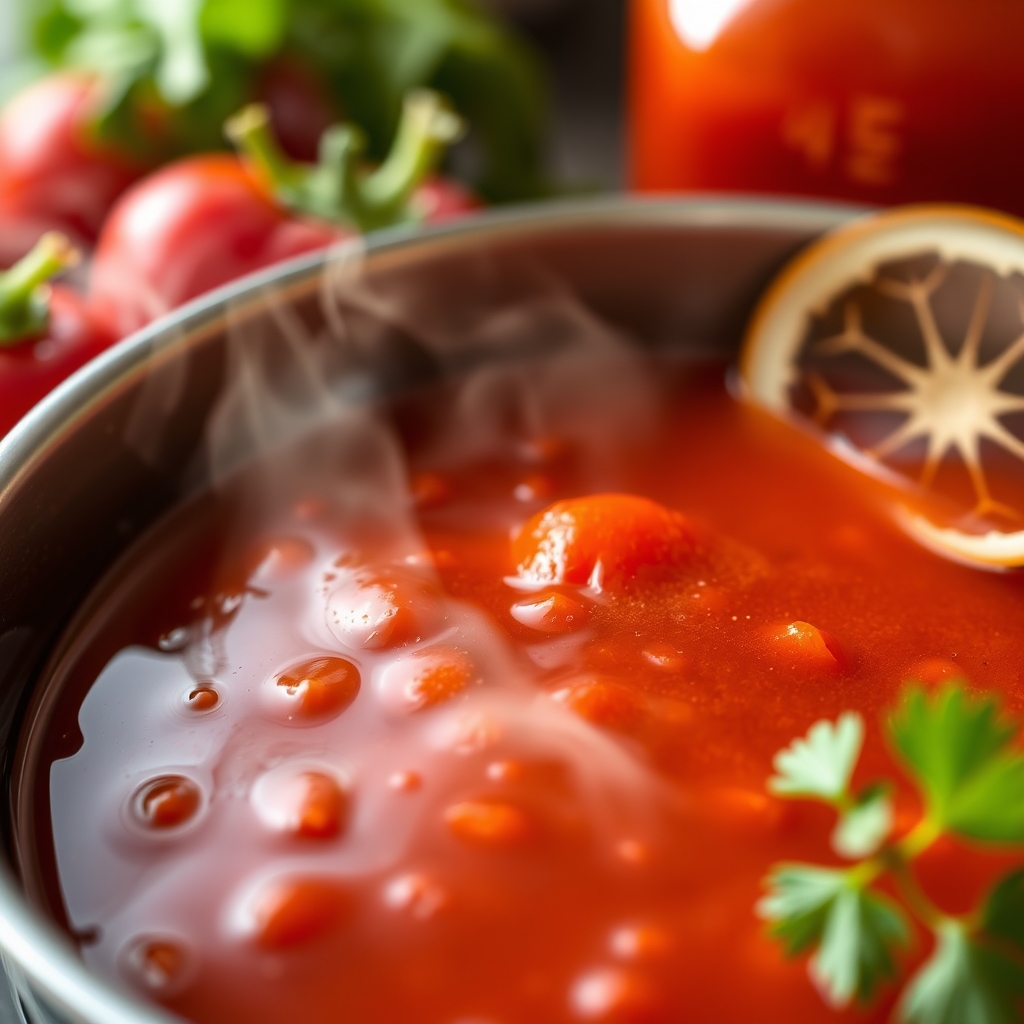
Step 5: Simmer and Bottle. Transfer the strained Sriracha sauce to a small saucepan. Bring it to a gentle simmer over medium-low heat, stirring occasionally, for about 10-15 minutes. This step helps to slightly thicken the sauce and stops the fermentation process, ensuring stability. Taste and adjust seasonings if necessary – you might want a little more sugar or salt. Once cooled, pour the Sriracha into clean, sterilized bottles or jars. For more on the simmering process, see Homemade Sriracha Sauce – Farmgirl Gourmet. A photorealistic image of the smooth sriracha sauce gently simmering in a small saucepan on a stovetop, with steam lightly rising and a wooden spoon stirring the sauce.
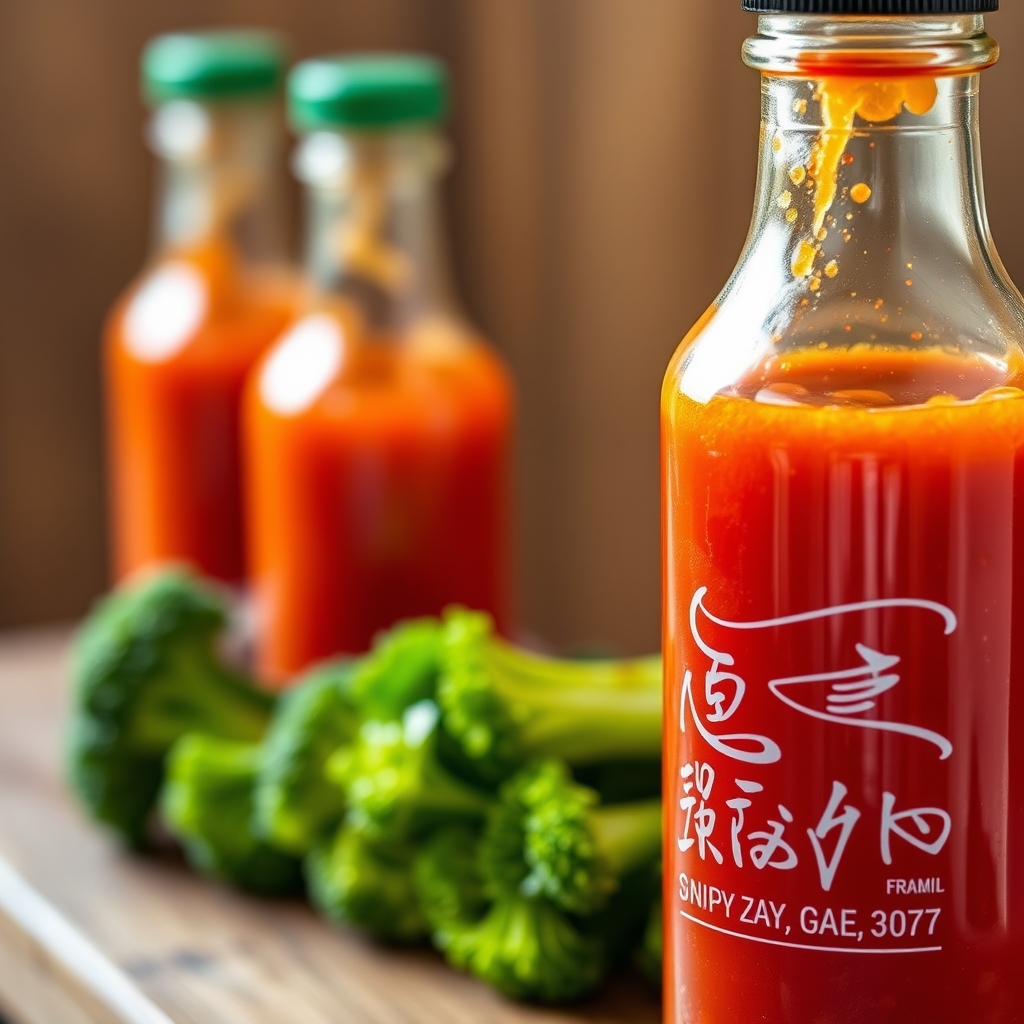
Step 6: Cool and Refrigerate. Allow the homemade Sriracha to cool completely before sealing the bottles. Store in the refrigerator. Your homemade Sriracha is now ready to spice up your life! It pairs wonderfully with everything from noodles to eggs, or even on crispy air fryer broccoli florets. For more storage advice, visit Homemade Sriracha Sauce | Know The Pepper or Homemade Sriracha Sauce – Cooking with Nart. A photorealistic shot of several glass bottles filled with bright red homemade sriracha sauce, neatly labeled, cooling on a kitchen counter next to a dish featuring the sauce.
Homemade Sriracha Sauce Recipe Better Than Store Bought
Ingredients
- 1.5 lbs (approx. 680g) red chili peppers (Fresno, red jalapeño, or a mix with a few Thai bird’s eye for extra heat), stems removed
- 6-8 cloves garlic, peeled
- 2 tablespoons sea salt (non-iodized)
- 2 tablespoons granulated sugar
- 1/2 cup white distilled vinegar
- 1/4 cup water (or more, if needed for blending)
Instructions
- Thoroughly wash your red chili peppers and remove the stems. For a milder sauce, you can remove some of the seeds and membranes, but for classic Sriracha heat, leave them in. Roughly chop the chilies and peel the garlic cloves. Remember to wear kitchen gloves when handling chilies to protect your hands from capsaicin.
- In a food processor or a powerful blender like the Vitamix Ascent Series Blender, combine the chopped chilies, garlic, and sea salt. Blend until you achieve a coarse paste. Transfer this paste to a clean glass jar or a fermentation kit with airlocks. Ensure the mixture is submerged under any liquid (you might need to press it down). Cover loosely with a lid or use an airlock. Let it ferment at room temperature (68-75°F or 20-24°C) for 3-7 days. You’ll see small bubbles forming, indicating fermentation. Check it daily, stirring if needed, and release any pressure.
- After fermentation, transfer the entire fermented chili paste to your blender. Add the granulated sugar, white vinegar, and 1/4 cup of water. Blend on high speed until the mixture is as smooth as possible. This might take several minutes, depending on your blender’s power. Add a tablespoon or two more water if the mixture is too thick to blend properly. For tips on achieving the perfect consistency, refer to DIY Sriracha Recipe: How to Make Healthier Hot Sauce at Home.
- For a super smooth, store-bought consistency, pass the blended sauce through a fine-mesh strainer. Use a spoon or spatula to press the pulp against the mesh, extracting as much liquid as possible. Discard the remaining solids (or save them for another spicy dish!). This step is key for that classic Sriracha texture.
- Transfer the strained Sriracha sauce to a small saucepan. Bring it to a gentle simmer over medium-low heat, stirring occasionally, for about 10-15 minutes. This step helps to slightly thicken the sauce and stops the fermentation process, ensuring stability. Taste and adjust seasonings if necessary – you might want a little more sugar or salt. Once cooled, pour the Sriracha into clean, sterilized bottles or jars. For more on the simmering process, see Homemade Sriracha Sauce – Farmgirl Gourmet.
- Allow the homemade Sriracha to cool completely before sealing the bottles. Store in the refrigerator. Your homemade Sriracha is now ready to spice up your life! It pairs wonderfully with everything from noodles to eggs, or even on crispy air fryer broccoli florets. For more storage advice, visit Homemade Sriracha Sauce | Know The Pepper or Homemade Sriracha Sauce – Cooking with Nart.