

Affiliate Disclosure: This post may contain affiliate links. If you make a purchase through these links, we may earn a commission at no extra cost to you. For more information, please see our affiliate disclosure.
Imagine a creamy, tangy, and utterly fresh bowl of yogurt, made right in your own kitchen with just two simple ingredients. Sounds too good to be true? It’s not! Making yogurt at home is a surprisingly easy and rewarding process that empowers you to control exactly what goes into your food, avoiding unwanted additives and sugars found in wide store-bought varieties.
This comprehensive guide will walk you through every step, ensuring you achieve perfect, delicious homemade yogurt every single time. Whether you’re a seasoned home cook or a complete beginner, you’ll discover the simple magic of transforming milk into a probiotic-rich delight. Get ready to impress yourself and your family with this wholesome, customizable staple!
Why You’ll Love This Homemade Yogurt
There’s so much to love about making your own yogurt! Beyond the incredible freshness, you’ll appreciate the ability to customize its thickness and tartness to your exact preference. It’s a fantastic source of beneficial probiotics for gut health, and it’s surprisingly cost-effective compared to buying organic or specialty yogurts. Plus, once you master the basic technique, you can experiment with different milks and cultures, truly making it your own. You’ll find yourself reaching for this homemade goodness for breakfast, snacks, and even in cooking!
Ingredients
- 8 cups milk (1/2 gallon) — whole or 2% are best, but skim can also be used
- 1/2 cup commercial yogurt containing active cultures
Product Spotlight
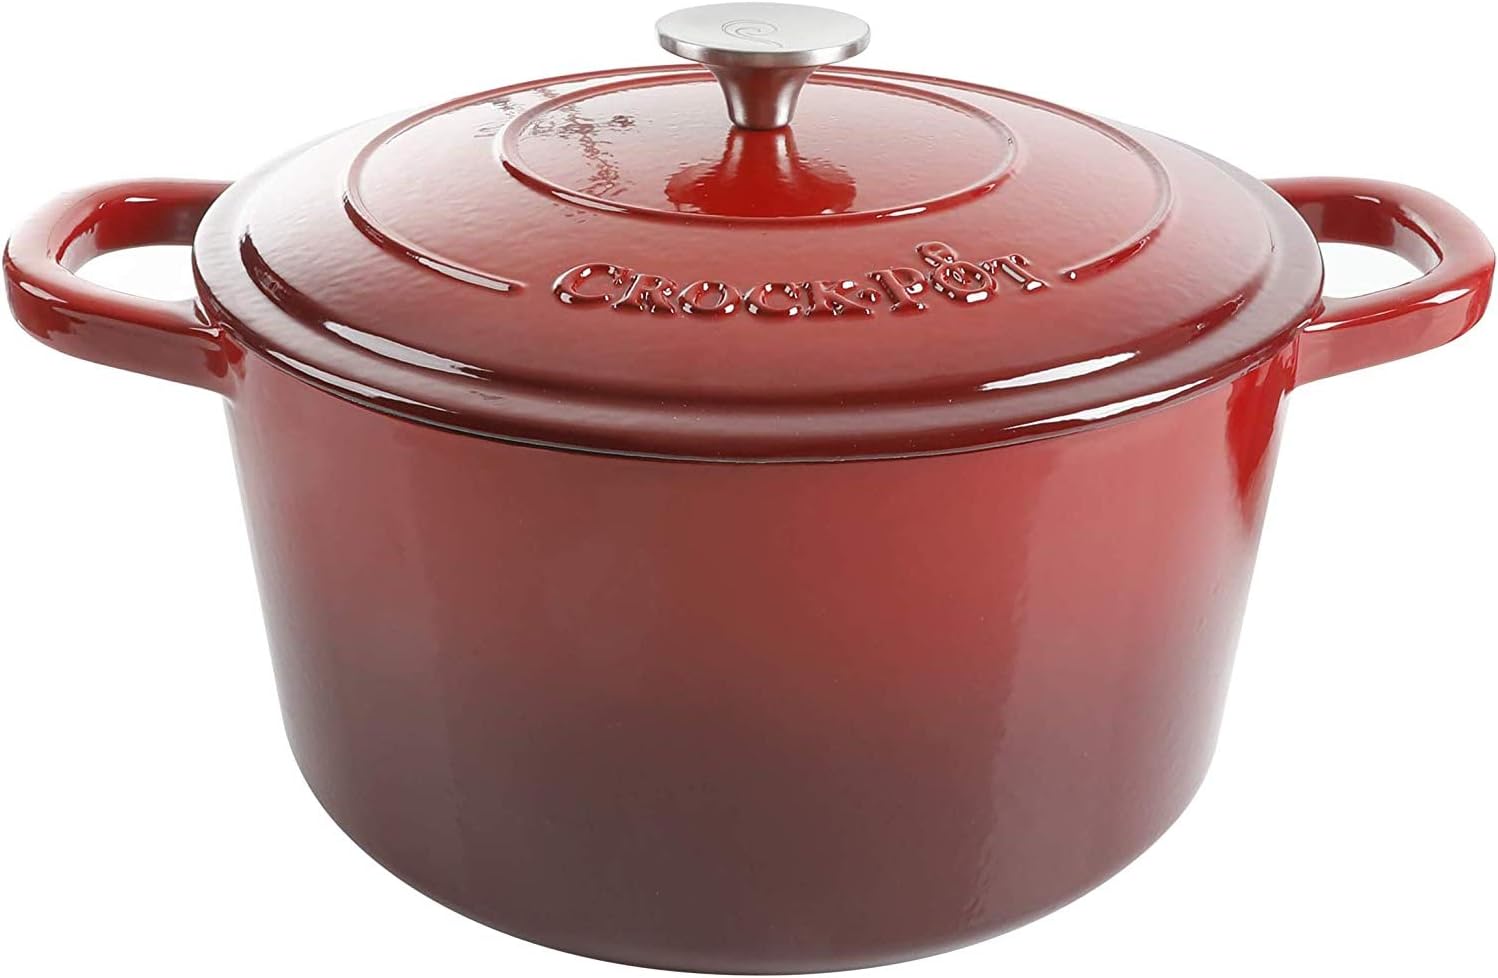
3-quart Dutch oven
$50.003 quart or larger capacity. Cast Iron or Enameled Cast Iron finish.
Buy on AmazonStep-by-Step Instructions
Follow these simple steps to create your own delicious homemade yogurt:
Heat the milk
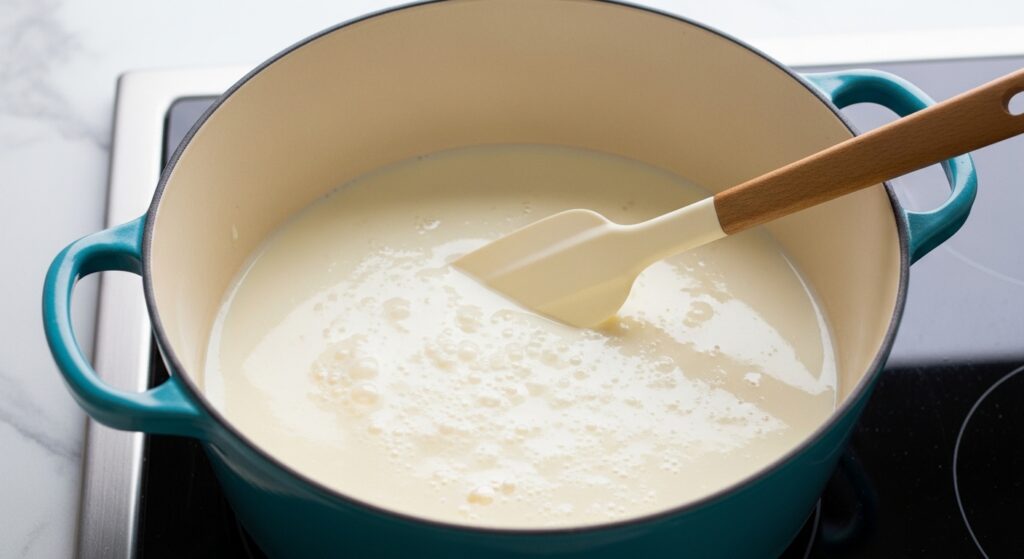
Pour the milk into a Dutch oven and place it over medium to medium-high heat. Warm the milk to right below boiling, about 200°F. Stir the milk gently with a spatula as it heats to make sure the bottom doesn’t scorch, and the milk doesn’t boil over. According to the National Center for Home Food Preservation, this heating step is necessary to change the milk’s protein structure so it sets into a solid instead of separating.
Cool the milk
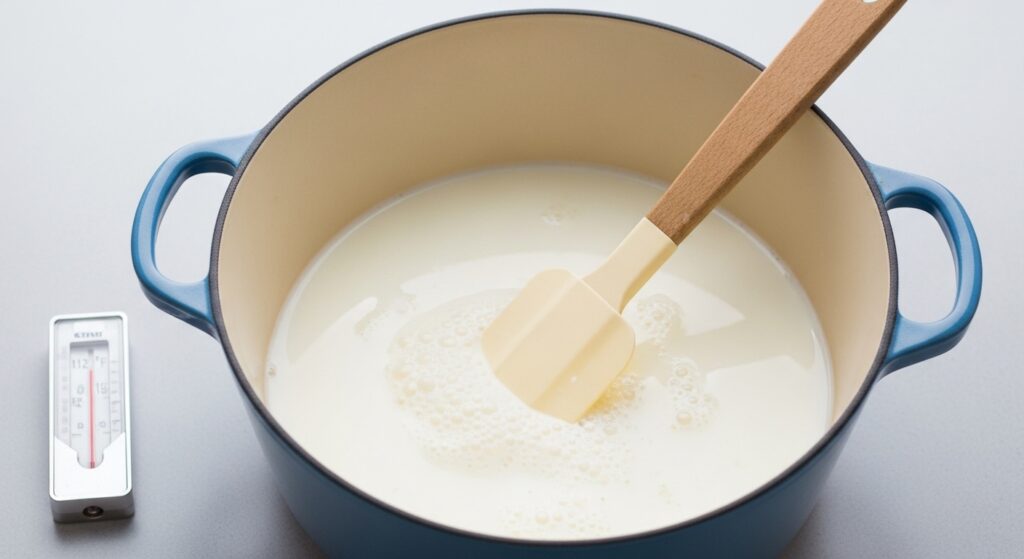
Let the milk cool until it is just warm to the touch, 112°F to 115°F. Stir occasionally with your spatula to prevent a skin from forming. (Though if one does form, you can either stir it back in or pull it out for a snack!) You can help this step go faster by placing the Dutch oven in an ice water bath and gently stirring the milk. Use your thermometer to monitor the temperature closely.
Thin the yogurt with milk
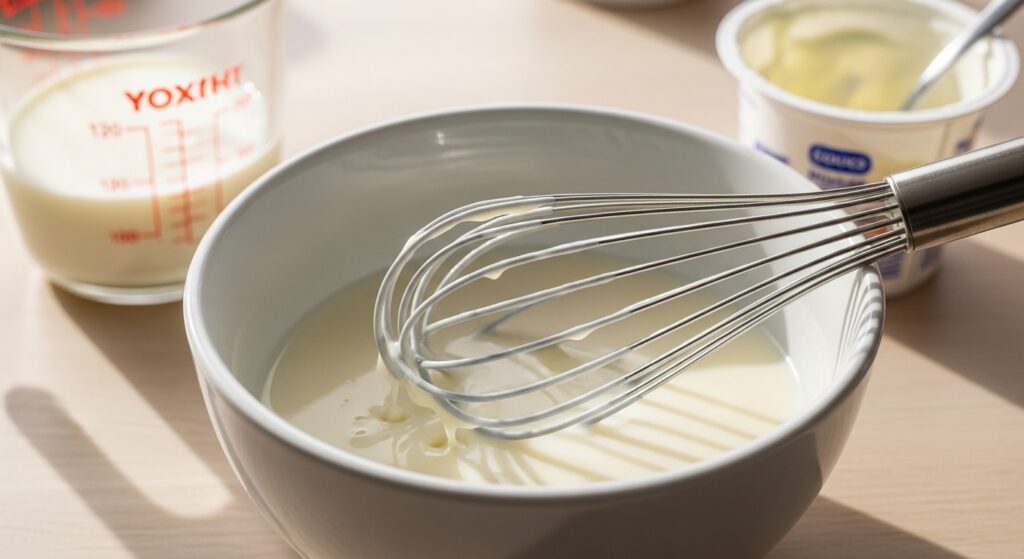
Scoop out about a cup of warm milk into a bowl. Add the 1/2 cup of commercial yogurt (ensure it has active cultures!) and whisk until smooth and the yogurt is dissolved in the milk. A good whisk is essential for this step to ensure no lumps remain.
Whisk the thinned yogurt into the milk
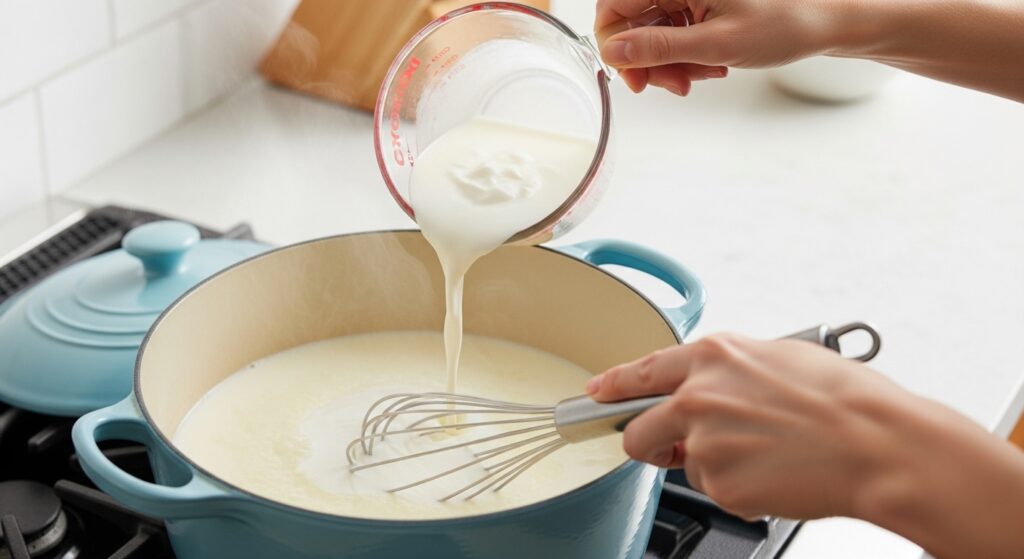
While whisking gently with your whisk, pour the thinned yogurt mixture into the warm milk in the Dutch oven. This crucial step inoculates the milk with the yogurt culture, beginning the fermentation process. For more insights on this process, check out The Kitchn’s guide.
Transfer the pot to the (turned-off) oven
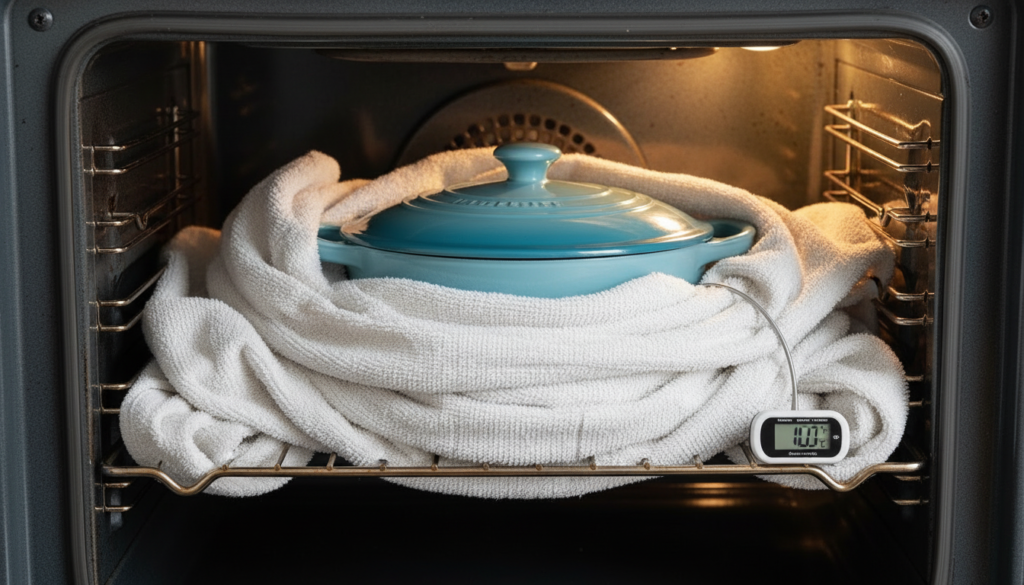
Cover the Dutch oven and place the whole pot in a turned-off oven — turn on the oven light or wrap the pot in towels to keep the milk warm as it sets (ideally around 110°F, though some variance is fine). You can also make the yogurt in a dehydrator left at 110°F or using a yogurt maker for consistent results.
Wait for the yogurt to set
Let the yogurt set for at least 4 hours or as long as overnight — the exact time will depend on the cultures used, the temperature of the yogurt, and your yogurt preferences. The longer yogurt sits, the thicker and more tart it becomes. If this is your first time making yogurt, start checking it after 4 hours and stop when it reaches a flavor and consistency you like. Avoid jostling or stirring the yogurt until it has fully set. NYT Cooking offers great tips on monitoring your yogurt.
Cool the yogurt
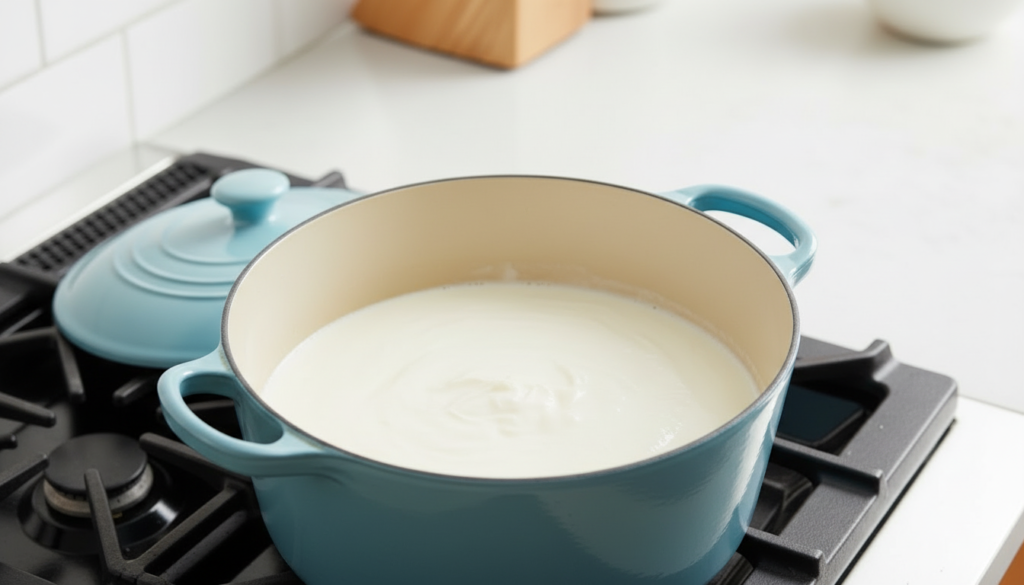
Once the yogurt has set to your liking, remove it from the oven. If you see any watery whey on the surface of the yogurt, you can either drain this off or whisk it back into the yogurt before transferring to containers. Whisking with a whisk also gives the yogurt a more consistent creamy texture. Transfer the yogurt to storage containers, cover, and refrigerate. Homemade yogurt will keep for about 2 weeks in the refrigerator. For more storage advice, see Serious Eats.
Your next batch of homemade yogurt
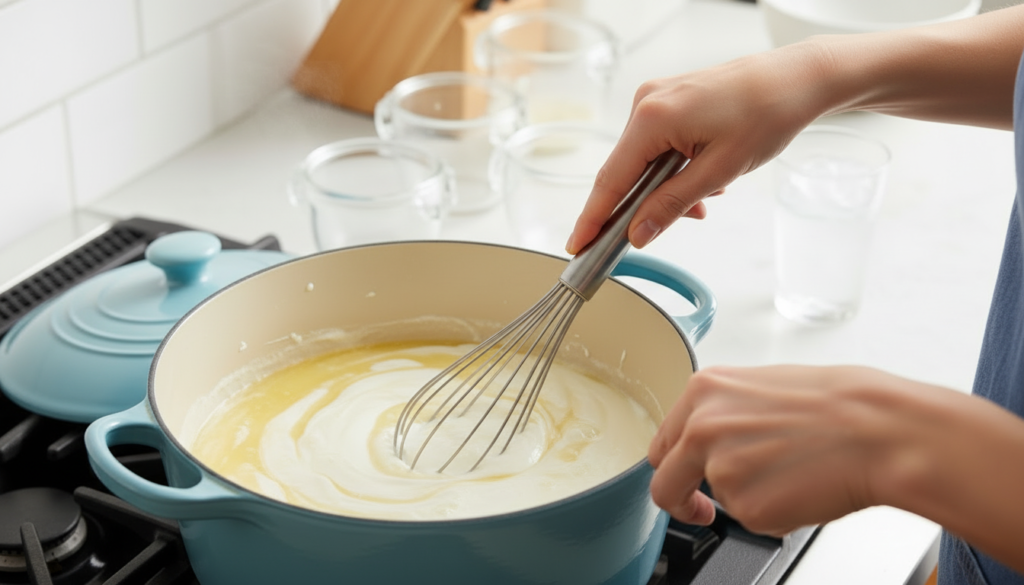
Once you start making your own yogurt, you can use some of each batch to culture your next batch. Just save 1/2 cup to use for this purpose. If, after a few batches, you notice some odd flavors in your yogurt or that it’s not culturing quite as quickly, that means that either some outside bacteria have taken up residence in your yogurt or that this strain is becoming weak. As long as this batch still tastes good to you, it will be safe to eat, but go back to using some store-bought commercial yogurt in your next batch. Taste of Home provides excellent troubleshooting for recurrent batches.
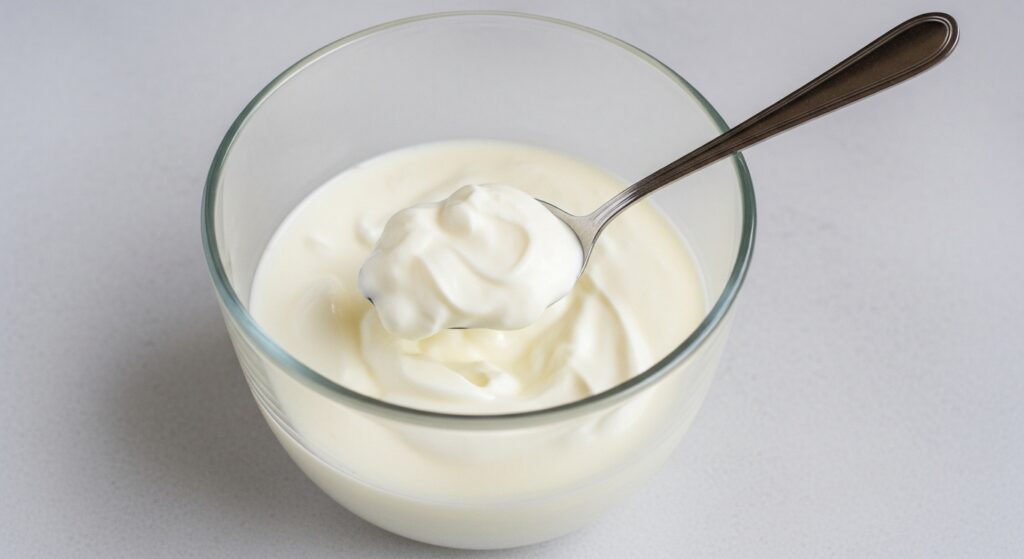
How To Make Yogurt at Home: Your Simple 2-Ingredient Guide
Ingredients
- 8 cups milk (1/2 gallon) — whole or 2% are best, but skim can also be used
- 1/2 cup commercial yogurt containing active cultures
Instructions
- Heat the milk. Pour the milk into a Dutch oven and place over medium to medium-high heat. Warm the milk to right below boiling, about 200°F. Stir the milk gently as it heats to make sure the bottom doesn’t scorch and the milk doesn’t boil over. According to the National Center for Home Food Preservation, this heating step is necessary to change the protein structure in the milk so it sets as a solid instead of separating.
- Cool the milk. Let the milk cool until it is just warm to the touch, 112°F to 115°F. Stir occasionally to prevent a skin from forming. (Though if one does form, you can either stir it back in or pull it out for a snack!) You can help this step go faster by placing the Dutch oven in an ice water bath and gently stirring the milk.
- Thin the yogurt with milk. Scoop out about a cup of warm milk into a bowl. Add the yogurt and whisk until smooth and the yogurt is dissolved in the milk.
- Whisk the thinned yogurt into the milk. While whisking gently, pour the thinned yogurt into the warm milk. This inoculates the milk with the yogurt culture.
- Transfer the pot to the (turned-off) oven. Cover the Dutch oven and place the whole pot in a turned-off oven — turn on the oven light or wrap the pot in towels to keep the milk warm as it sets ( ideally around 110°F, though some variance is fine). You can also make the yogurt in a dehydrator left at 110°F or using a yogurt maker.
- Wait for the yogurt to set. Let the yogurt set for at least 4 hours or as long as overnight — the exact time will depend on the cultures used, the temperature of the yogurt, and your yogurt preferences. The longer yogurt sits, the thicker and more tart it becomes. If this is your first time making yogurt, start checking it after 4 hours and stop when it reaches a flavor and consistency you like. Avoid jostling or stirring the yogurt until it has fully set.
- Cool the yogurt. Once the yogurt has set to your liking, remove it from the oven. If you see any watery whey on the surface of the yogurt, you can either drain this off or whisk it back into the yogurt before transferring to containers. Whisking also gives the yogurt a more consistent creamy texture. Transfer the to storage containers, cover, and refrigerate. Homemade yogurt will keep for about 2 weeks in the refrigerator.
FAQ Section
Why isn’t my homemade yogurt setting?
Can I use non-dairy milk to make yogurt?
How long does homemade yogurt last in the refrigerator?
Conclusion
Making yogurt at home is a simple yet incredibly rewarding culinary adventure. With just two ingredients and a little patience, you can create a wholesome, versatile, and delicious staple that rivals any store-bought variety. Not only will you enjoy superior flavor and texture, but you’ll also gain the satisfaction of knowing exactly what goes into your food. So grab your whisk and a good thermometer, and embark on your journey to homemade yogurt perfection!
Don’t forget to explore other delightful breakfast and snack recipes like our Blueberry Muffin Recipe or a quick Keto Mug Cake for more homemade goodness.