
This post may contain affiliate links, which means I may receive a small commission, at no cost to you, if you make a purchase through a link.
Introduction: Your New Favorite Snack is Here!
Get ready to meet your new go-to snack, appetizer, or quick lunch solution: Easy Hotdog Roll-Ups with Cheddar and Tangy Dip! If you’re looking for something incredibly simple to make, utterly delicious, and a guaranteed crowd-pleaser, especially with the little ones, then you’ve come to the right place.
These aren’t just any hotdog snacks; we’re talking about savory beef hot dogs, sharp cheddar cheese, and a hint of zesty onion and relish, all tucked inside a crispy, golden-brown bread roll-up, cooked to perfection in the air fryer. And let’s not forget the irresistible tangy dip that takes these bites to a whole new level!
Forget the mess of traditional hot dogs; these bite-sized wonders are perfect for parties, game nights, or even a fun weeknight meal. Plus, using an air fryer means less oil and maximum crispiness with minimal effort, much like our popular Crispy Air Fryer Broccoli Florets. Let’s dive into making these delightful little rolls!
Ingredients: Simple Goodness, Big Flavor
One of the best things about these hotdog roll-ups is how few and common the ingredients are. You likely have most of them in your pantry and fridge right now! We’re talking about everyday staples that come together to create something truly special. The key is using soft white bread that flattens beautifully, savory beef hot dogs, and a sharp cheddar for that classic flavor pairing.
- 8 (1-ounce) slices white bread (such as Wonder Bread®)
- 2 tablespoons yellow mustard
- 4 thin slices sharp Cheddar cheese, halved
- 8 beef hot dogs (such as Oscar Mayer® Classic Wieners Hot Dogs)
- 4 tablespoons minced yellow onion
- 2 tablespoons plus 2 teaspoons sweet pickle relish
- ¼ cup barbecue sauce
- ¼ cup mayonnaise
- ½ teaspoon seasoned salt (such as Lawry’s®)
- Cooking spray, for air frying
Instructions: Roll, Crisp, and Dip!
Making these hot dog roll-ups is a fun and straightforward process. Each step is designed to be quick and easy, ensuring you get perfectly golden, crispy bites every time. The air fryer does most of the heavy lifting, leaving you with more time to enjoy these delicious snacks. Follow these steps for an irresistible treat that will disappear fast!
Step 1: Gather Your Tools and Ingredients
Before you begin, make sure you have all your ingredients measured out and ready to go. Having everything within reach will make the assembly process smooth and efficient, especially when you’re working with multiple roll-ups.

Step 2: Prepare the Bread Slices
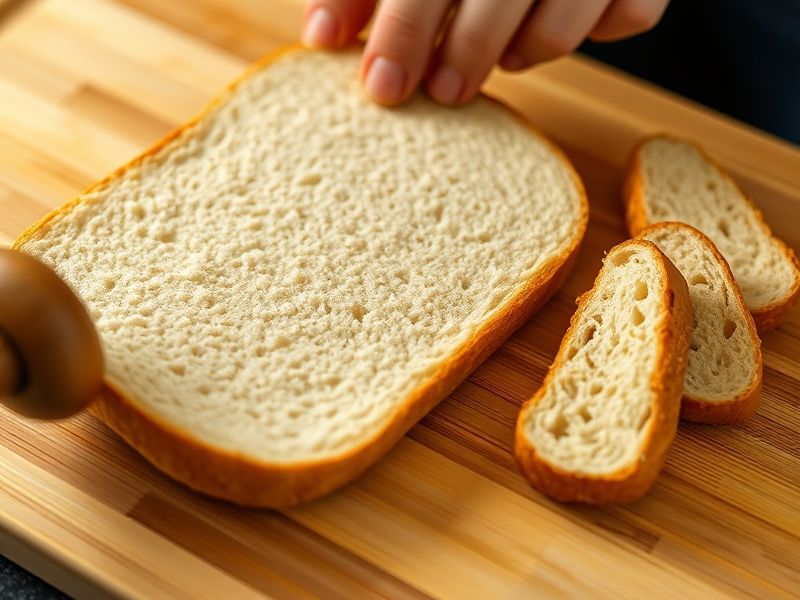
Using a rolling pin, carefully roll each slice of white bread until it is completely flat and pliable. This step is crucial for creating a tight, even roll. Once flattened, gently trim off the crusts to form neat 4×4-inch squares. This ensures a clean edge for rolling and a uniform final product.
Step 3: Spread with Mustard
Spread an even, thin layer of yellow mustard over each flattened bread slice. About ¾ teaspoon per slice should be sufficient to add that classic hotdog tang without making the bread soggy. This mustard layer also acts as a “glue” for the fillings.

Step 4: Assemble the Roll-Up Fillings
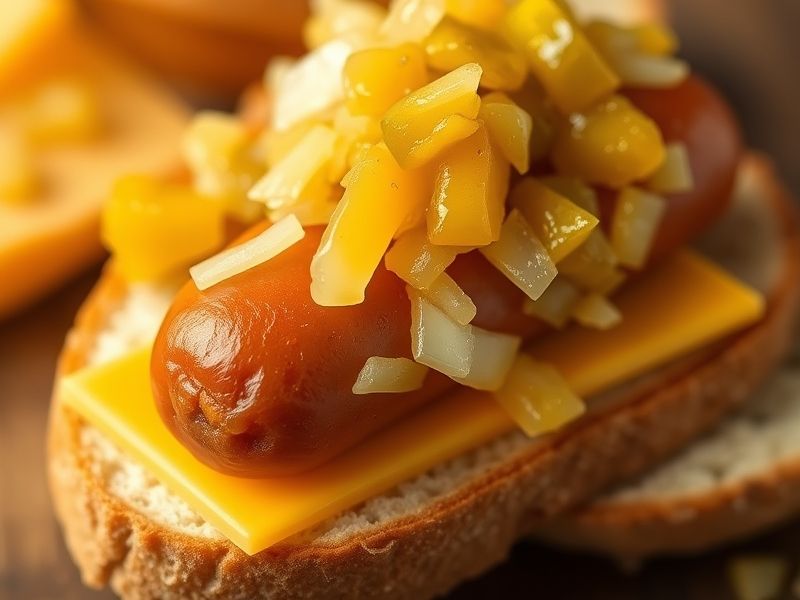
Take one bread slice. Place a halved slice of sharp Cheddar cheese along the edge closest to you. Then, place one beef hot dog horizontally on top of the cheese. If the hot dog is too long, trim its ends so it fits perfectly within the bread. Spoon about 1 ½ teaspoons of minced yellow onion and 1 teaspoon of sweet pickle relish across the cheese, just above the hot dog.
Step 5: Roll and Slice
Starting from the edge closest to you, tightly roll up the bread, cheese, hot dog, onion, and relish. Ensure it’s snug to prevent unraveling during cooking. Once rolled, slice the log crosswise into three equal pieces, each approximately 1 ¼ inches long. Transfer these cute mini roll-ups to a serving platter as you complete them, and repeat the entire assembly process with the remaining ingredients.

Step 6: Preheat and Prepare for Air Frying
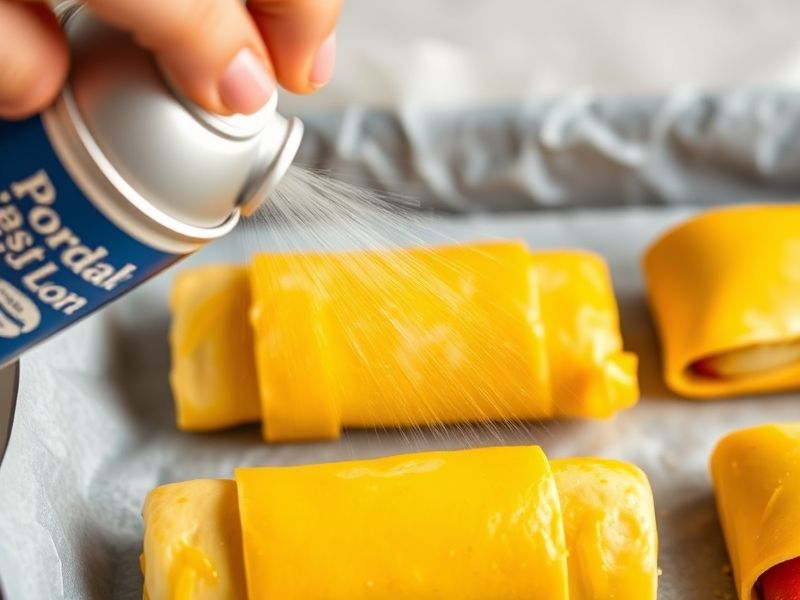
Preheat your air fryer to 400 degrees F (200 degrees C) for 5 minutes, or as recommended by your appliance’s manufacturer. This ensures the air fryer is at the optimal temperature for immediate crisping. Lightly coat the tops and sides of all your assembled roll-ups with cooking spray for that perfect golden crust.
Step 7: Air Fry to Golden Perfection
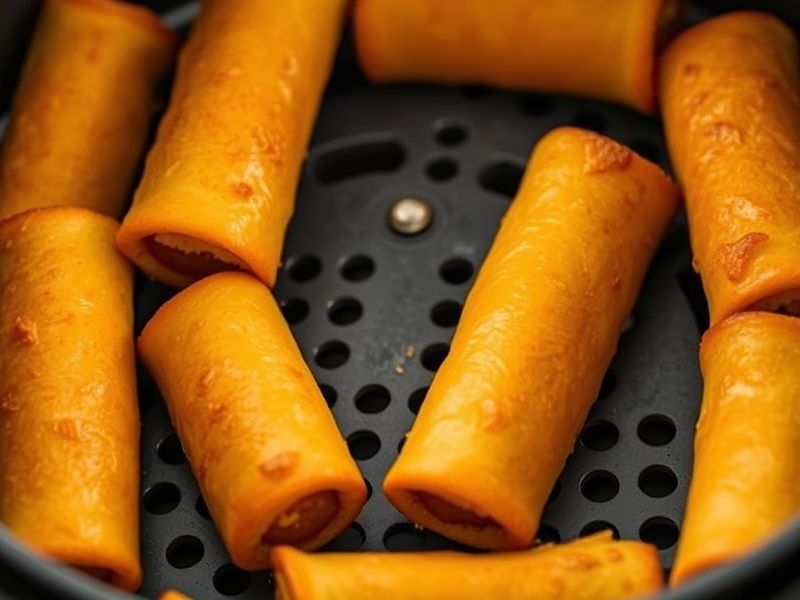
Working in two batches to avoid overcrowding, place the roll-ups into the air fryer basket, leaving about a ½-inch space between each. Cook for approximately 5 minutes, or until the bread turns a beautiful light golden brown and is wonderfully crispy. Cooking in batches allows the hot air to circulate properly, ensuring even browning and a satisfying crunch.
Step 8: Prepare the Tangy Dip
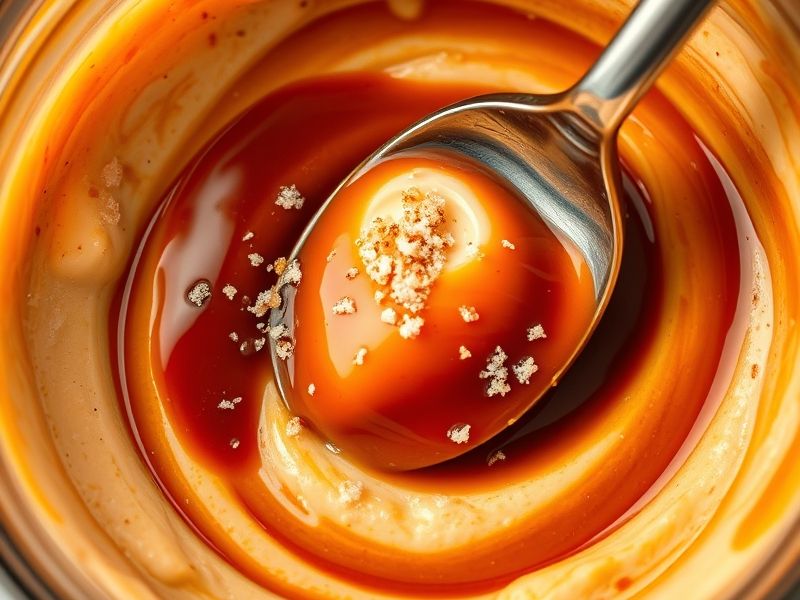
While your roll-ups are getting perfectly crispy, prepare the irresistible, tangy dip. In a small bowl, combine the barbecue sauce, mayonnaise, and seasoned salt. Stir everything together until it’s smoothly and evenly combined. This dip adds a fantastic burst of flavor that complements the hot dog roll-ups wonderfully.
Step 9: Serve and Enjoy!
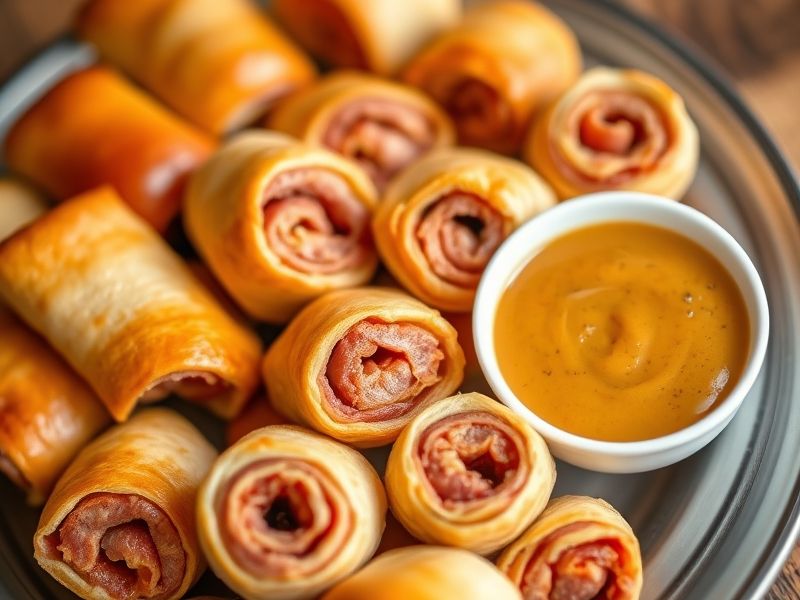
Once all your hotdog roll-ups are air-fried to golden perfection, transfer them to a serving platter. Serve them immediately while they are warm and crispy, alongside the freshly prepared barbecue-mayonnaise mixture. These delicious bites are best enjoyed fresh!
Notes & Tips for Perfect Roll-Ups
Achieving perfectly crispy and delicious hotdog roll-ups is simple with a few helpful hints. Whether you’re making them for a quick snack or a party, these tips will ensure your roll-ups are a hit every time.
- Prep Ahead: You can assemble these hotdog roll-ups a few hours in advance. Simply cover them tightly with plastic wrap and store them in the refrigerator. When ready to cook, add an extra minute or two to the air frying time if cooking from cold.
- Cheese Variations: Don’t be afraid to get creative with your cheese! While sharp cheddar offers a classic flavor, American, Colby Jack, or even a spicy pepper jack can add a fun twist. Just ensure they are thin slices for easy rolling.
- Onion & Relish Prep: For a milder onion flavor, finely mince the yellow onion and soak it in cold water for about 10 minutes, then drain thoroughly before using. If sweet pickle relish isn’t your preference, dill relish works well too, but you might want to adjust the sweetness of the dipping sauce.
- Dipping Sauce Alternatives: The tangy barbecue mayo is fantastic, but these roll-ups are also delicious with other dips like classic ketchup, honey mustard, or a creamy ranch dressing. Experiment to find your favorite!
- Don’t Overcrowd the Air Fryer: For the best results – meaning evenly golden and crispy roll-ups – always cook them in batches. Overfilling the air fryer basket can lead to steaming instead of frying, resulting in a less crispy texture.
- Sealing the Rolls: To ensure your roll-ups stay together, you can lightly moisten the edge of the bread with a tiny bit of water or mustard before making the final roll. This helps create a better seal.
Recipe Card
🍽️ Easy Hotdog Roll-Ups with Cheddar and Tangy Dip
📝 Ingredients
- 8 (1-ounce) slices white bread (such as Wonder Bread®)
- 2 tablespoons yellow mustard
- 4 thin slices sharp Cheddar cheese, halved
- 8 beef hot dogs (such as Oscar Mayer® Classic Wieners Hot Dogs)
- 4 tablespoons minced yellow onion
- 2 tablespoons plus 2 teaspoons sweet pickle relish
- ¼ cup barbecue sauce
- ¼ cup mayonnaise
- ½ teaspoon seasoned salt (such as Lawry’s®)
- Cooking spray, for air frying
👩🍳 Instructions
- Gather all ingredients.
- Using a rolling pin, roll each bread slice until entirely flat. Trim just the crust off each bread slice, forming a 4×4-inch square.
- Spread each bread slice with an even layer of mustard (about ¾ teaspoon per slice).
- Working with 1 slice of bread at a time, place a halved cheese slice on the edge of the bread closest to you. Place 1 hot dog horizontally on top of the cheese slice. If needed, trim the ends of the hot dog so that no hot dog extends over the edges of the bread. Spoon 1 ½ teaspoons onion horizontally across the cheese slice above the hot dog, followed by 1 teaspoon of relish.
- Roll up tightly, from the edge closest to you. Slice crosswise into 3 equal pieces (about 1 ¼-inches each), and transfer to a serving platter. Repeat the process with the remaining ingredients.
- Preheat an air fryer to 400 degrees F (200 degrees C) for 5 minutes, or according to the manufacturer’s instructions. Lightly coat the tops and sides of the roll-ups with cooking spray.
- Working in 2 batches, add roll-ups to the basket, spacing them ½-inch apart, and cook until the bread is lightly golden brown, about 5 minutes.
- While the roll-ups cook, stir together barbecue sauce, mayonnaise, and seasoned salt in a small bowl until evenly combined.
- Serve hotdog roll-ups with the mayonnaise mixture.
Product Comparison: Essential Tools for Easy Roll-Ups
To make these hotdog roll-ups (and many other delicious recipes!) a breeze, having the right kitchen tools can make all the difference. We’ve highlighted two essential items: a reliable rolling pin for flattening your bread and an efficient air fryer for that perfect golden crisp. Here’s a look at some top picks:

Classic Wooden Rolling Pin
$14.99
- Rating: 4.7 stars
- Material: Solid Beechwood
- Length: 17 inches
- Care: Hand wash recommended
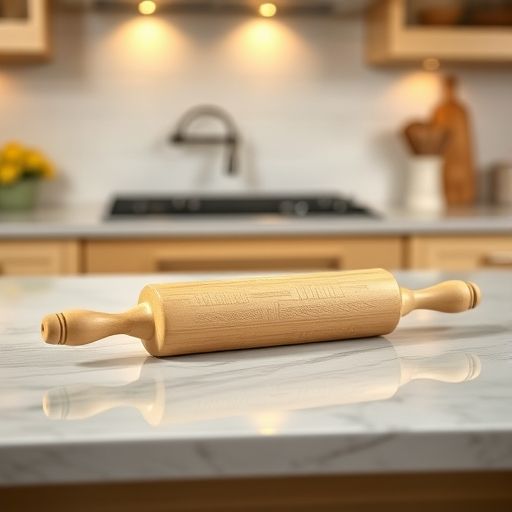
French Tapered Rolling Pin
$22.50
- Rating: 4.8 stars
- Design: Tapered ends for precision
- Material: Premium Maple Wood
- Weight: Lightweight for control
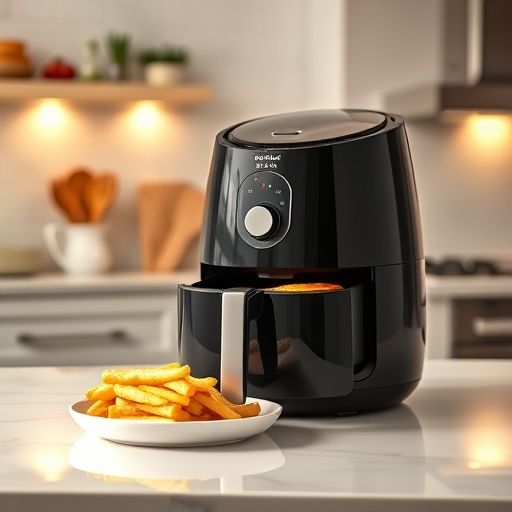
Compact Digital Air Fryer
$89.99
- Rating: 4.6 stars
- Capacity: 3.7 Quart
- Power: 1500W
- Controls: Digital Touchscreen
- Temperature Range: 180°F – 400°F
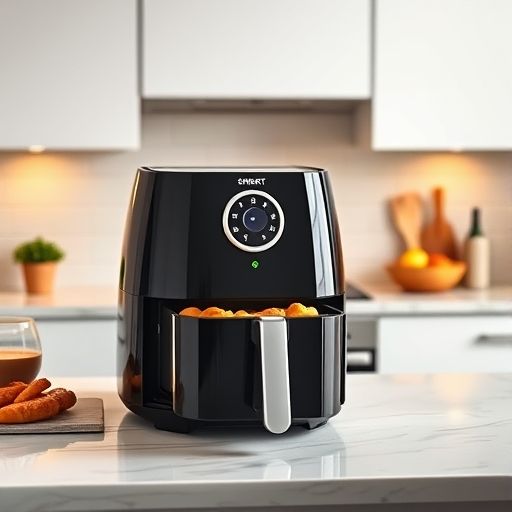
Family-Size Smart Air Fryer
$129.00
- Rating: 4.9 stars
- Capacity: 5.8 Quart
- Pre-set Functions: 11 One-Touch Presets
- Connectivity: Smart App Control
- Dimensions: 11.8 x 14.1 x 12.6 inches
Nutritional Info
Here’s an estimated nutritional breakdown per serving:
Calories: 280kcal
Carbohydrates: 20g
Protein: 12g
Fat: 18g
Saturated Fat: 7g
Cholesterol: 35mg
Sodium: 750mg
Sugar: 6g
Frequently Asked Questions (FAQ)
Q: Can I bake these hot dog roll-ups instead of air frying?
A: Yes, you can! Preheat your oven to 400°F (200°C). Place the roll-ups on a baking sheet and bake for 8-12 minutes, or until golden brown and crispy, flipping halfway through. Keep a close eye on them to prevent burning.
Q: What kind of bread works best for this recipe?
A: Soft, pliable white bread slices, like Wonder Bread® or similar sandwich bread, work best as they roll up easily without cracking. Thicker, crustier breads won’t flatten as well, which is crucial for a tight roll.
Q: Can I make these vegetarian?
A: Absolutely! Simply substitute beef hot dogs with your favorite vegetarian or plant-based hot dogs and ensure your cheese is also vegetarian-friendly (or use a vegan cheese alternative). Many brands offer delicious meat-free alternatives that will work perfectly in this recipe. Consider pairing with a delicious vegetarian main dish from Serious Eats.
Q: How can I store leftovers and reheat them?
A: Store any leftover hotdog roll-ups in an airtight container in the refrigerator for up to 2-3 days. To reheat, pop them back into the air fryer at 350°F (175°C) for 3-5 minutes, or until heated through and crispy again. The microwave isn’t recommended as it will make them soggy. For more air fryer tips, check out this guide on Air Fryer Cooking Tips from Food Network.
Q: Can I use different condiments inside the roll-ups?
A: Definitely! While the mustard, onion, and relish offer a classic flavor, feel free to get creative. A touch of cream cheese, a thin slice of pickle, or even a dash of hot sauce could add a fun twist. Explore other innovative kitchen ideas from Bon Appétit for more inspiration!
Conclusion: A Fun, Flavorful Treat for Everyone
These Easy Hotdog Roll-Ups with Cheddar and Tangy Dip are truly a game-changer for quick snacks and entertaining. They’re incredibly versatile, budget-friendly, and deliver on flavor with every crispy, cheesy bite. Whether you’re whipping them up for a party, a school lunchbox, or just a fun evening at home, they are sure to be a hit.
The simplicity of the recipe, combined with the magic of the air fryer, means you can have these golden delights ready in no time. Don’t hesitate to customize them with your favorite cheeses or a different dip to make them truly your own. It’s a joyful recipe that brings smiles all around!
If you loved this recipe, be sure to explore more of our easy and wholesome meal ideas, like our One Pan Chicken and Vegetables for a fuss-free dinner. Enjoy every moment in the kitchen and at the table!
Thank you for reading and supporting Food Jot!