
Affiliate Disclosure: This post may contain affiliate links. If you make a purchase through these links, we may earn a commission at no extra cost to you. For more information, please see our affiliate disclosure.
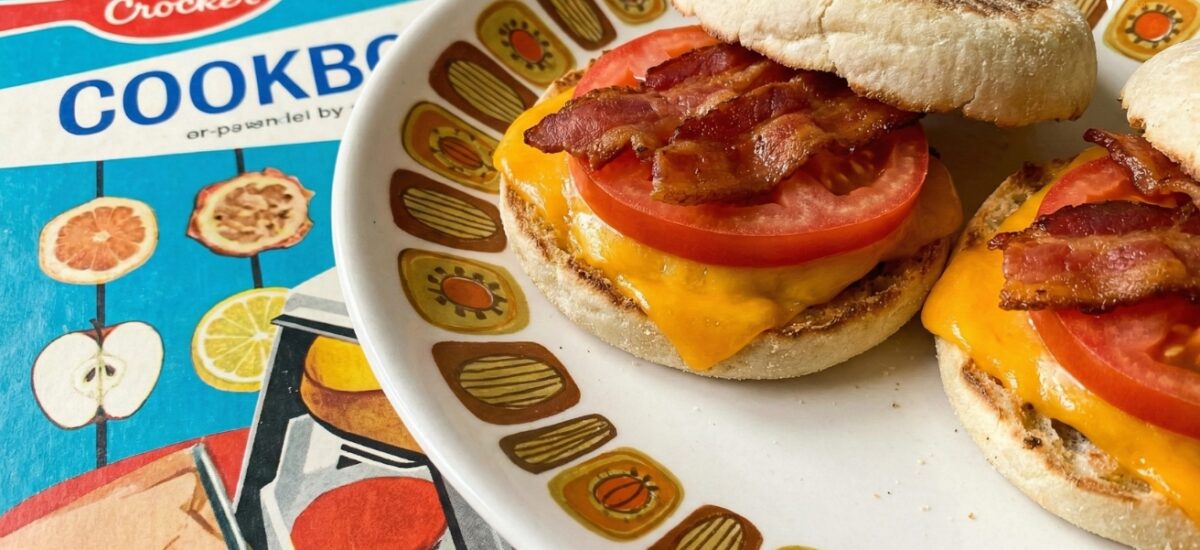
Step back in time to a simpler era of delicious, no-fuss cooking with Betty Crocker Cheese Dreams! This classic recipe, a beloved staple from mid-century American kitchens, is the epitome of comfort food. Imagine perfectly toasted bread, generously filled with a savory, creamy cheese mixture, and baked until golden and gooey. It’s an irresistible treat that’s easy to make, incredibly satisfying, and evokes a wonderful sense of nostalgia.
Whether you remember these from your childhood or are discovering them for the first time, Betty Crocker Cheese Dreams are a testament to the fact that sometimes, the simplest ingredients create the most memorable dishes. They’re ideal for a quick lunch, a satisfying snack, or even a fun appetizer that everyone will love. Get ready to fall in love with this timeless cheesy delight!

What Exactly Are Betty Crocker Cheese Dreams?
Betty Crocker Cheese Dreams are essentially an elevated, baked version of a grilled cheese sandwich, but with a unique, creamy filling that sets them apart. Instead of just a slice of cheese, the bread is filled with a mixture of grated cheese, mayonnaise (or sometimes butter), and a touch of mustard or other seasonings. This creamy blend melts beautifully, creating a rich, savory interior that contrasts wonderfully with the crispy, toasted bread.
The beauty of this recipe lies in its simplicity and versatility. It’s a blank canvas for your favorite cheeses and seasonings, allowing you to customize it to your heart’s content while staying true to its comforting roots. If you love quick and savory bites, you might also enjoy our Perfect Gougeres (French Cheese Puffs).
Why You’ll Love This Retro Recipe
- Nostalgic Appeal: It’s a taste of the past that brings back warm memories for many.
- Effortlessly Easy: With minimal ingredients and straightforward steps, it’s perfect for cooks of all skill levels.
- Incredibly Versatile: Easily customize with your favorite cheeses and seasonings.
- Budget-Friendly: Made with common pantry staples, it’s an economical meal or snack.
- Crowd-Pleaser: Kids and adults alike adore the cheesy goodness!
Looking for more easy comfort food ideas? Check out our Classic Creamy Mac and Cheese Recipe.
Ingredients You’ll Need
To whip up these delightful Cheese Dreams, you’ll only need a few basic ingredients:
- Bread: White sandwich bread is traditional, but sourdough or whole wheat can also work.
- Cheddar Cheese: Sharp or mild, freshly grated is best for melting.
- Mayonnaise: The secret to that creamy, dreamy texture.
- Dijon Mustard: Adds a subtle tang and depth of flavor.
- Butter: For toasting the bread to golden perfection.
- Salt & Pepper: To taste.
- Optional additions: A dash of Worcestershire sauce, finely chopped chives, or a pinch of garlic powder.
For another simple bread-based delight, explore our Easy Homemade Flatbread Recipe.
How to Make Betty Crocker Cheese Dreams: Step-by-Step
Step 1: Prepare the Cheese Mixture
In a medium bowl, combine the grated cheddar cheese, mayonnaise, Dijon mustard, and a pinch of salt and pepper. Mix well until everything is thoroughly combined and the mixture is creamy. This is your magical cheese-filled dream!

Step 2: Assemble the Sandwiches
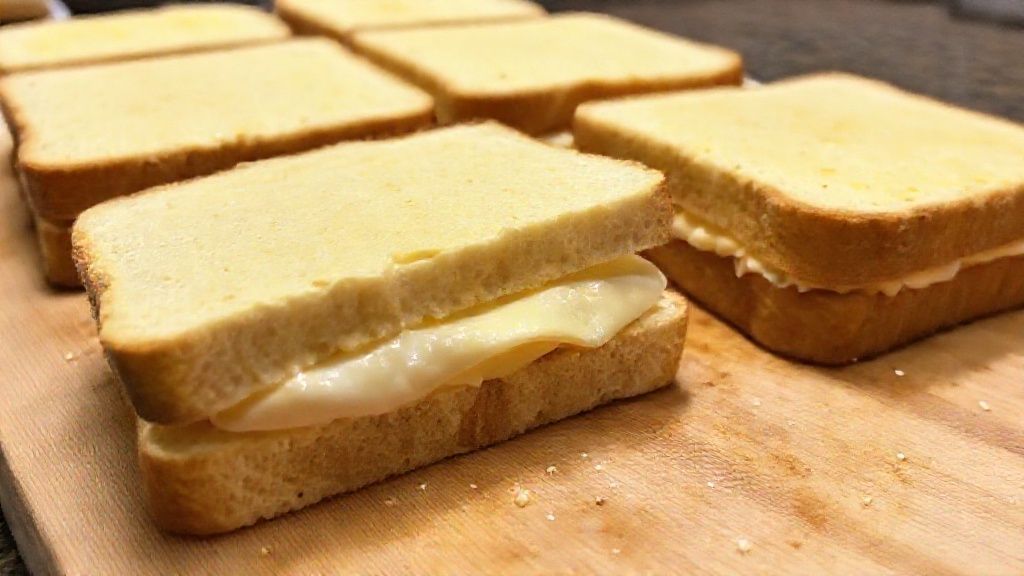
Spread one side of each bread slice thinly with butter. On the unbuttered side of half the slices, spread a generous amount of the cheese mixture, almost to the edges. Top with the remaining bread slices, butter-side up, forming sandwiches. Ensure the buttered sides are on the outside of the sandwich for perfect toasting.
Step 3: Toast the Sandwiches
Heat a large skillet or griddle over medium heat. Place the sandwiches in the hot skillet. Cook for 3-5 minutes per side, or until the bread is golden brown and crispy, and the cheese mixture inside is melted and bubbly. You want that beautiful, even toast without burning. For best results, use a reliable non-stick pan.

Step 4: Serve Immediately
Once toasted, remove the cheese dreams from the skillet. For a classic presentation, slice each sandwich diagonally in half. Serve immediately while hot and gooey. These are best enjoyed fresh off the pan!

Step 5: Optional Baking Finish (for extra crispiness)
For an even crispier exterior and fully melted interior, after toasting, you can transfer the cheese dreams to a baking sheet and bake in a preheated oven at 350°F (175°C) for an additional 5-7 minutes, or until the cheese is bubbling and the crust is extra golden. This step is optional but highly recommended for ultimate texture. Learn more about perfect grilled cheese techniques from culinary experts.

Betty Crocker Cheese Dreams: The Ultimate Retro Comfort Food Recipe
Ingredients
- 8 slices white sandwich bread
- 1.5 cups shredded sharp cheddar cheese
- 1/4 cup mayonnaise
- 1 teaspoon Dijon mustard
- 2 tablespoons unsalted butter, softened
- Pinch of salt
- Pinch of black pepper
Instructions
- In a medium bowl, combine the shredded cheddar cheese, mayonnaise, Dijon mustard, salt, and pepper. Mix until well combined and creamy.
- Lightly butter one side of each bread slice. On the unbuttered side of four slices, spread an even layer of the cheese mixture, almost to the edges. Top with the remaining four bread slices, butter-side up, to form four sandwiches.
- Heat a large non-stick skillet or griddle over medium heat. Place the sandwiches in the hot skillet. Cook for 3-5 minutes per side, or until the bread is golden brown and crispy, and the cheese mixture is melted and bubbly.
- Remove the cheese dreams from the skillet. For a classic presentation, slice each sandwich diagonally in half. Serve immediately while hot and gooey for the best experience.
- For an even crispier exterior and fully melted interior, you can transfer the toasted cheese dreams to a baking sheet and bake in a preheated oven at 350°F (175°C) for an additional 5-7 minutes, or until the cheese is bubbling and the crust is extra golden. This step is optional but enhances the texture.
Frequently Asked Questions
Can I make Betty Crocker Cheese Dreams ahead of time?
What kind of bread is best for Cheese Dreams?
Can I use different cheeses?
How do I prevent my Cheese Dreams from getting soggy?
Are Cheese Dreams suitable for vegetarians?
Tips for the Perfect Cheese Dreams
- Freshly Grated Cheese: Pre-shredded cheese often contains anti-caking agents that prevent it from melting as smoothly. Grating your own will yield a much creamier result.
- Don’t Overfill: While tempting, too much filling can cause it to ooze out excessively during cooking.
- Medium Heat is Key: Cooking on medium heat allows the bread to toast slowly and evenly while the cheese melts through, preventing burnt bread and cold centers.
- Butter Generously: Butter is essential for that rich, golden crust and delicious flavor.
- Experiment with Cheese: While cheddar is classic, try a blend of cheeses like Gruyere, Monterey Jack, or even a touch of cream cheese for added richness. The Cheese Society offers a wealth of information on different cheese varieties.
- Add-ins: Consider adding finely chopped ham, bacon bits, or caramelized onions to the cheese mixture for extra flavor.
Serving Suggestions
Betty Crocker Cheese Dreams are incredibly versatile and pair well with many sides:
- Tomato Soup: A classic combination that never disappoints. The creamy cheese and tangy soup are a match made in heaven.
- Simple Salad: A light green salad with a vinaigrette can balance the richness of the cheese dreams.
- Pickles or Relish: The acidity cuts through the richness and adds a satisfying crunch.
- Fresh Fruit: Sliced apples or grapes offer a refreshing counterpoint.
- Dipping Sauces: Ketchup, a mild salsa, or even a simple marinara can be delicious.
Pair these cheesy delights with a light side like our 10 Minute Sautéed Zucchini.
Conclusion
Betty Crocker Cheese Dreams are more than just a recipe; they’re a trip down memory lane, a comforting embrace, and a testament to the enduring appeal of simple, delicious food. Easy to prepare, incredibly satisfying, and endlessly customizable, these cheesy delights are perfect for any occasion, from a quick weeknight meal to a nostalgic weekend treat. So, gather your ingredients, fire up your skillet, and prepare to enjoy a taste of classic American comfort that will leave everyone dreaming of more!