Affiliate Disclosure: This post contains affiliate links. If you make a purchase through them, FoodJot may earn a commission at no additional cost to you.
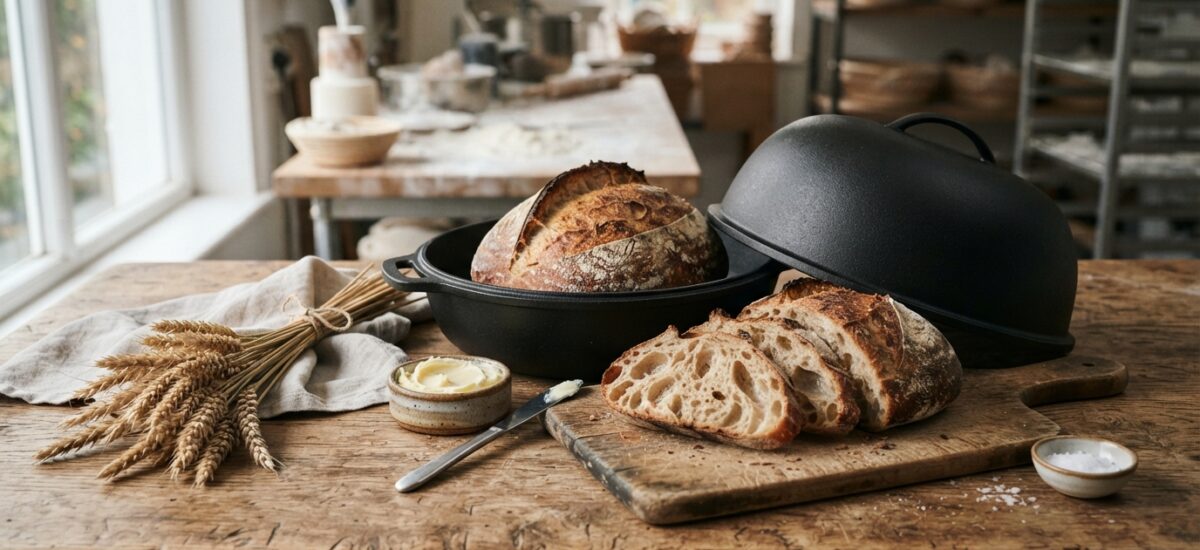
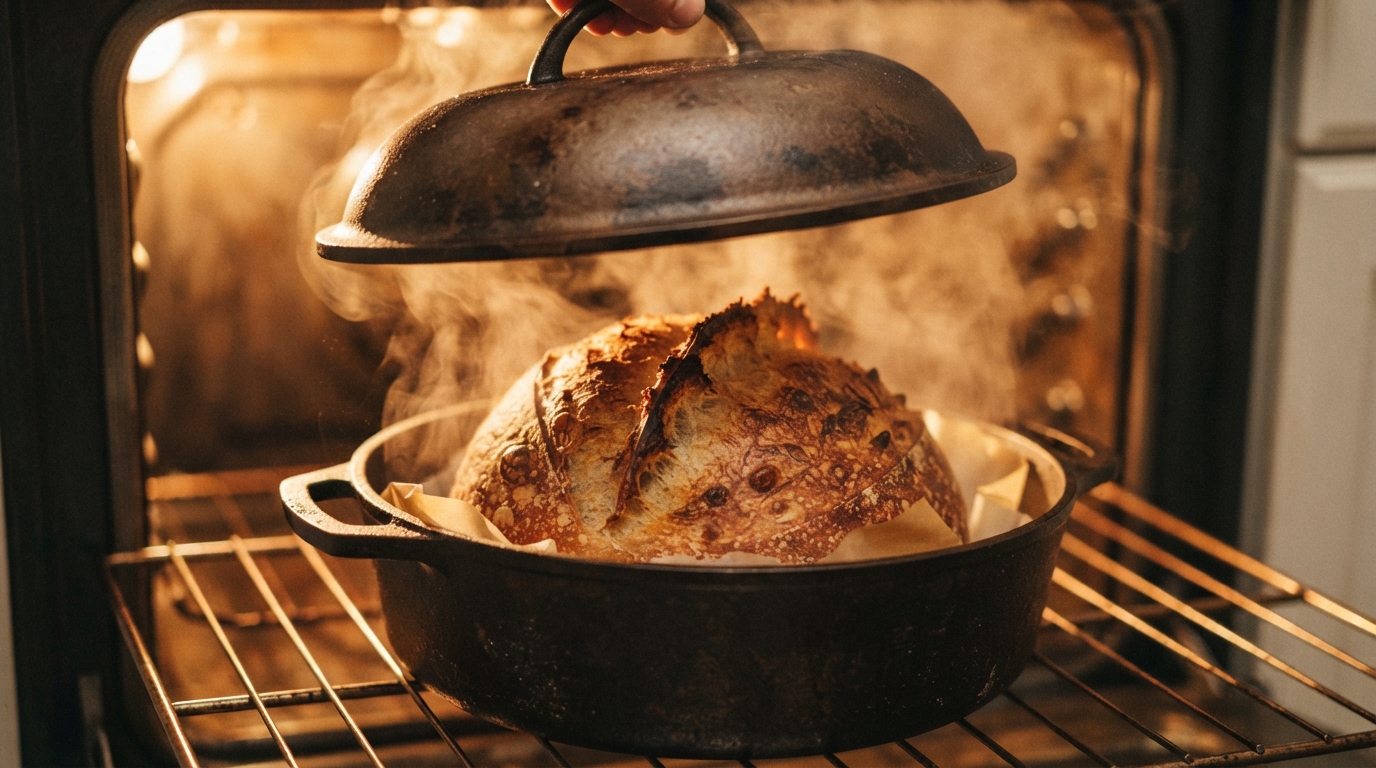
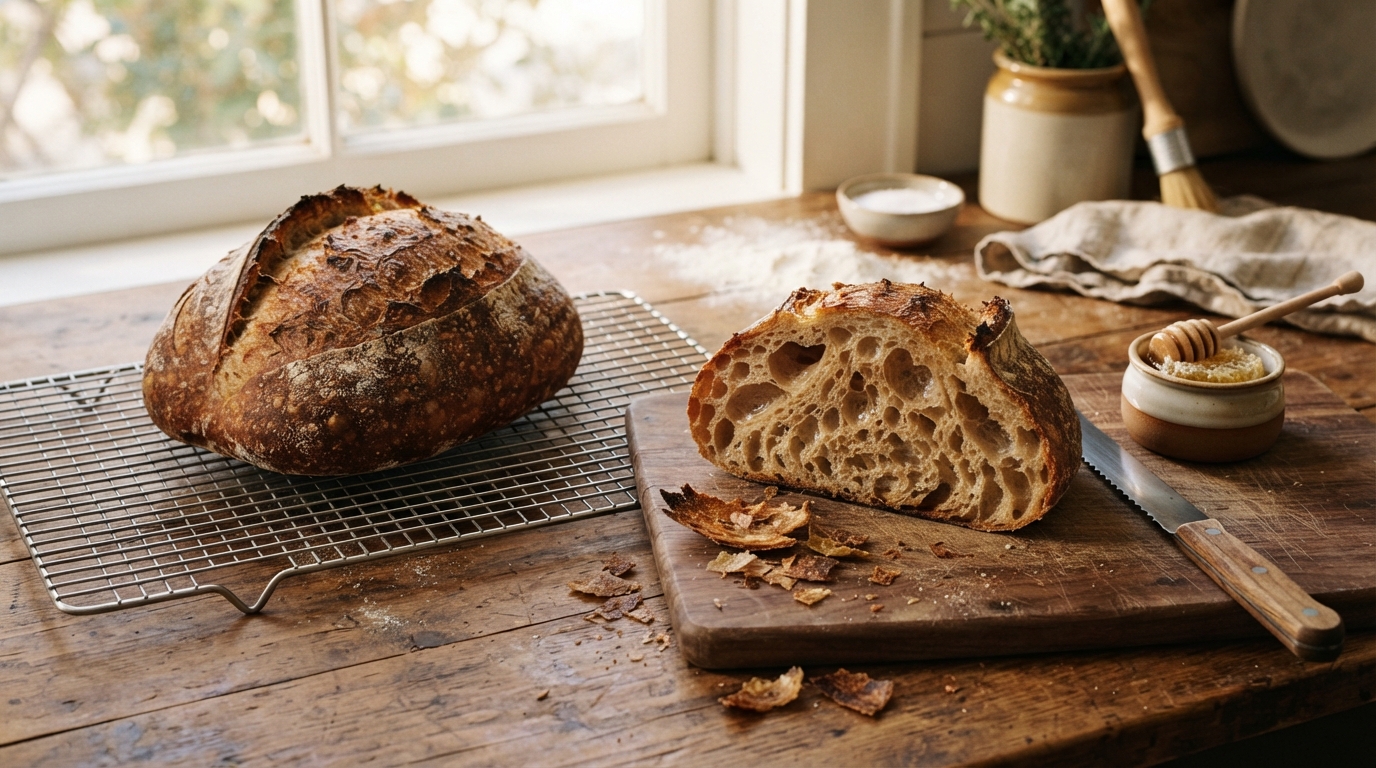
For artisan sourdough bakers, achieving that elusive bakery-grade loaf—a towering blistered ear, deep mahogany caramelization, and a shatteringly crisp crust surrounding an airy honeycomb crumb—hinges entirely on one physical element: intense radiant heat paired with trapped steam. While standard commercial deck ovens inject pressurized live steam directly into the baking chamber, home bakers rely on heavy cast iron bread pans to replicate that exact micro-climate inside a standard domestic oven.
Traditional deep Dutch ovens have long been the entry point, but they harbor serious limitations: burning your wrists on 500°F deep sidewalls while dropping dough, deflating delicate sourdough batards, and awkward shape restrictions. Enter specialized cast iron bread pans with inverted cloche designs—shallow bases with massive domed covers. Today, two heavyweight contenders dominate baker discussions: the prestigious, heirloom-grade Challenger Bread Pan and the accessible, high-value Cuisiland Cast Iron Bread Pan. In this comprehensive head-to-head review, we test heat retention, ergonomic handling, steam efficiency, and bake quality to help you decide which pan belongs in your oven.
Product Spotlight
Challenger Bread Pan
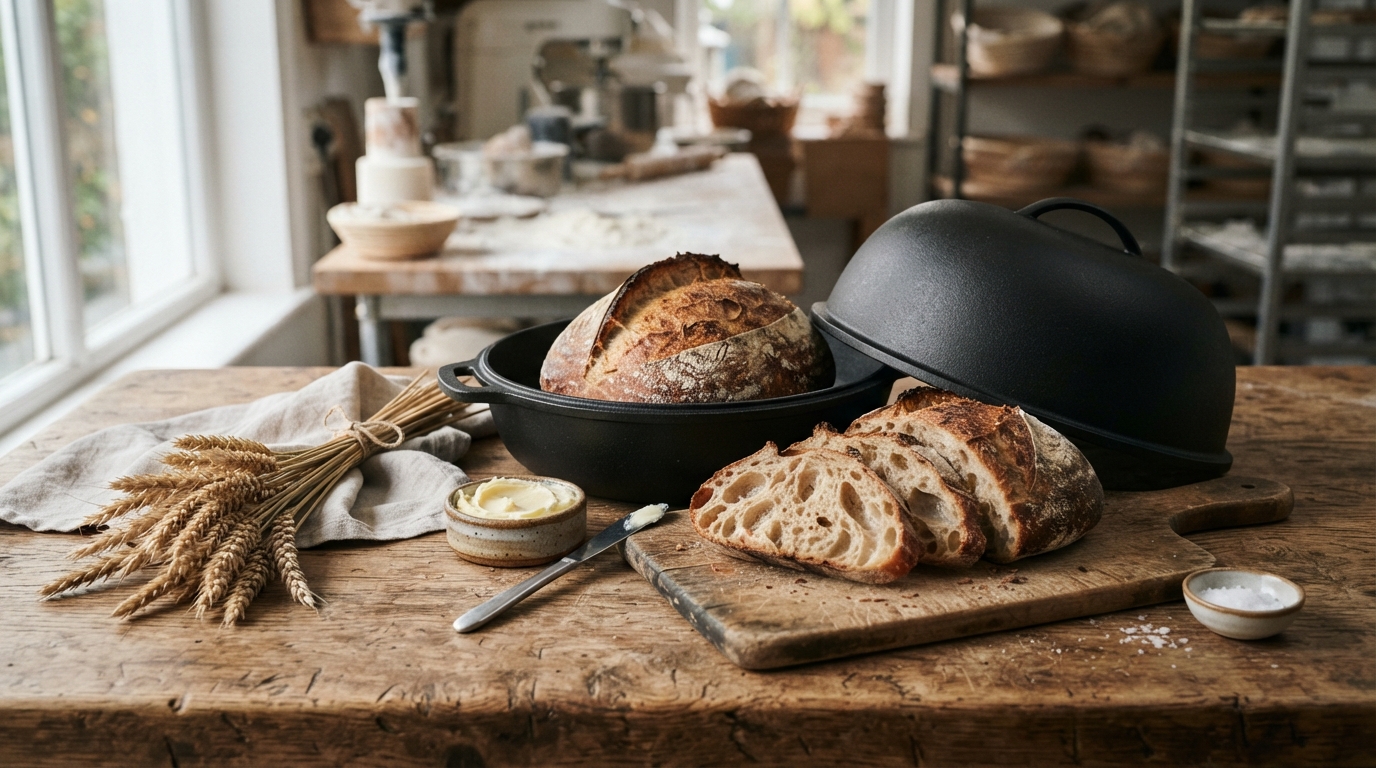
Designed from the ground up by artisan baker Jim Challenger exclusively for bread makers. Features an ultra-shallow base with zero high walls to eliminate wrist burns, an expansive domed cover that accommodates oblong batards and round boules alike, and four oversized ergonomic loop handles engineered specifically for thick oven mitts. Massive 22-pound thermal mass delivers unmatched bottom crust caramelization and maximum oven spring.
🛒 Check Latest Price on AmazonWhy Cast Iron Cloches Beat Standard Dutch Ovens for Bread
If you have ever attempted to drop a delicate, fully proofed sourdough batard into the depths of a blazing 500°F round Dutch oven, you know the frustration. The inverted cloche architecture transforms bread baking in four fundamental ways:
🛡️ Safe, Zero-Burn Dough Transfer
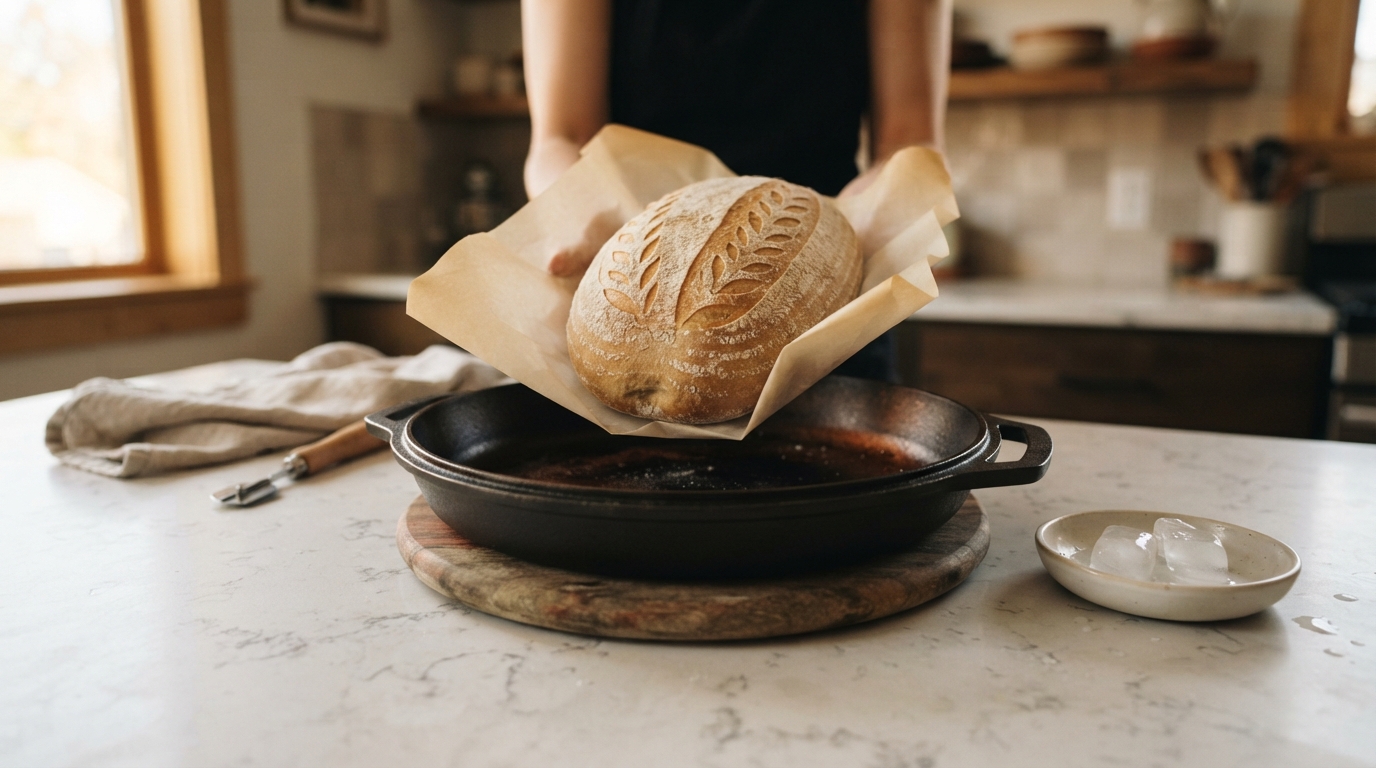
Inverted pans use a shallow base with a mere 1-inch rim. You gently flip your dough onto the flat iron base from a banneton without plunging your hands into a blazing cylinder. No parchment slings required, and no singed knuckles.
🥖 Freedom to Bake Oblong Batards
Standard Dutch ovens force you into round boules. Dedicated bread pans are elongated ovals or rectangles, allowing you to bake classic sandwich-friendly batards, demi-baguettes, and braided loaves that expand naturally without touching walls.
💨 Precision Steam Trapping
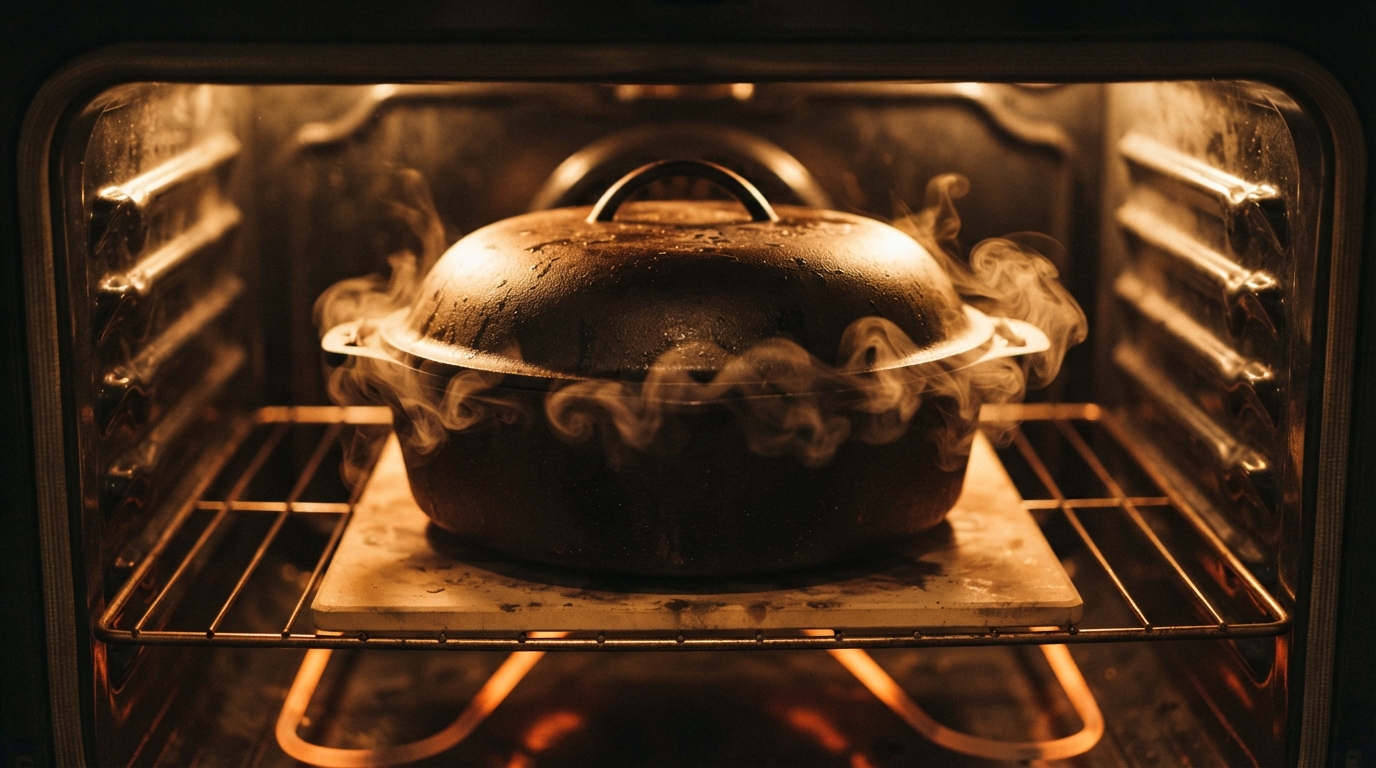
As moisture evaporates from the loaf during the first 20 minutes, the precision-ground rim creates a heavy steam seal. This delays crust formation, allowing the yeast one final explosive burst of expansion (“oven spring”) before setting.
🔥 Superior Bottom Heat Transfer
Cast iron holds exponentially more thermal energy than ceramic or thin steel. When cold dough hits the 500°F base, thermal conductivity triggers rapid bottom-up heat transfer, preventing gummy undercooked centers.
Head-to-Head Comparison: Challenger vs. Cuisiland vs. Alternatives
Here is how the leading cast iron bread baking vessels stack up across weight, loaf capacity, ergonomics, and value:
In-Depth Review: Challenger Bread Pan ($299.95)
The Challenger Bread Pan was born out of frustration. Its creator, Jim Challenger, spent years baking in makeshift Dutch ovens before drafting the ultimate bread pan blueprint in Chicago. Cast in the USA from heavy-gauge virgin iron and pre-seasoned with organic flaxseed oil, it is an heirloom culinary tool engineered for perfectionists.
Performance in Our Baking Tests:
- ✓ Thermal Mass & Oven Spring: Weighing in at 22 pounds, the Challenger acts as a heat sink. When you open the oven door to load bread, the ambient
- ✓ Ergonomics for Thick Oven Mitts: Unlike knob-style lids that are treacherous to grip with bulky silicone gloves at 500°F, the Challenger features
- ✓ Steam Containment: The interlocking rim between lid and base forms an airtight seal. Moisture escaping from the dough remains trapped inside the
Verdict: If you bake sourdough weekly and demand professional deck-oven results for both batards and boules, the Challenger is worth every penny of its investment.
In-Depth Review: Cuisiland Cast Iron Bread Pan ($79.99)
At roughly a quarter of the Challenger’s price, the Cuisiland Cast Iron Bread Pan is the most practical alternative on the market for home bakers who want the inverted cloche experience without breaking the bank. Featuring a rectangular loaf format with a shallow flat base and a high-domed lid, it delivers remarkably consistent results for standard artisan sandwich loaves.
Key Strengths & Practical Notes:
- ✓ Manageable Weight (12.5 lbs): Significantly easier to lift, maneuver, and clean than 22-pound heavyweight pans, making it a great choice for bakers
- ✓ Perfect Sandwich Batard Geometry: The straight rectangular sides encourage upward vertical growth rather than horizontal spread, yielding tall
- Accessible Price Point: At under $80, it provides 85% of the thermal benefits of boutique pans at a fraction of the cost.
- Consideration: The top lid features a single central knob rather than dual loop handles, requiring a firmer grip when lifting with bulky oven mitts.
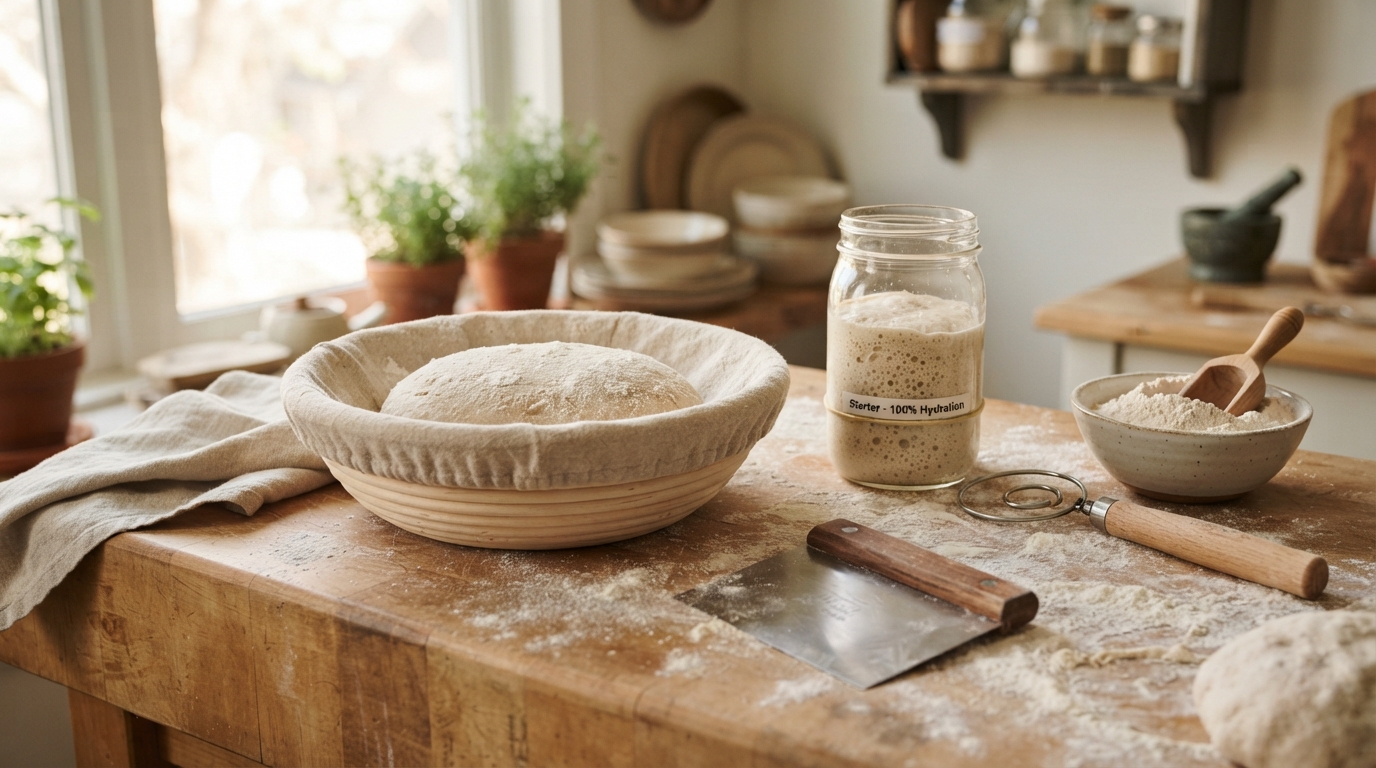
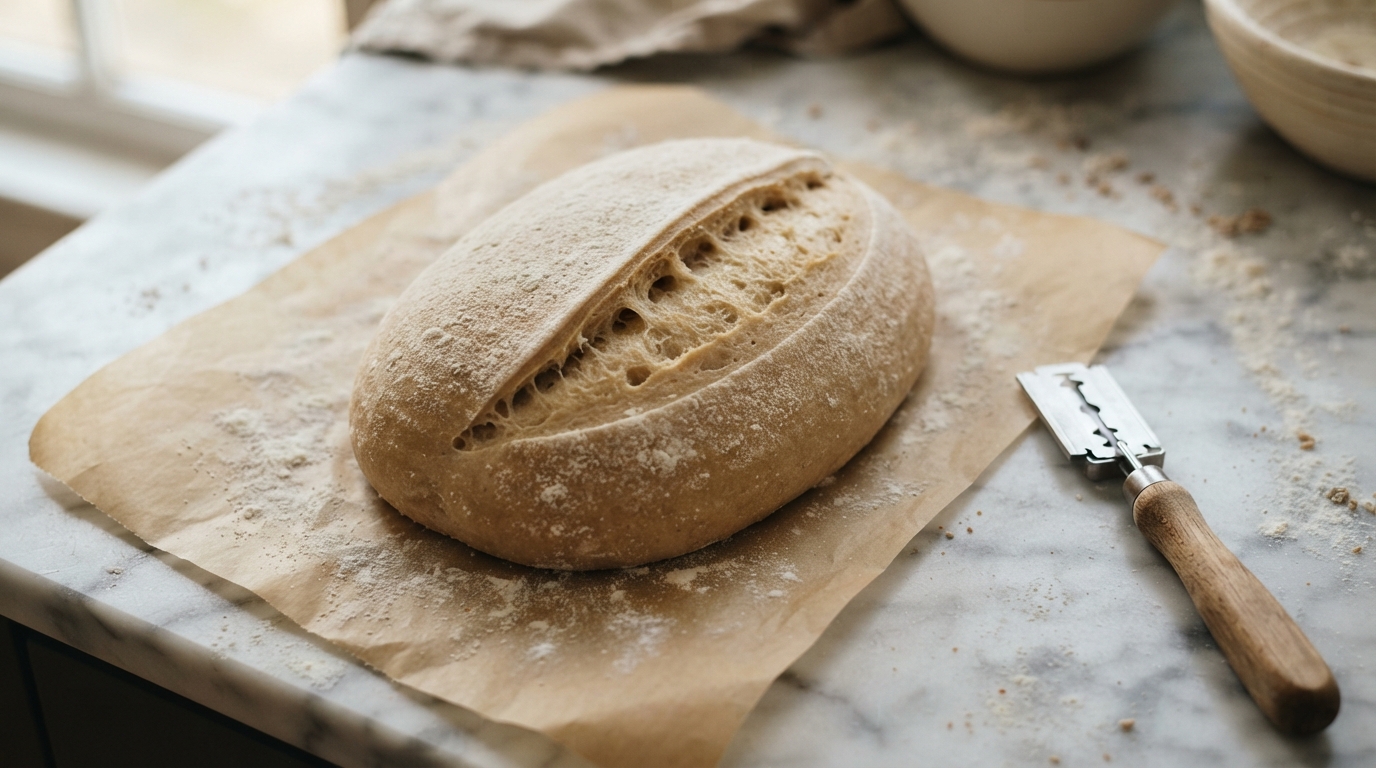
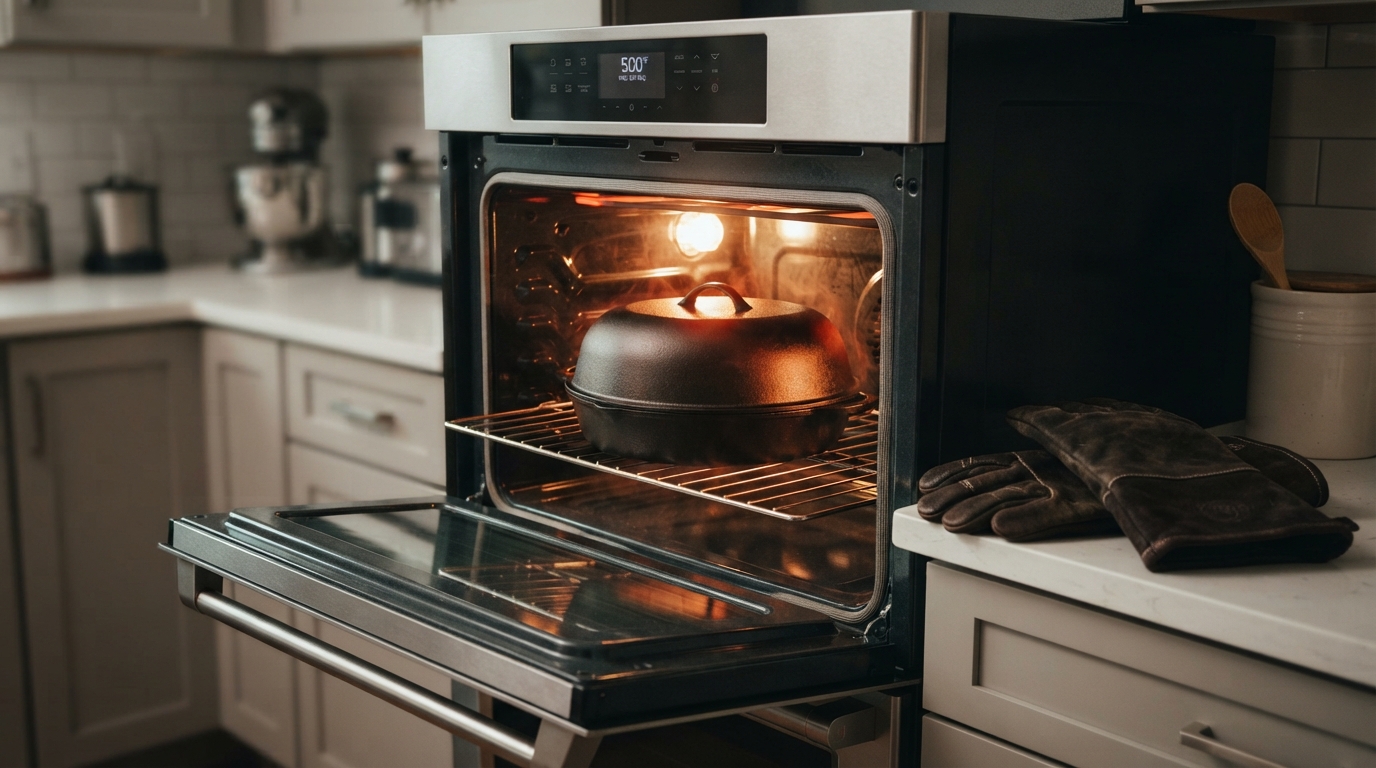
Visual Guide: 7 Steps to Perfect Artisan Sourdough in Cast Iron
Follow our visual master workflow to harness radiant cast iron heat and trapped steam for professional bakery results:
Master Recipe: Authentic No-Knead Artisan Sourdough Bread
Recreate classic bakery sourdough with our foolproof high-hydration formula perfected for cast iron bread pans:
Frequently Asked Questions (FAQs)
Why is an inverted bread cloche better than a standard Dutch oven?
An inverted cloche features an ultra-low base and a high domed lid. This eliminates the danger of burning your hands on 500°F side walls when dropping dough. It also accommodates elongated batards that cannot physically fit into circular Dutch ovens.
Do you need to add water or ice cubes to a cast iron bread pan?
In most cases, no. A high-hydration dough (70%–75% water) releases more than enough internal moisture during the first 15 minutes of baking to create a superheated steam atmosphere inside the sealed cast iron dome. However, adding two small ice cubes onto the base corners just before closing can enhance crust blistering.
How do you clean and season a cast iron bread cloche?
Because bread is baked dry (often on parchment), cast iron bread pans require very little washing. Simply wipe out any stray flour with a dry brush or clean cloth. If dough sticks, scrub with warm water and a stiff nylon brush (no soap). Dry immediately on the stovetop over low heat, and apply a paper-thin wipe of high-smoke-point oil (flaxseed, grapeseed, or Crisbee) to prevent oxidation.
What causes sourdough bread bottom crust to burn in cast iron?
Burning bottom crust is caused by excessive radiant heat from the oven’s lower heating element directly below the heavy iron base. To prevent this, slide an unrimmed baking sheet or pizza stone onto the rack directly underneath your bread pan to deflect direct heat.
Explore More Cookware Reviews & Kitchen Masterpieces
Elevate your cooking technique with our in-depth kitchen gear tests and artisan recipes:
🍳 USELUCK Frying Pan Set Review
Laser-etched tri-ply honeycomb cookware tested for searing steaks and gliding eggs with effortless release.
🧇 Best Waffle Makers Review
Top-rated Belgian and classic waffle makers tested for golden crunch, deep pockets, and zero-mess overflow channels.
⚡ Best Countertop Double Burners
Heavy-duty portable cooktops evaluated for family meals, RV galleys, and rapid heating consistency.
🍝 Creamy Tobiko Pasta Recipe
Silky Japanese-Italian fusion pasta bursting with flying fish roe, garlic butter, and fresh scallions.