
Affiliate Disclosure: This post may contain affiliate links. If you make a purchase through these links, we may earn a commission at no extra cost to you. For more information, please see our affiliate disclosure.
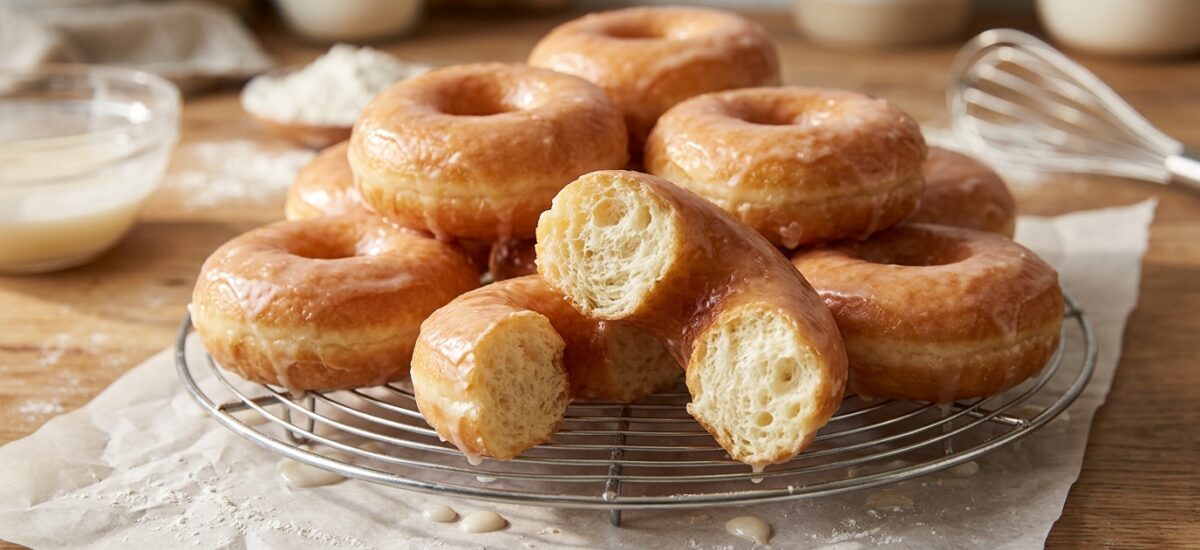
There’s nothing quite like the experience of biting into a warm, melt-in-your-mouth Krispy Kreme Original Glazed Doughnut. That signature light, airy texture and delicate, sweet glaze create a moment of pure bliss. For years, home bakers have tried to replicate this iconic treat, often falling short of that elusive, impossibly light crumb. But what if we told you the secret lies in understanding the magic of yeast?
Forget everything you thought you knew about homemade doughnuts. This isn’t just another recipe; it’s a deep dive into the techniques that mimic Krispy Kreme’s legendary process. We’re going to unlock the secrets to achieving that perfect texture, from the right way to activate your yeast to the ideal frying temperature and, of course, that flawless glaze. Get ready to transform your kitchen into your very own doughnut factory!
Whether you’re craving a nostalgic taste of your favorite doughnut shop or simply looking for a show-stopping dessert that will impress everyone, this copycat Krispy Kreme Original Glazed Doughnut recipe is your ultimate guide. Prepare for fluffy, sweet perfection that tastes just like the real deal, proving that the best doughnuts don’t always require a drive-thru.
Ingredients
For the Doughnuts:
- 1 cup (240ml) whole milk, warmed (105-115°F / 40-46°C)
- 2 ¼ teaspoons (1 packet) active dry yeast
- ¼ cup (50g) granulated sugar
- ½ teaspoon salt
- 1 large egg, room temperature
- ¼ cup (57g) unsalted butter, melted
- 3 cups (360g) all-purpose flour, plus more for dusting
- Vegetable oil or canola oil, for frying
For the Glaze:
- 2 cups (240g) powdered sugar (confectioners’ sugar)
- ¼ cup (60ml) whole milk
- ½ teaspoon vanilla extract
Product Spotlight
Step-by-Step Instructions
Step 1: Activate the Yeast
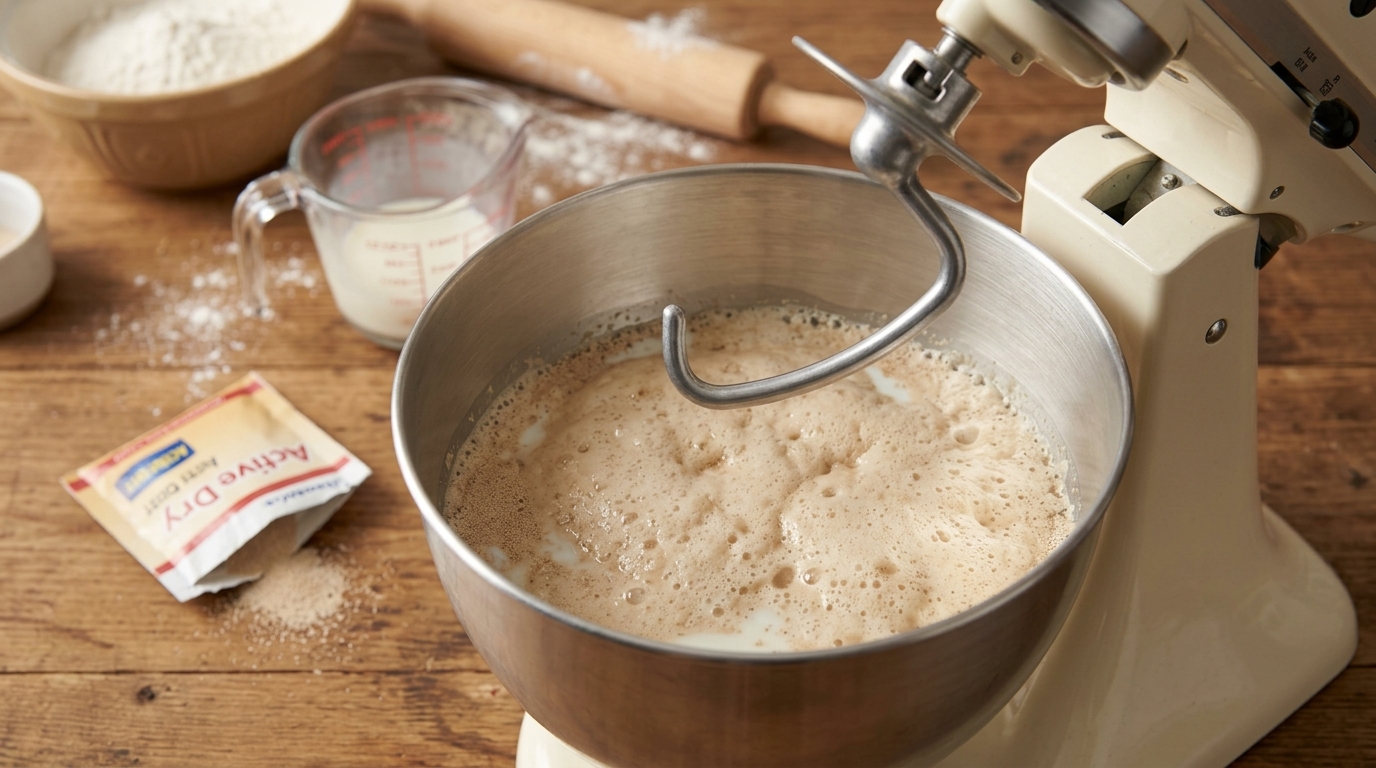
In the bowl of a stand mixer fitted with the dough hook, combine the warm milk and yeast. Let it sit for 5-10 minutes until foamy. This confirms your yeast is active and ready to work its magic. Without active yeast, your doughnuts won’t rise, resulting in a dense texture.
Step 2: Prepare the Dough
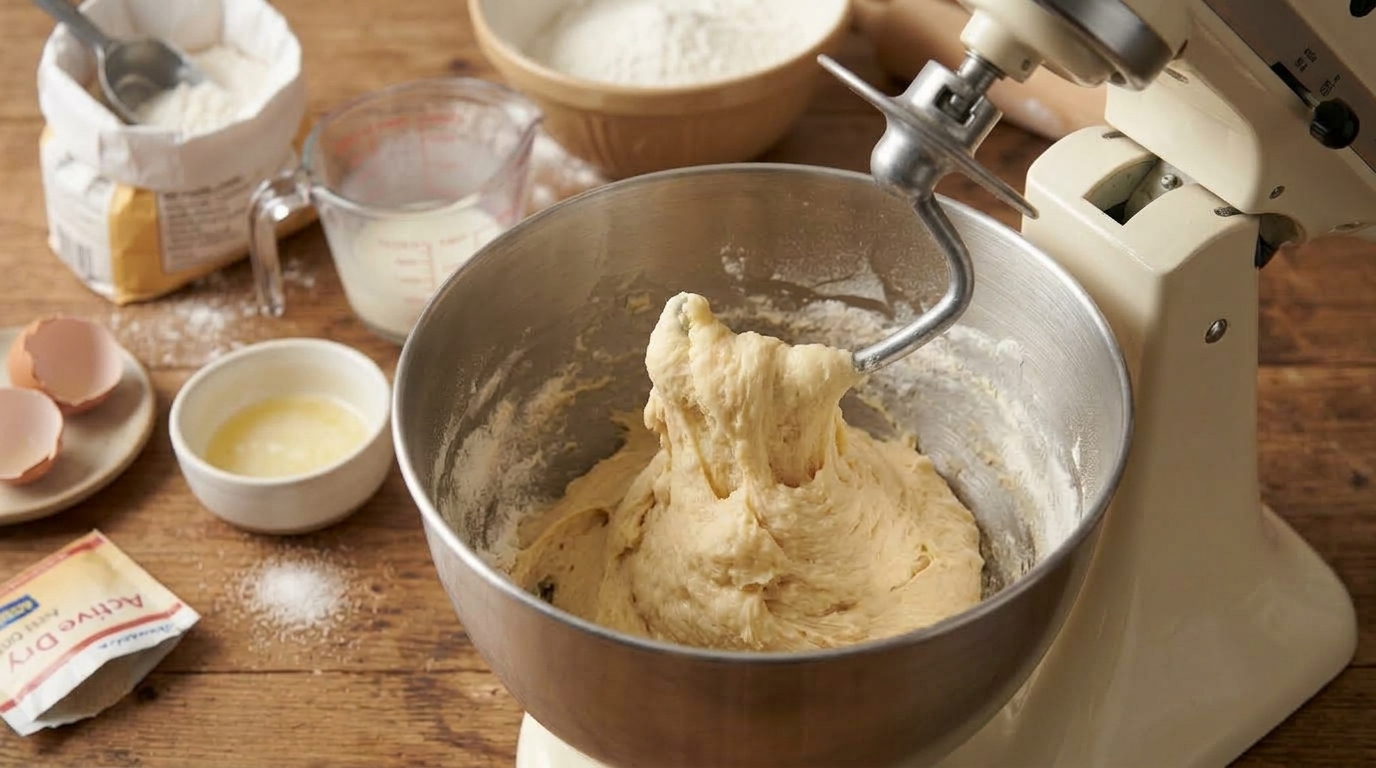
Add the granulated sugar, salt, egg, and melted butter to the yeast mixture. Mix on low speed until combined. Gradually add the flour, one cup at a time, mixing until a soft, sticky dough forms. Increase the speed to medium-low and knead for 5-7 minutes until the dough is smooth and elastic. If the dough is too sticky, add a tablespoon of flour at a time, but be careful not to add too much, as this can make the doughnuts tough.
Step 3: First Proofing
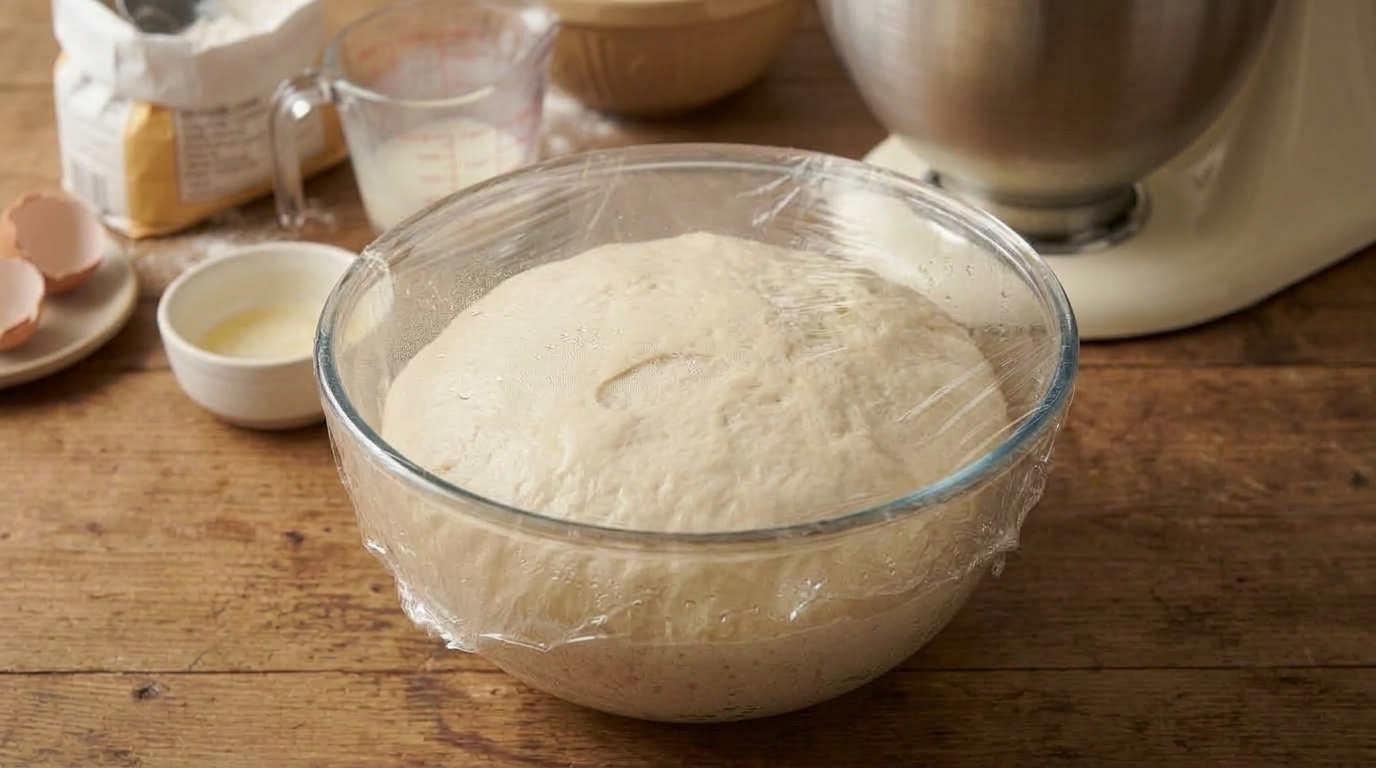
Lightly grease a large bowl with vegetable oil. Place the dough in the bowl, turning it once to coat. Cover the bowl with plastic wrap or a clean kitchen towel and let it rise in a warm place for 1-1.5 hours, or until doubled in size. This crucial step allows the yeast to ferment, developing flavor and the characteristic light texture. For more insights on perfecting your dough, check out our Perfect Homemade Donuts guide.
Step 4: Shape the Doughnuts
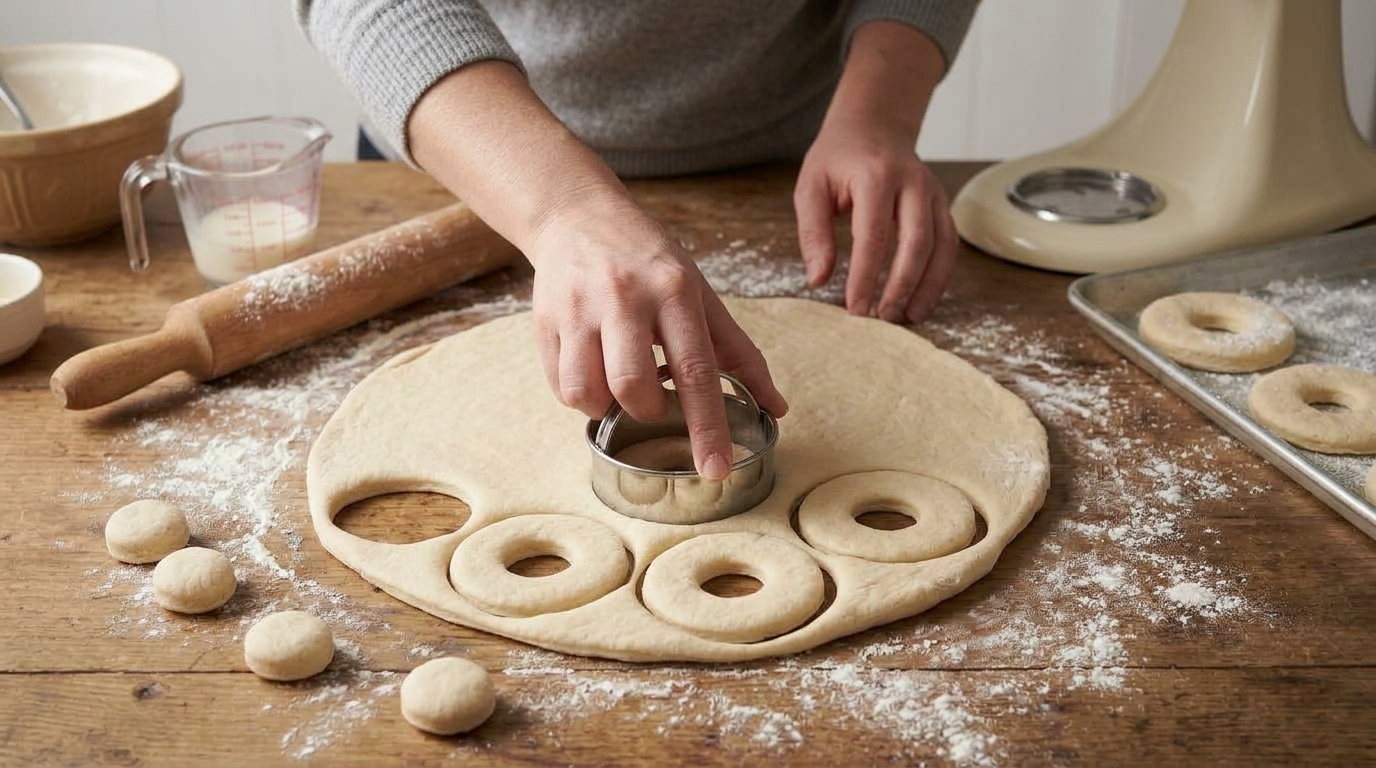
Once the dough has doubled, gently punch it down to release the air. Turn the dough out onto a lightly floured surface. Using a rolling pin , roll the dough to about ½-inch thickness. Use a doughnut cutter to cut out doughnut shapes. Reroll scraps and cut additional doughnuts. Place the cut doughnuts and holes on lightly floured baking sheets.
Step 5: Second Proofing
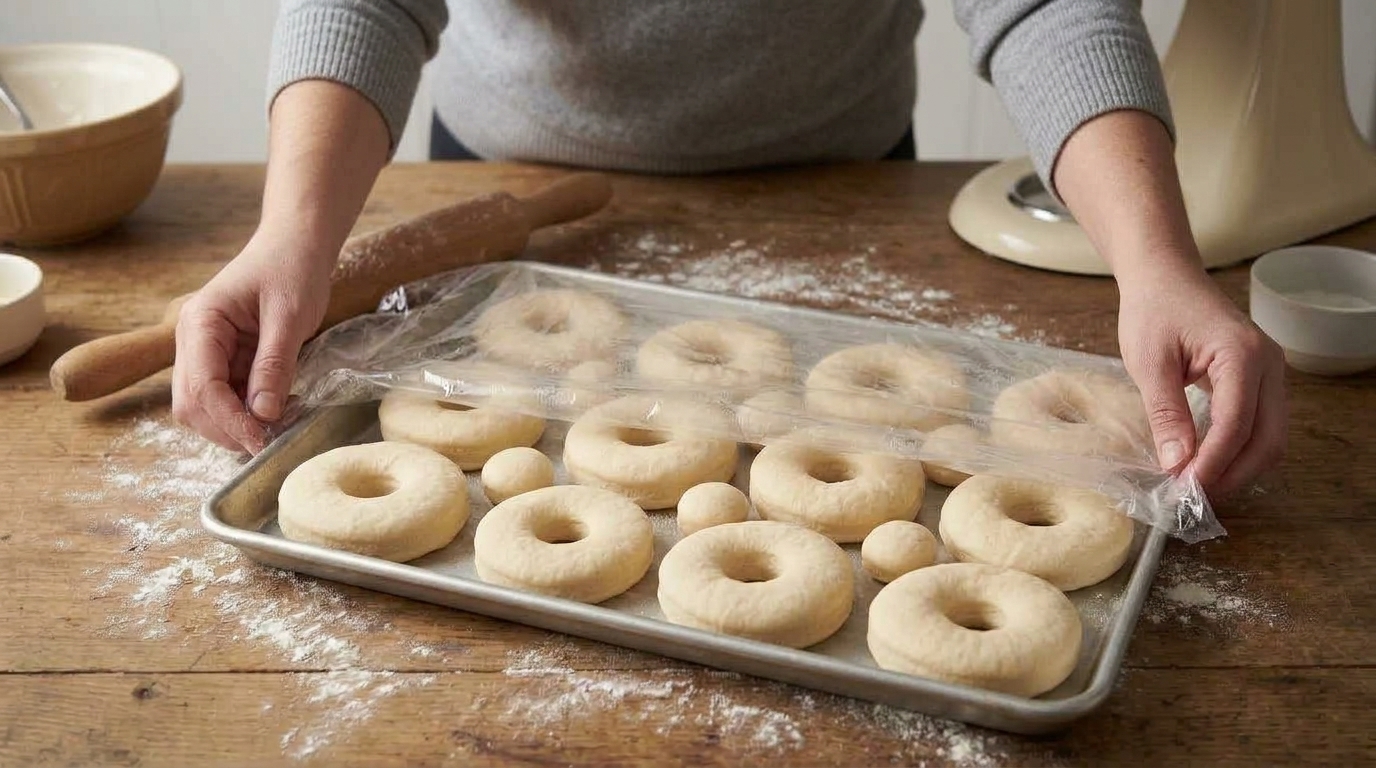
Cover the baking sheets loosely with plastic wrap or a clean kitchen towel. Let the doughnuts rise in a warm place for another 30-45 minutes, or until they look puffy and have nearly doubled in size again. This second proofing is key to achieving that incredibly airy texture, preventing dense doughnuts. This is often referred to as ‘proofing light’ and is a technique used in professional bakeries, as noted by Simply Copycat Recipes.
Step 6: Prepare the Glaze
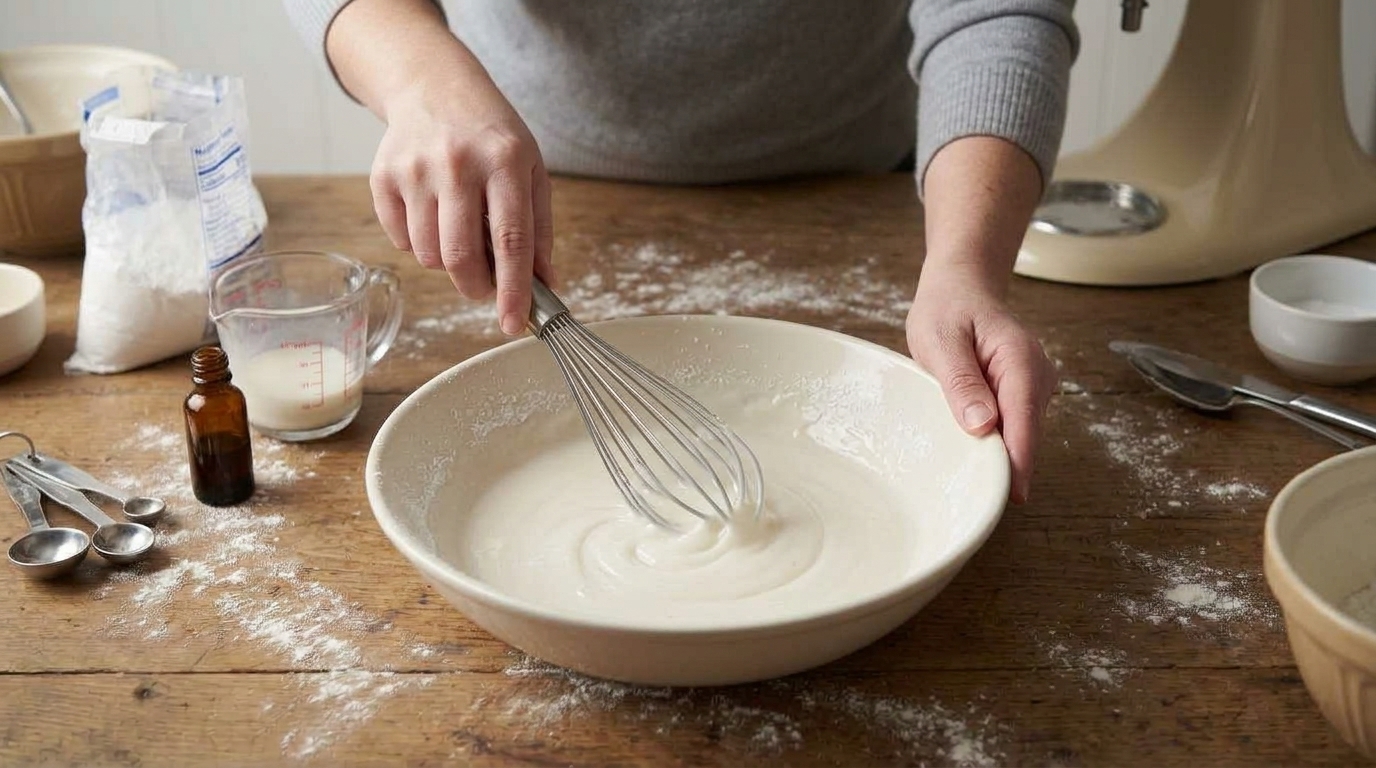
While the doughnuts are proofing for the second time, prepare the glaze. In a large, shallow bowl, whisk together the powdered sugar, milk, and vanilla extract until smooth. Ensure there are no lumps, as this glaze needs to be perfectly silky to coat the warm doughnuts evenly. This simple glaze is what gives Krispy Kreme their signature shine and sweetness, as detailed by CopyKat.com.
Step 7: Fry the Doughnuts
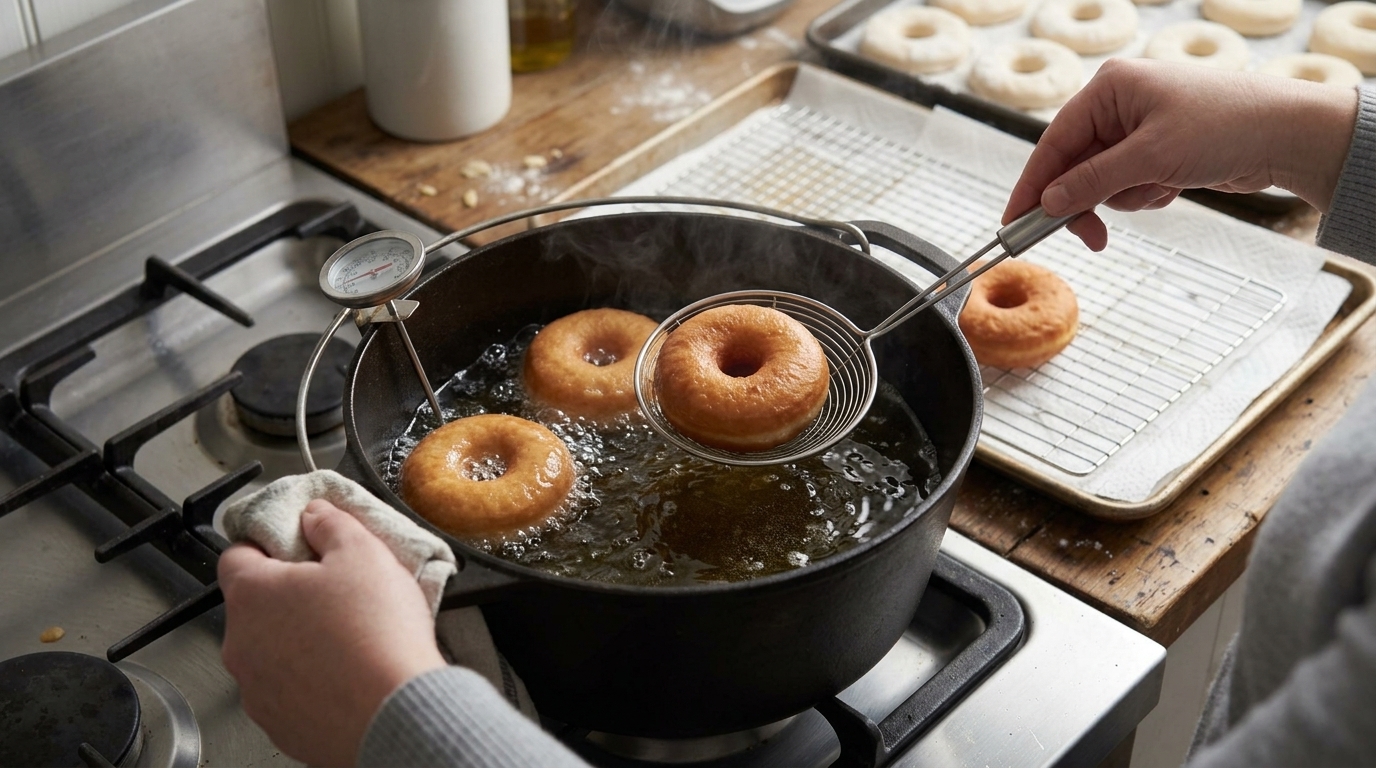
Heat 2-3 inches of vegetable or canola oil in a large Dutch oven or deep fryer to 350°F (175°C). Use a kitchen thermometer to monitor the temperature; maintaining the correct oil temperature is crucial for perfectly cooked doughnuts. Carefully place 2-3 doughnuts into the hot oil, being careful not to overcrowd the pot. Fry for 1-2 minutes per side, or until golden brown. Flip once to ensure even cooking. The perfect frying technique is highlighted by Dinner, then Dessert as a key to success.
Step 8: Glaze the Warm Doughnuts
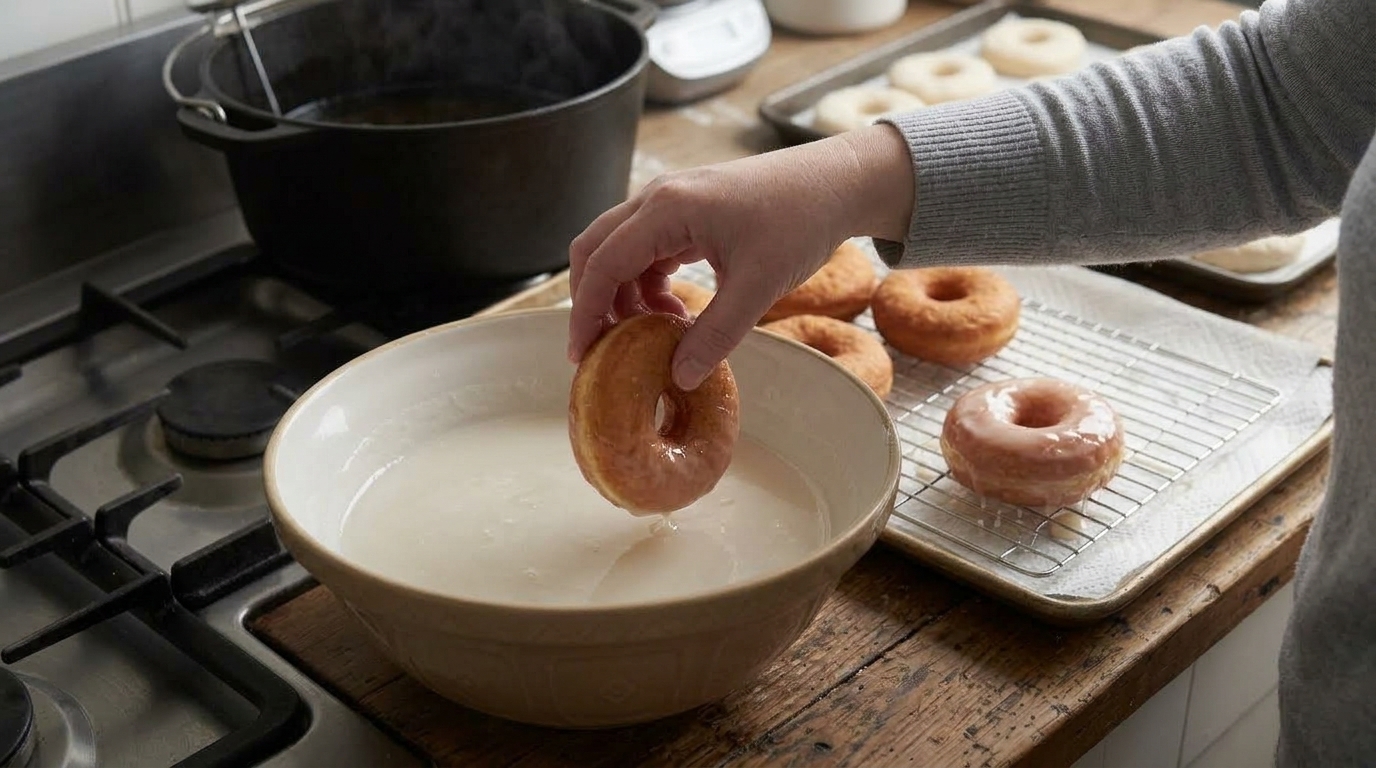
Using a slotted spoon, carefully remove the fried doughnuts from the oil and place them on a wire rack set over a baking sheet to drain any excess oil. While still warm (but not hot), dip each doughnut into the prepared glaze, turning to coat completely. Let any excess glaze drip off, then place them back on the wire rack to set. Glazing them while warm allows the glaze to melt slightly and adhere beautifully, creating that iconic Krispy Kreme sheen. This is a critical step for that melt-in-your-mouth experience, a tip echoed by Delish Diner.
Step 9: Serve and Enjoy!
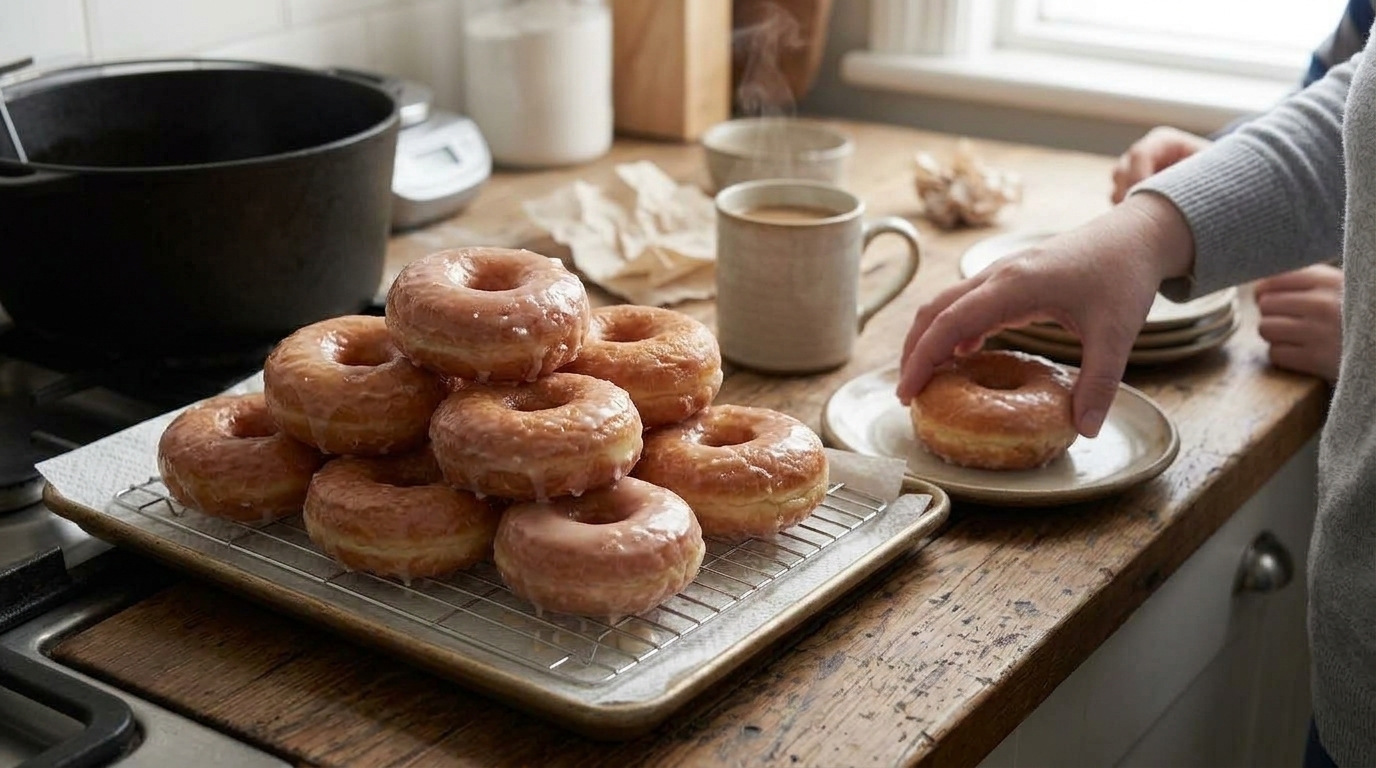
Serve your homemade Krispy Kreme Original Glazed Doughnuts immediately while they are still warm for the ultimate experience. Nothing beats a fresh, hot glazed doughnut! For storage, see our FAQ section below. This recipe is designed to bring the joy of a hot light sign right into your home, just like Copycat Kitchen promises.
Krispy Kreme Original Glazed Doughnut Recipe: Unlock the Secret to That Impossibly Light Texture
Ingredients
- 1 cup (240ml) whole milk, warmed (105-115°F / 40-46°C)
- 2 ¼ teaspoons (1 packet) active dry yeast
- ¼ cup (50g) granulated sugar
- ½ teaspoon salt
- 1 large egg, room temperature
- ¼ cup (57g) unsalted butter, melted
- 3 cups (360g) all-purpose flour, plus more for dusting
- Vegetable oil or canola oil, for frying
- 2 cups (240g) powdered sugar (confectioners’ sugar)
- ¼ cup (60ml) whole milk
- ½ teaspoon vanilla extract
Instructions
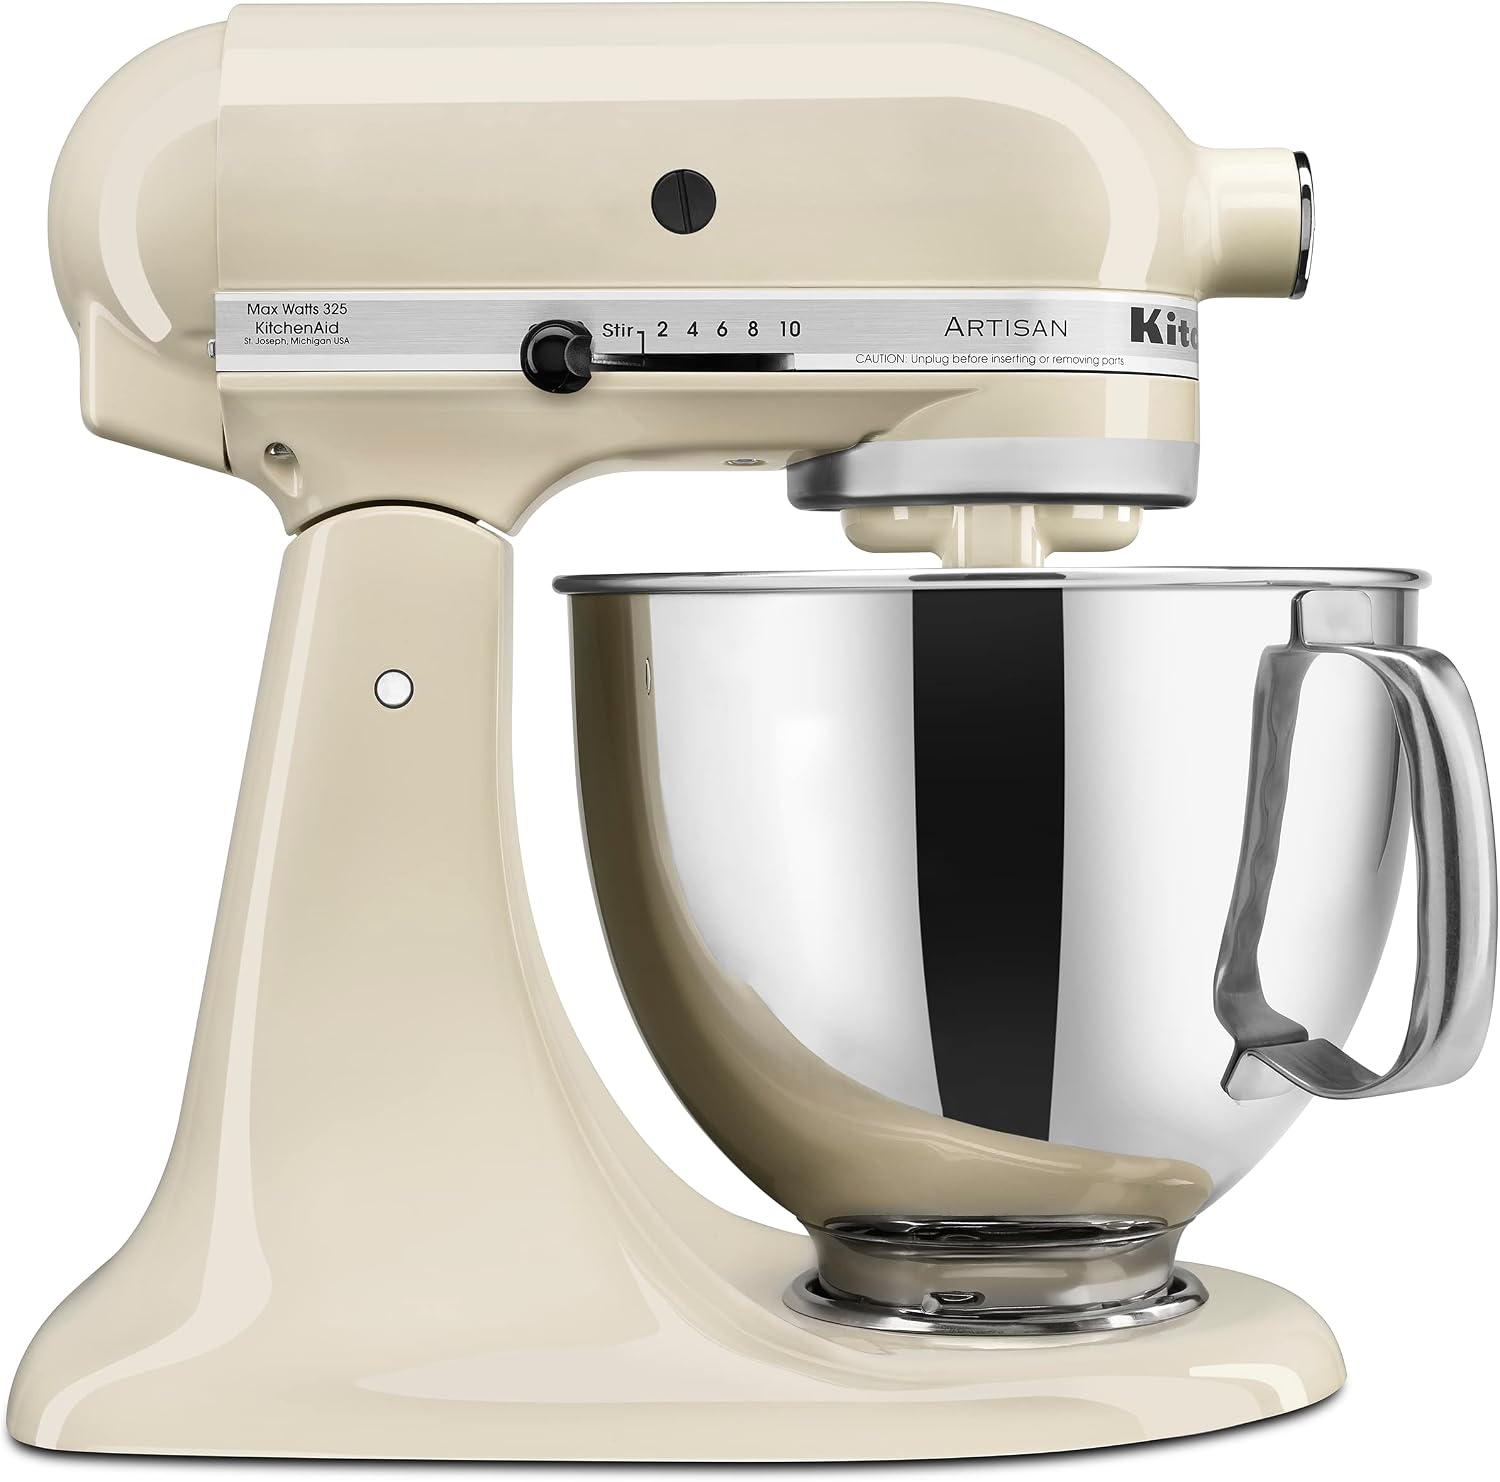
- In the bowl of a stand mixer [PRODUCT_AFFILIATE_LINK_1] fitted with the dough hook, combine the warm milk and yeast. Let it sit for 5-10 minutes until foamy. This confirms your yeast is active and ready to work its magic. Without active yeast, your doughnuts won’t rise, resulting in a dense texture.
- Add the granulated sugar, salt, egg, and melted butter to the yeast mixture. Mix on low speed until combined. Gradually add the flour, one cup at a time, mixing until a soft, sticky dough forms. Increase the speed to medium-low and knead for 5-7 minutes until the dough is smooth and elastic. If the dough is too sticky, add a tablespoon of flour at a time, but be careful not to add too much, as this can make the doughnuts tough.
- Lightly grease a large bowl [PRODUCT_AFFILIATE_LINK_7] with vegetable oil. Place the dough in the bowl, turning it once to coat. Cover the bowl with plastic wrap or a clean kitchen towel and let it rise in a warm place for 1-1.5 hours, or until doubled in size. This crucial step allows the yeast to ferment, developing flavor and the characteristic light texture. For more insights on perfecting your dough, check out our Perfect Homemade Donuts guide.
- Once the dough has doubled, gently punch it down to release the air. Turn the dough out onto a lightly floured surface. Using a rolling pin [PRODUCT_AFFILIATE_LINK_2], roll the dough to about ½-inch thickness. Use a doughnut cutter [PRODUCT_AFFILIATE_LINK_3] to cut out doughnut shapes. Reroll scraps and cut additional doughnuts. Place the cut doughnuts and holes on lightly floured baking sheets.
- Cover the baking sheets loosely with plastic wrap or a clean kitchen towel. Let the doughnuts rise in a warm place for another 30-45 minutes, or until they look puffy and have nearly doubled in size again. This second proofing is key to achieving that incredibly airy texture, preventing dense doughnuts. This is often referred to as ‘proofing light’ and is a technique used in professional bakeries, as noted by Simply Copycat Recipes.
- While the doughnuts are proofing for the second time, prepare the glaze. In a large, shallow bowl, whisk together the powdered sugar, milk, and vanilla extract until smooth. Ensure there are no lumps, as this glaze needs to be perfectly silky to coat the warm doughnuts evenly. This simple glaze is what gives Krispy Kreme their signature shine and sweetness, as detailed by CopyKat.com.
- Heat 2-3 inches of vegetable or canola oil in a large Dutch oven [PRODUCT_AFFILIATE_LINK_4] or deep fryer [PRODUCT_AFFILIATE_LINK_5] to 350°F (175°C). Use a kitchen thermometer [PRODUCT_AFFILIATE_LINK_6] to monitor the temperature; maintaining the correct oil temperature is crucial for perfectly cooked doughnuts. Carefully place 2-3 doughnuts into the hot oil, being careful not to overcrowd the pot. Fry for 1-2 minutes per side, or until golden brown. Flip once to ensure even cooking. The perfect frying technique is highlighted by Dinner, then Dessert as a key to success.
- Using a slotted spoon, carefully remove the fried doughnuts from the oil and place them on a wire rack [PRODUCT_AFFILIATE_LINK_8] set over a baking sheet to drain any excess oil. While still warm (but not hot), dip each doughnut into the prepared glaze, turning to coat completely. Let any excess glaze drip off, then place them back on the wire rack to set. Glazing them while warm allows the glaze to melt slightly and adhere beautifully, creating that iconic Krispy Kreme sheen. This is a critical step for that melt-in-your-mouth experience, a tip echoed by Delish Diner.
- Serve your homemade Krispy Kreme Original Glazed Doughnuts immediately while they are still warm for the ultimate experience. Nothing beats a fresh, hot glazed doughnut! For storage, see our FAQ section below. This recipe is designed to bring the joy of a hot light sign right into your home, just like Copycat Kitchen promises.
FAQ Section
What kind of yeast should I use? Active dry yeast or instant yeast can be used. If using active dry, proof it in warm milk first. Instant yeast can be mixed directly with dry ingredients.
Can I bake these doughnuts instead of frying? While you can bake them for a healthier alternative, the signature light and airy texture of Krispy Kreme doughnuts comes from deep frying. Baking will result in a denser product.
How do I store leftover doughnuts? Store glazed doughnuts in an airtight container at room temperature for up to 2 days. For best results, reheat briefly in the microwave for a few seconds to restore some warmth and softness.
My doughnuts are dense, what went wrong? This is often due to overworking the dough or not allowing enough time for proofing. Ensure your yeast is active and the dough doubles in size before frying. Avoid adding too much flour during kneading.
Conclusion
Mastering the Krispy Kreme Original Glazed Doughnut at home is a truly rewarding experience. By paying close attention to the yeast, proofing times, oil temperature, and the crucial warm-glazing step, you can recreate that beloved, impossibly light texture that has captivated doughnut lovers for decades. This recipe isn’t just about making doughnuts; it’s about understanding the nuances of baking and frying to achieve a truly exceptional sweet treat.
So, gather your ingredients, fire up your fryer, and get ready to enjoy the warm, sweet perfection of homemade Krispy Kreme-style doughnuts. Share them with loved ones, or savor them all yourself – you’ve earned it! For more delightful breakfast and dessert ideas, explore our Food Jot Home page.