
Affiliate Disclosure: This post may contain affiliate links. If you make a purchase through these links, we may earn a commission at no extra cost to you. For more information, please see our affiliate disclosure.
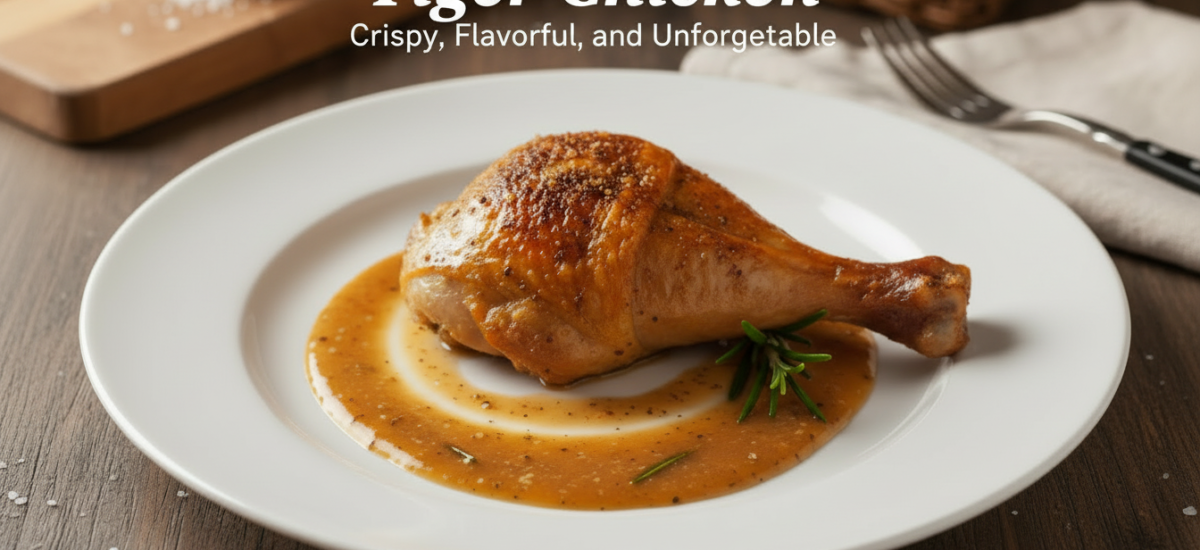
Are you ready to elevate your chicken game? Forget bland, dry chicken – get ready to sink your teeth into the extraordinary Tiger Chicken! This recipe isn’t just about cooking chicken; it’s about transforming humble chicken leg quarters into a culinary masterpiece with unbelievably crispy skin and succulent, juicy meat. The secret lies in a unique preparation method, including strategic cuts and an overnight dry brine, ensuring every bite is packed with flavor and an irresistible crunch.
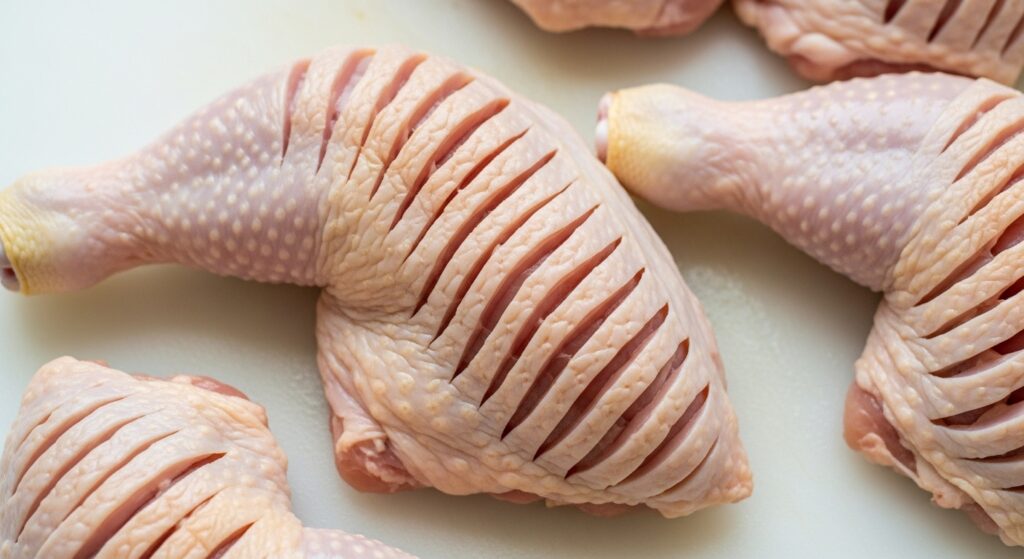
Often hailed as a showstopper, Tiger Chicken gets its name from the distinctive cuts made into the skin, which not only look impressive but also allow the seasoning to penetrate deeper and the fat to render more efficiently, leading to that coveted crispy texture. Paired with a rich, savory pan gravy made from the drippings, this dish offers a symphony of textures and tastes that will have everyone asking for seconds. If you love crispy chicken, you’re in for a treat!
Whether you’re looking to impress dinner guests or simply want to treat your family to an unforgettable meal, our detailed guide will walk you through every step to achieve perfect Tiger Chicken. We’ll cover everything from preparing the chicken to crafting that luscious gravy, ensuring your success in the kitchen. Let’s dive into creating this incredibly flavorful meal!
Ingredients
- 1 1/2 teaspoons kosher salt
- 1/2 teaspoon freshly ground black pepper
- 1/2 teaspoon garlic powder
- 1/4 teaspoon chipotle chili powder
- 1/4 teaspoon baking soda
- 4 chicken leg quarters, with skin
- 2 tablespoons all-purpose flour
- 1 1/3 cups chicken bone broth, or as needed
- salt and freshly ground black pepper to taste
- 1 pinch cayenne
- 1 sprig of any fresh herb (optional)
Product Spotlight

Step-by-Step Instructions
Follow these steps to create your perfect Tiger Chicken:
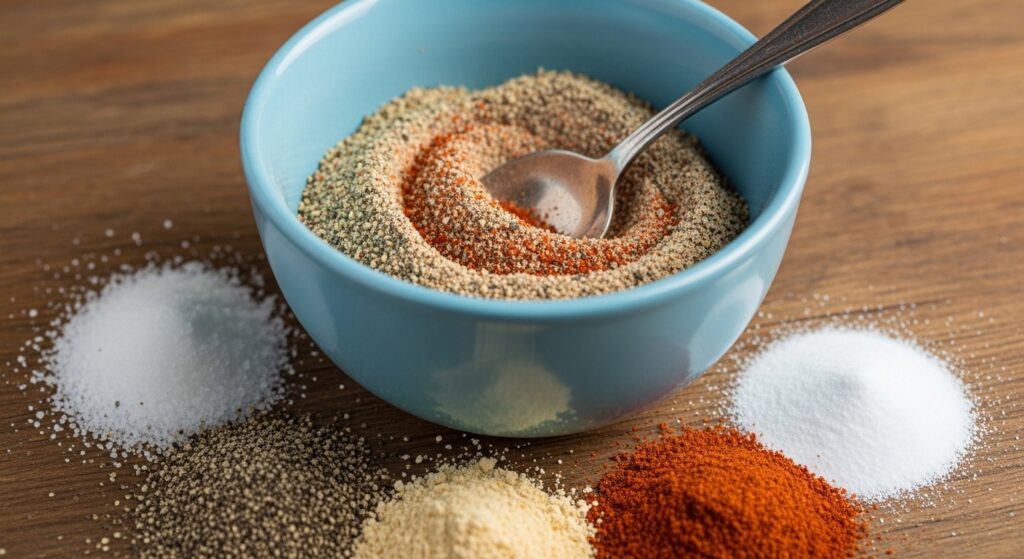
- Prepare the Seasoning Salt: In a small bowl, combine 1 1/2 teaspoons kosher salt, 1/2 teaspoon freshly ground black pepper, 1/2 teaspoon garlic powder, 1/4 teaspoon chipotle chili powder, and 1/4 teaspoon baking soda. Stir all ingredients together thoroughly until well combined, then set aside. This blend creates the signature flavor profile for your chicken leg quarters.
- Make the Tiger Cuts: Lay one chicken leg quarter, skin side up, on a clean cutting board. Using a very sharp knife, begin about halfway up the chicken leg and make parallel cuts through the skin, all the way to the bone, every 1/4-inch. Continue these cuts along the entire length of the thigh. Repeat this process for all remaining leg quarters. These cuts are crucial for rendering fat and achieving that incredibly crispy skin.
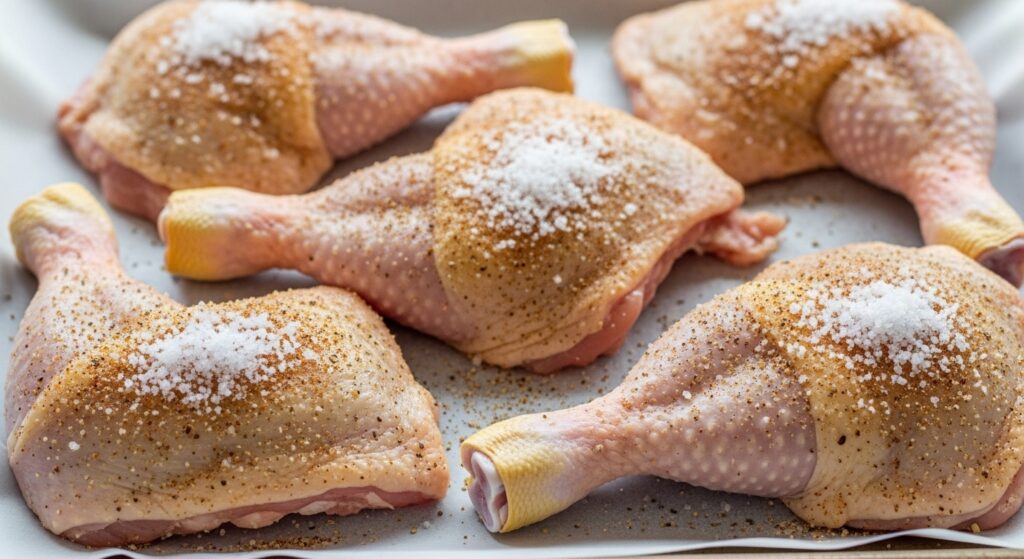
- Season and Refrigerate: Line a baking sheet with parchment paper. Place the chicken leg quarters, skin side down, on the prepared baking sheet. Sprinkle half of the prepared seasoning salt evenly over the exposed surface. Turn the chicken legs over, skin side up, and sprinkle the remaining seasoning salt evenly over the skin, ensuring it’s well distributed. Refrigerate the seasoned chicken legs on the baking sheet, uncovered, overnight. This step is vital for drying out the skin, which contributes significantly to crispiness.
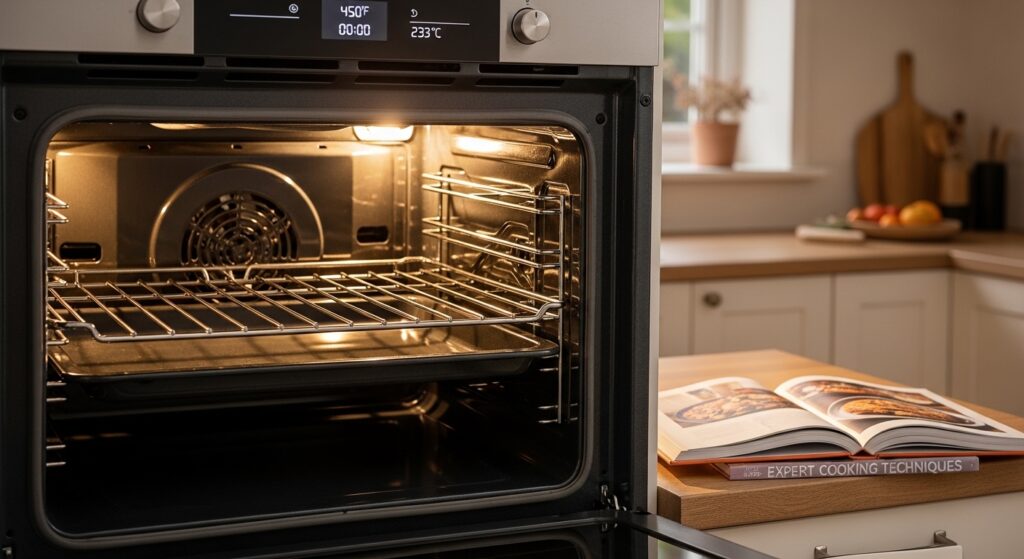
- Preheat Oven: The next day, preheat your oven to a high temperature of 450 degrees F (235 degrees C). Position an oven rack in the upper center of your oven to ensure even cooking and optimal crisping. For more expert cooking techniques, refer to trusted culinary resources.
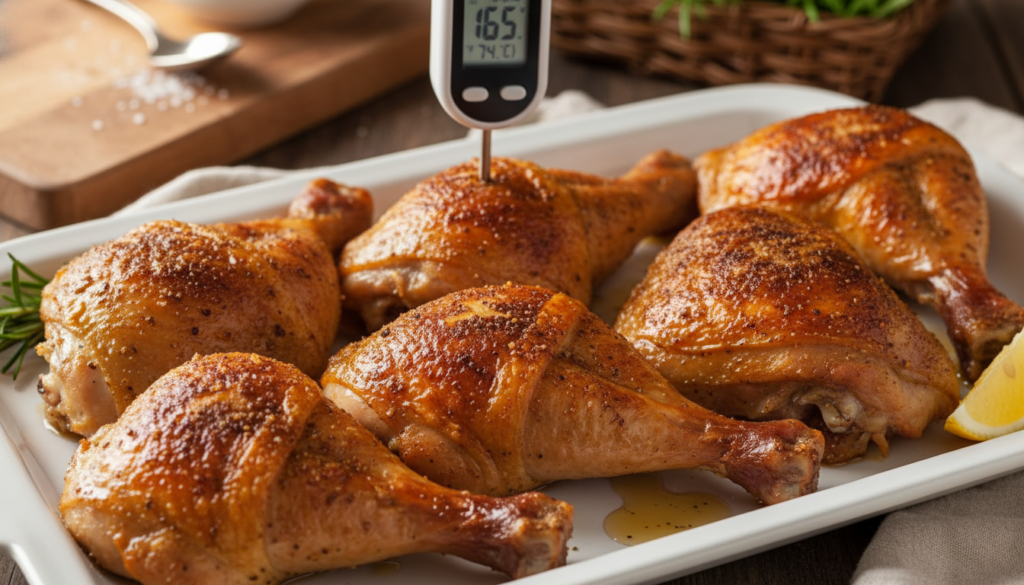
- Roast the Chicken: Place the chicken in the preheated oven and roast for approximately 45 minutes, or until the skin is beautifully crispy, the chicken is no longer pink at the bone, and the juices run clear. To confirm doneness, an instant-read thermometer inserted into the thickest part of the thigh should register 165 degrees F (74 degrees C).
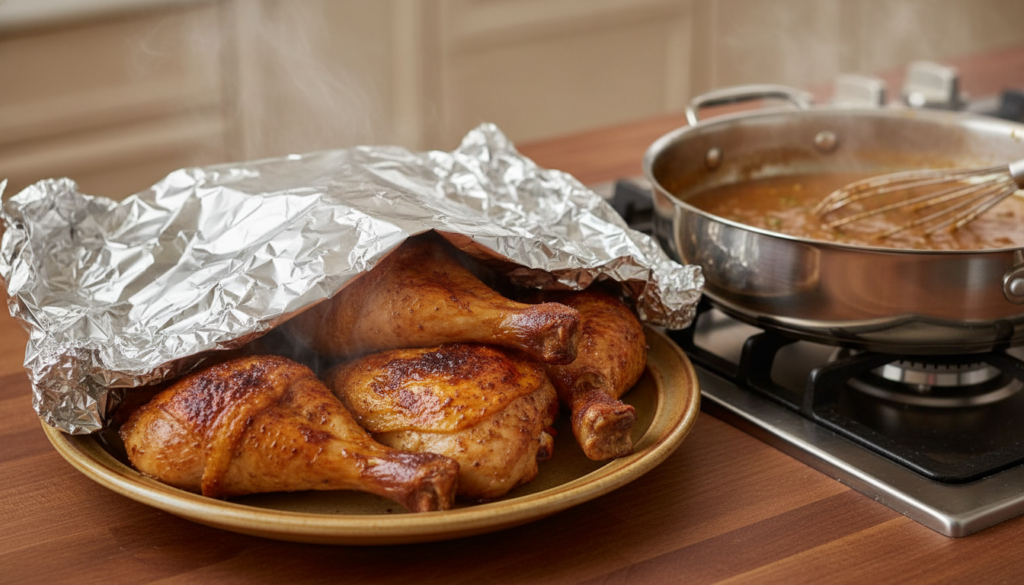
- Rest the Chicken: Once roasted, carefully remove the crispy chicken to a plate. Tent it loosely with foil to keep it warm while you prepare the delicious pan gravy. Resting the chicken allows the juices to redistribute, ensuring maximum tenderness.
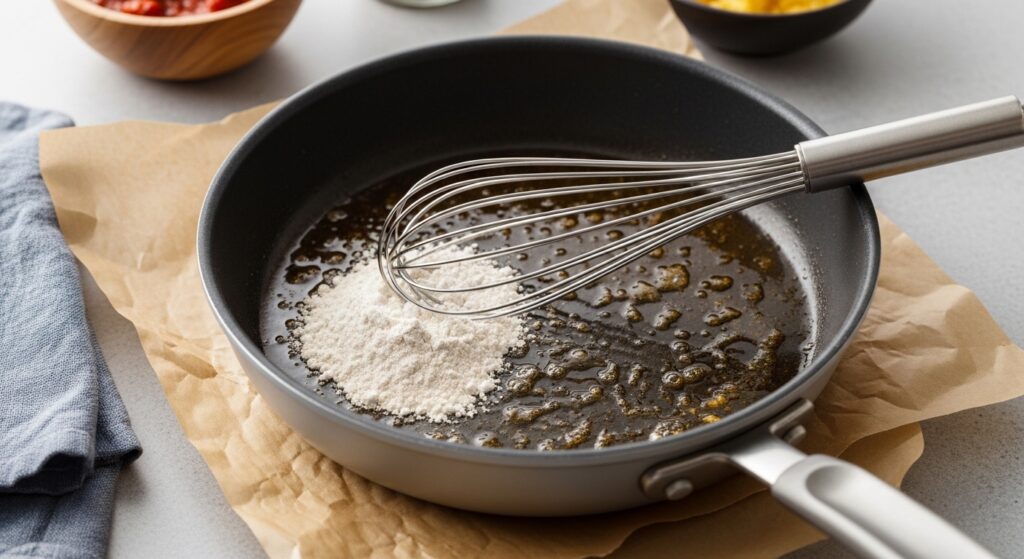
- Prepare the Pan Gravy: Scrape all the flavorful drippings from the parchment paper into a small skillet. Place the skillet over medium-high heat. Add 2 tablespoons of all-purpose flour to the drippings and stir continuously with a whisk for about 2 minutes, until the flour begins to smellónutty, like baked pie crust. This creates a roux, the base for your gravy.
- Thicken the Gravy: Gradually pour in 1 1/3 cups of chicken bone broth, whisking continuously to prevent lumps. Bring the sauce to a simmer, allowing it to thicken to your desired consistency. If it’s too thick, add a little more broth; if it’s too thin, simmer a bit longer. Season the gravy with salt, freshly ground black pepper, and a pinch of cayenne to taste. For an added touch of freshness, toss in a sprig of any fresh herb (optional) and whisk for another minute. This savory gravy is the perfect accompaniment to your homemade chicken.

- Serve: Add a generous spoonful of the warm pan sauce to a plate, then carefully place the crispy Tiger Chicken on top. Serve immediately and enjoy this truly unforgettable meal. For more gourmet plating ideas, explore various culinary inspirations.
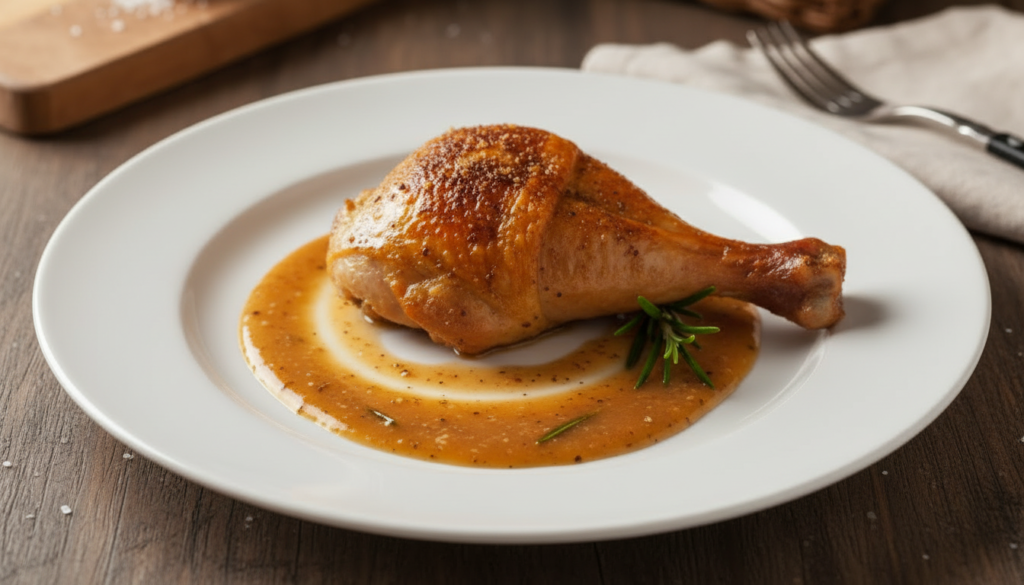
Tiger Chicken: Crispy, Flavorful, and Unforgettable
Ingredients
- 1 1/2 teaspoons kosher salt
- 1/2 teaspoon freshly ground black pepper
- 1/2 teaspoon garlic powder
- 1/4 teaspoon chipotle chili powder
- 1/4 teaspoon baking soda
- 4 chicken leg quarters, with skin
- 2 tablespoons all-purpose flour
- 1 1/3 cups chicken bone broth, or as needed
- salt and freshly ground black pepper to taste
- 1 pinch cayenne
- 1 sprig any fresh herb (optional)
Instructions
- For seasoning salt, combine salt, black pepper, garlic powder, chipotle chili powder, and baking soda in a small bowl. Stir together thoroughly, and set aside.
- For tiger cut chicken, lay a leg quarter, skin side up, on a cutting board. With a sharp knife, begin halfway up the chicken leg, and make cuts through the skin to the bone, every 1/4 -inch. Make these parallel cuts all the way to the end of the thigh. Repeat with remaining leg quarters.
- Line a baking sheet with parchment paper, and place the chicken, skin side down, on the prepared baking sheet. Sprinkle surface with 1/2 of the seasoning salt. Turn legs over and sprinkle the remaining seasoning salt on the skin side, distributing it evenly over the entire surface.
- Refrigerate chicken legs on the baking sheet, uncovered, to dry out overnight.
- Preheat the oven to 450 degrees F (235 degrees C). Set a rack in the upper center of the oven.
- Roast chicken in the preheated oven until skin is crispy, chicken is no longer pink at the bone, and juices run clear, about 45 minutes. An instant read thermometer inserted into the thickest part of the thigh should read 165 degrees F (74 degrees C).
- Remove chicken to a plate; keep chicken warm while preparing a pan gravy.
- Scrape drippings from the parchment into a small skillet, and place over medium-high heat. Add flour, and stir continually with a whisk until flour begins to smell like baked pie crust, about 2 minutes.
- Pour in chicken broth; whisk continuously, and bring sauce to a simmer to thicken. Adjust thickness by adding a little broth to thin, or by simmering a bit longer to thicken. Season with salt, black pepper, and cayenne. Toss in a sprig of any fresh herb and whisk for a minute more.
- Add a spoonful of pan sauce to a plate and add chicken on top to serve.
FAQ Section
What makes Tiger Chicken crispy?
Can I use other chicken parts for Tiger Chicken?
How long can I store leftover Tiger Chicken?
Conclusion
And there you have it – your very own homemade Tiger Chicken! This recipe delivers on its promise of incredibly crispy skin, tender, juicy meat, and a rich, savory pan gravy that ties everything together beautifully. The unique ‘tiger cuts’ are not just for show; they are key to achieving that perfect texture and ensuring every morsel is infused with flavor.
Whether it’s a weeknight dinner or a special occasion, this dish is sure to impress. Don’t be intimidated by the overnight refrigeration; it’s a simple step that makes all the difference in achieving that ultimate crispiness. So go ahead, try this recipe, and discover your new favorite way to enjoy chicken. For more delicious comfort food recipes, keep exploring Food Jot!